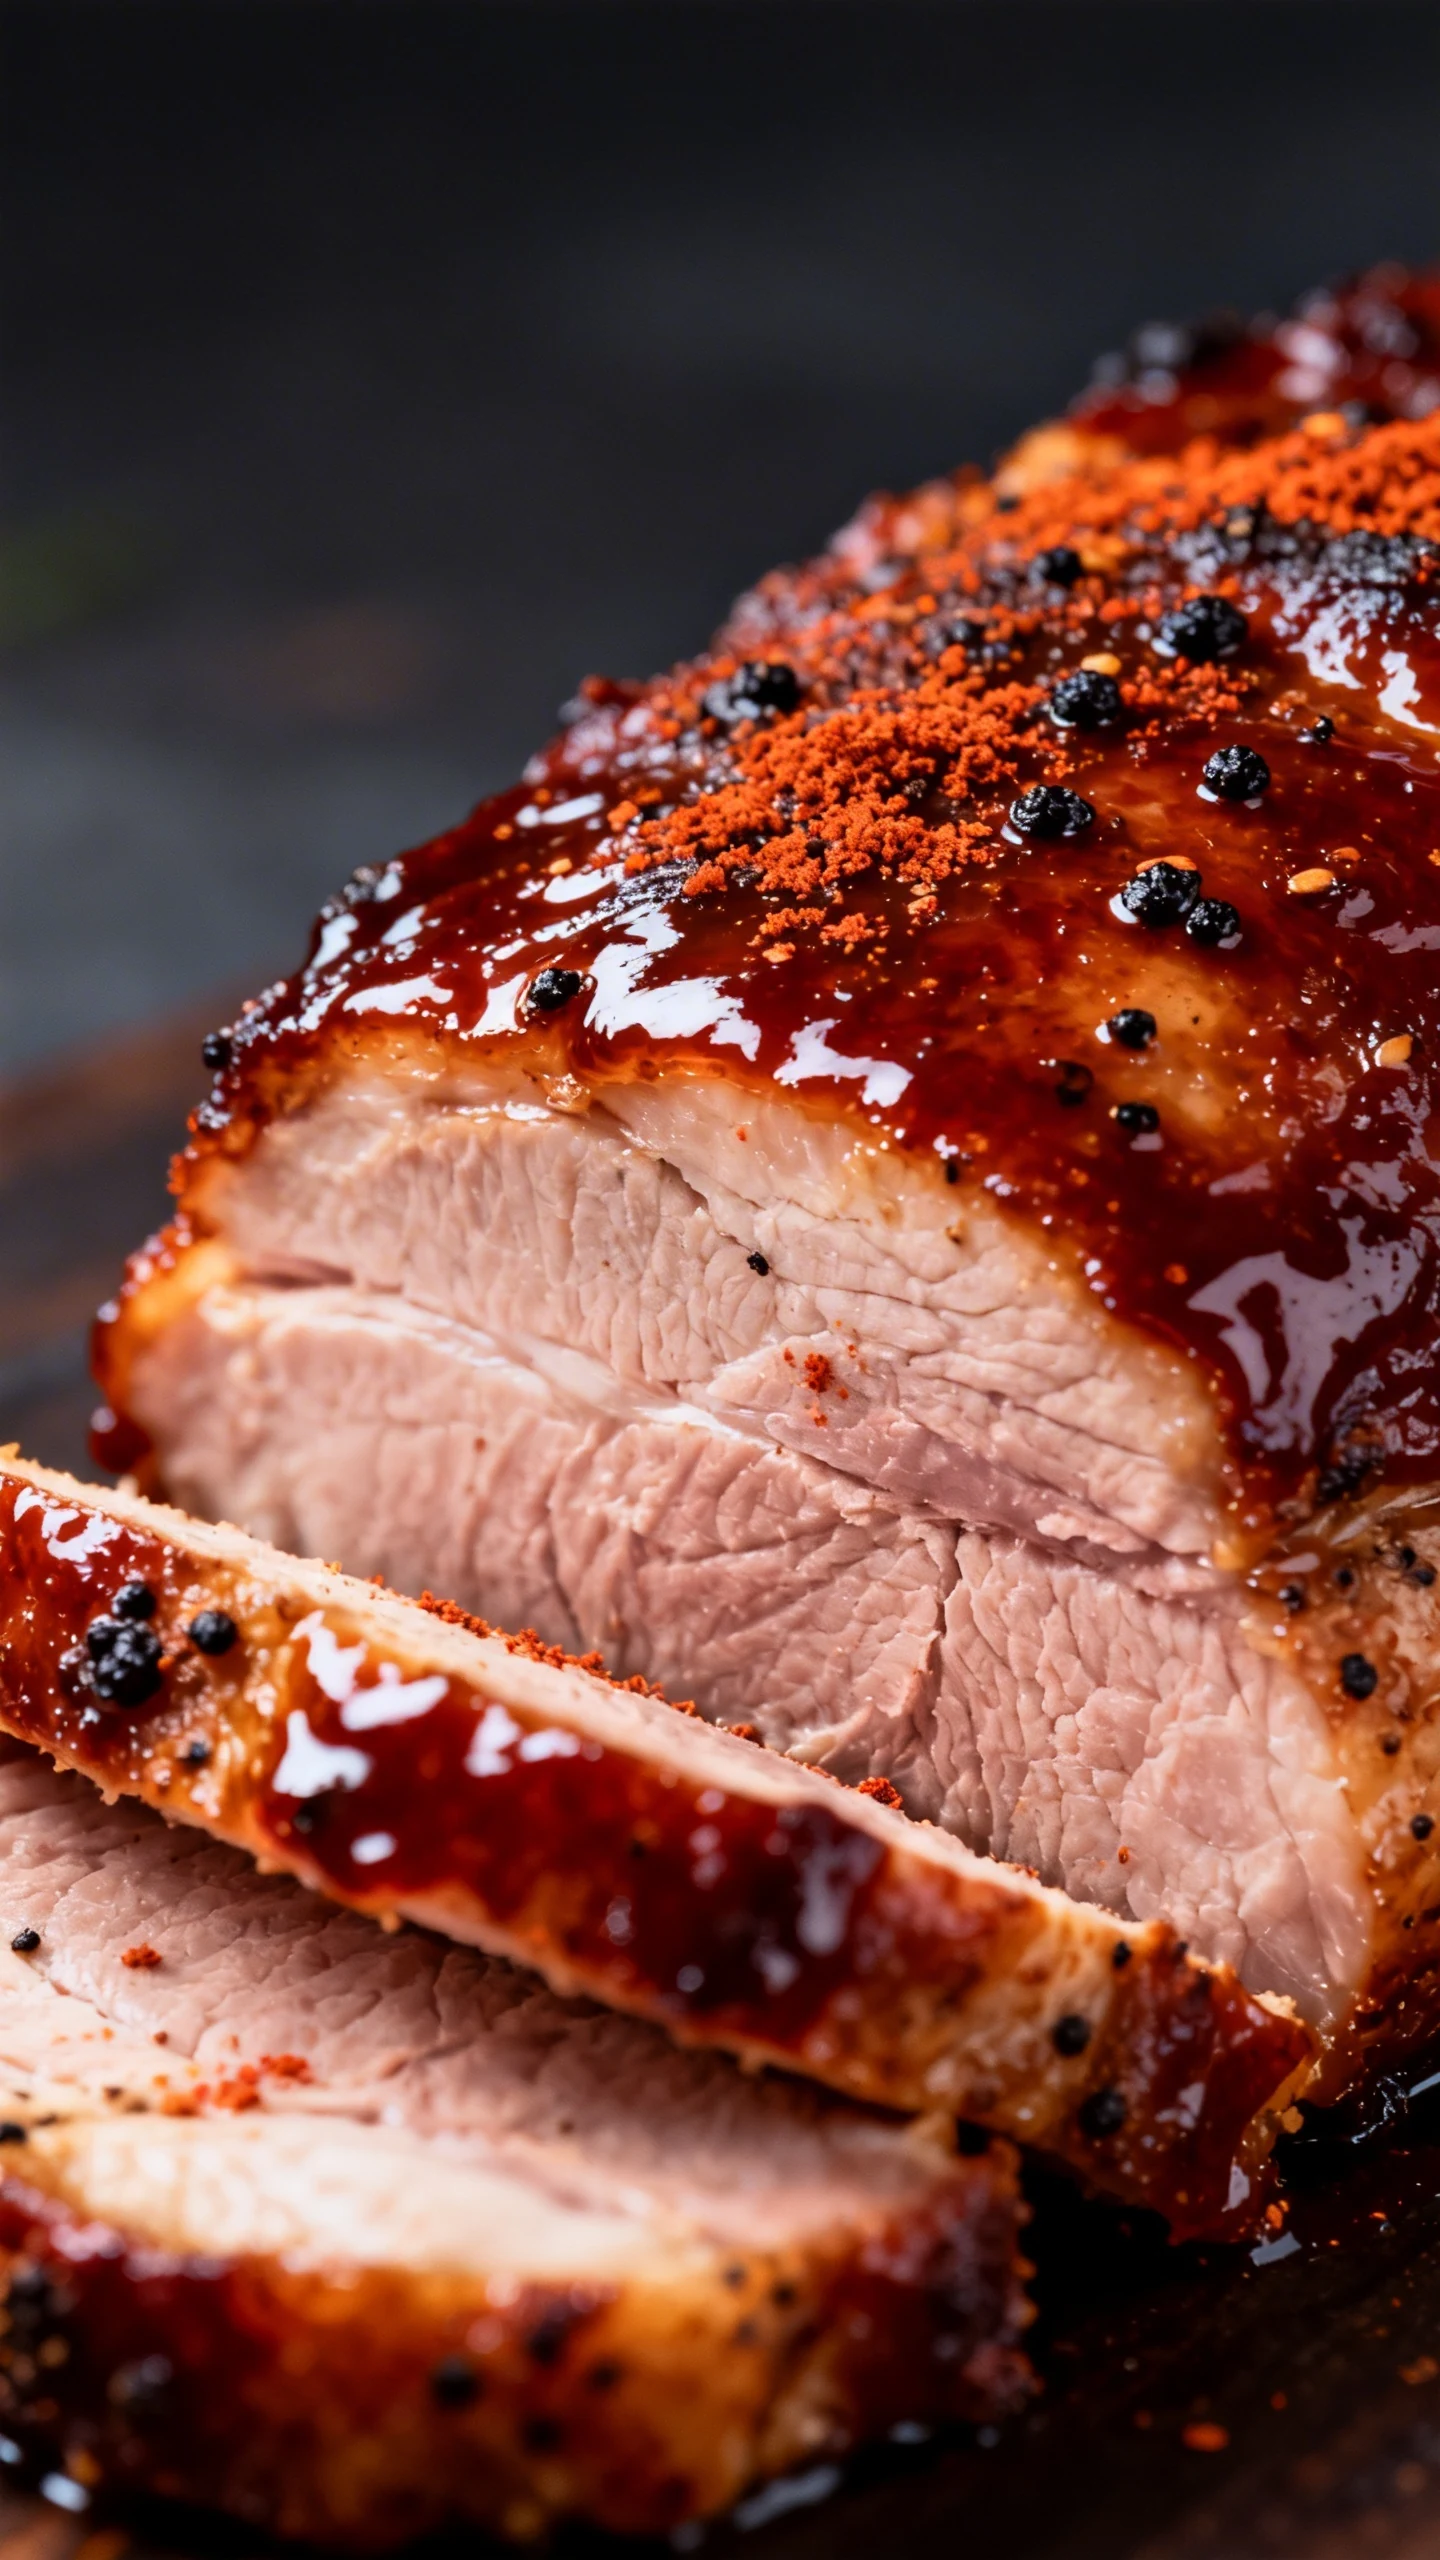
A juicy, smoke-kissed roast with a sticky-sweet crust, built for backyard bragging and easy slicing on busy nights.
You know that moment when you slice into pork and it’s somehow still juicy, even after the grill? That’s not luck. That’s a plan.
This recipe gives you the “people think you trained for this” result without turning your Saturday into a science fair. It’s bold, a little sweet, a little spicy, and it smells like you’ve got your life together.
And yes, you’ll get that glossy, caramelized outside that makes everyone hover near the cutting board like seagulls at the beach. Fair warning: leftovers might not survive the night.
What Makes This Special

This isn’t just pork with sauce slapped on at the end. You build flavor in layers: a dry rub that actually sticks, a gentle grill roast that keeps moisture in, and a glaze that turns into a lacquered crust.
The method stays forgiving. You can pull it at the right temperature, rest it properly, and slice it like you meant to do that all along.
Also, you won’t need a giant smoker to get legit barbecue vibes. A two-zone grill setup and a little patience do the heavy lifting, which is great because your stress levels deserve a break.
What Goes Into This Recipe – Ingredients
- Pork loin roast (3 to 4 pounds), trimmed of excess surface fat
- Olive oil (1 tablespoon), for binding the rub
- Kosher salt (2 teaspoons)
- Black pepper (1 1/2 teaspoons)
- Smoked paprika (2 teaspoons)
- Garlic powder (1 1/2 teaspoons)
- Onion powder (1 teaspoon)
- Brown sugar (2 tablespoons), packed
- Ground cumin (1 teaspoon)
- Chili powder (1 teaspoon)
- Cayenne pepper (1/4 to 1/2 teaspoon), optional
- BBQ sauce (3/4 cup), your favorite thicker style
- Apple cider vinegar (1 tablespoon), to brighten the glaze
- Dijon mustard (1 tablespoon), for tang and grip
- Worcestershire sauce (1 teaspoon)
- Butter (1 tablespoon), optional for a richer glaze
- Wood chips (optional), hickory or apple, soaked 20 minutes for gas grills
Let’s Get Cooking – Instructions

-
Prep the grill for two-zone heat. Set one side to medium-high and leave the other side lower or off. If you use charcoal, bank coals to one side. FYI, this setup saves your roast from drying out.
-
Pat the pork dry like you mean it. Moisture on the surface blocks browning. Dry meat equals better crust, and better crust equals people asking “what did you put on this?”
-
Mix the rub. Combine salt, pepper, smoked paprika, garlic powder, onion powder, brown sugar, cumin, chili powder, and cayenne if you want a little swagger.
-
Rub it down. Coat the pork with olive oil, then press the rub all over. Don’t sprinkle it like fairy dust. Press it in so it sticks through the cook.
-
Sear for color, not for “done.” Place the roast over the hotter side and sear 2 to 3 minutes per side until you get deep browning. You’re building flavor, not finishing the job.
-
Move to indirect heat and close the lid. Put the pork on the cooler side, lid down, vents partially open if using charcoal. Aim for 325°F to 375°F inside the grill for steady roasting.
-
Add smoke if you want it. Toss wood chips onto coals or use a smoker box on gas. Keep it subtle. You want “wow,” not “campfire jacket.”
-
Cook to temperature, not vibes. Insert a thermometer into the thickest part. Cook until 140°F to 145°F for juicy slices. Time varies, but expect 45 to 75 minutes depending on thickness and grill heat.
-
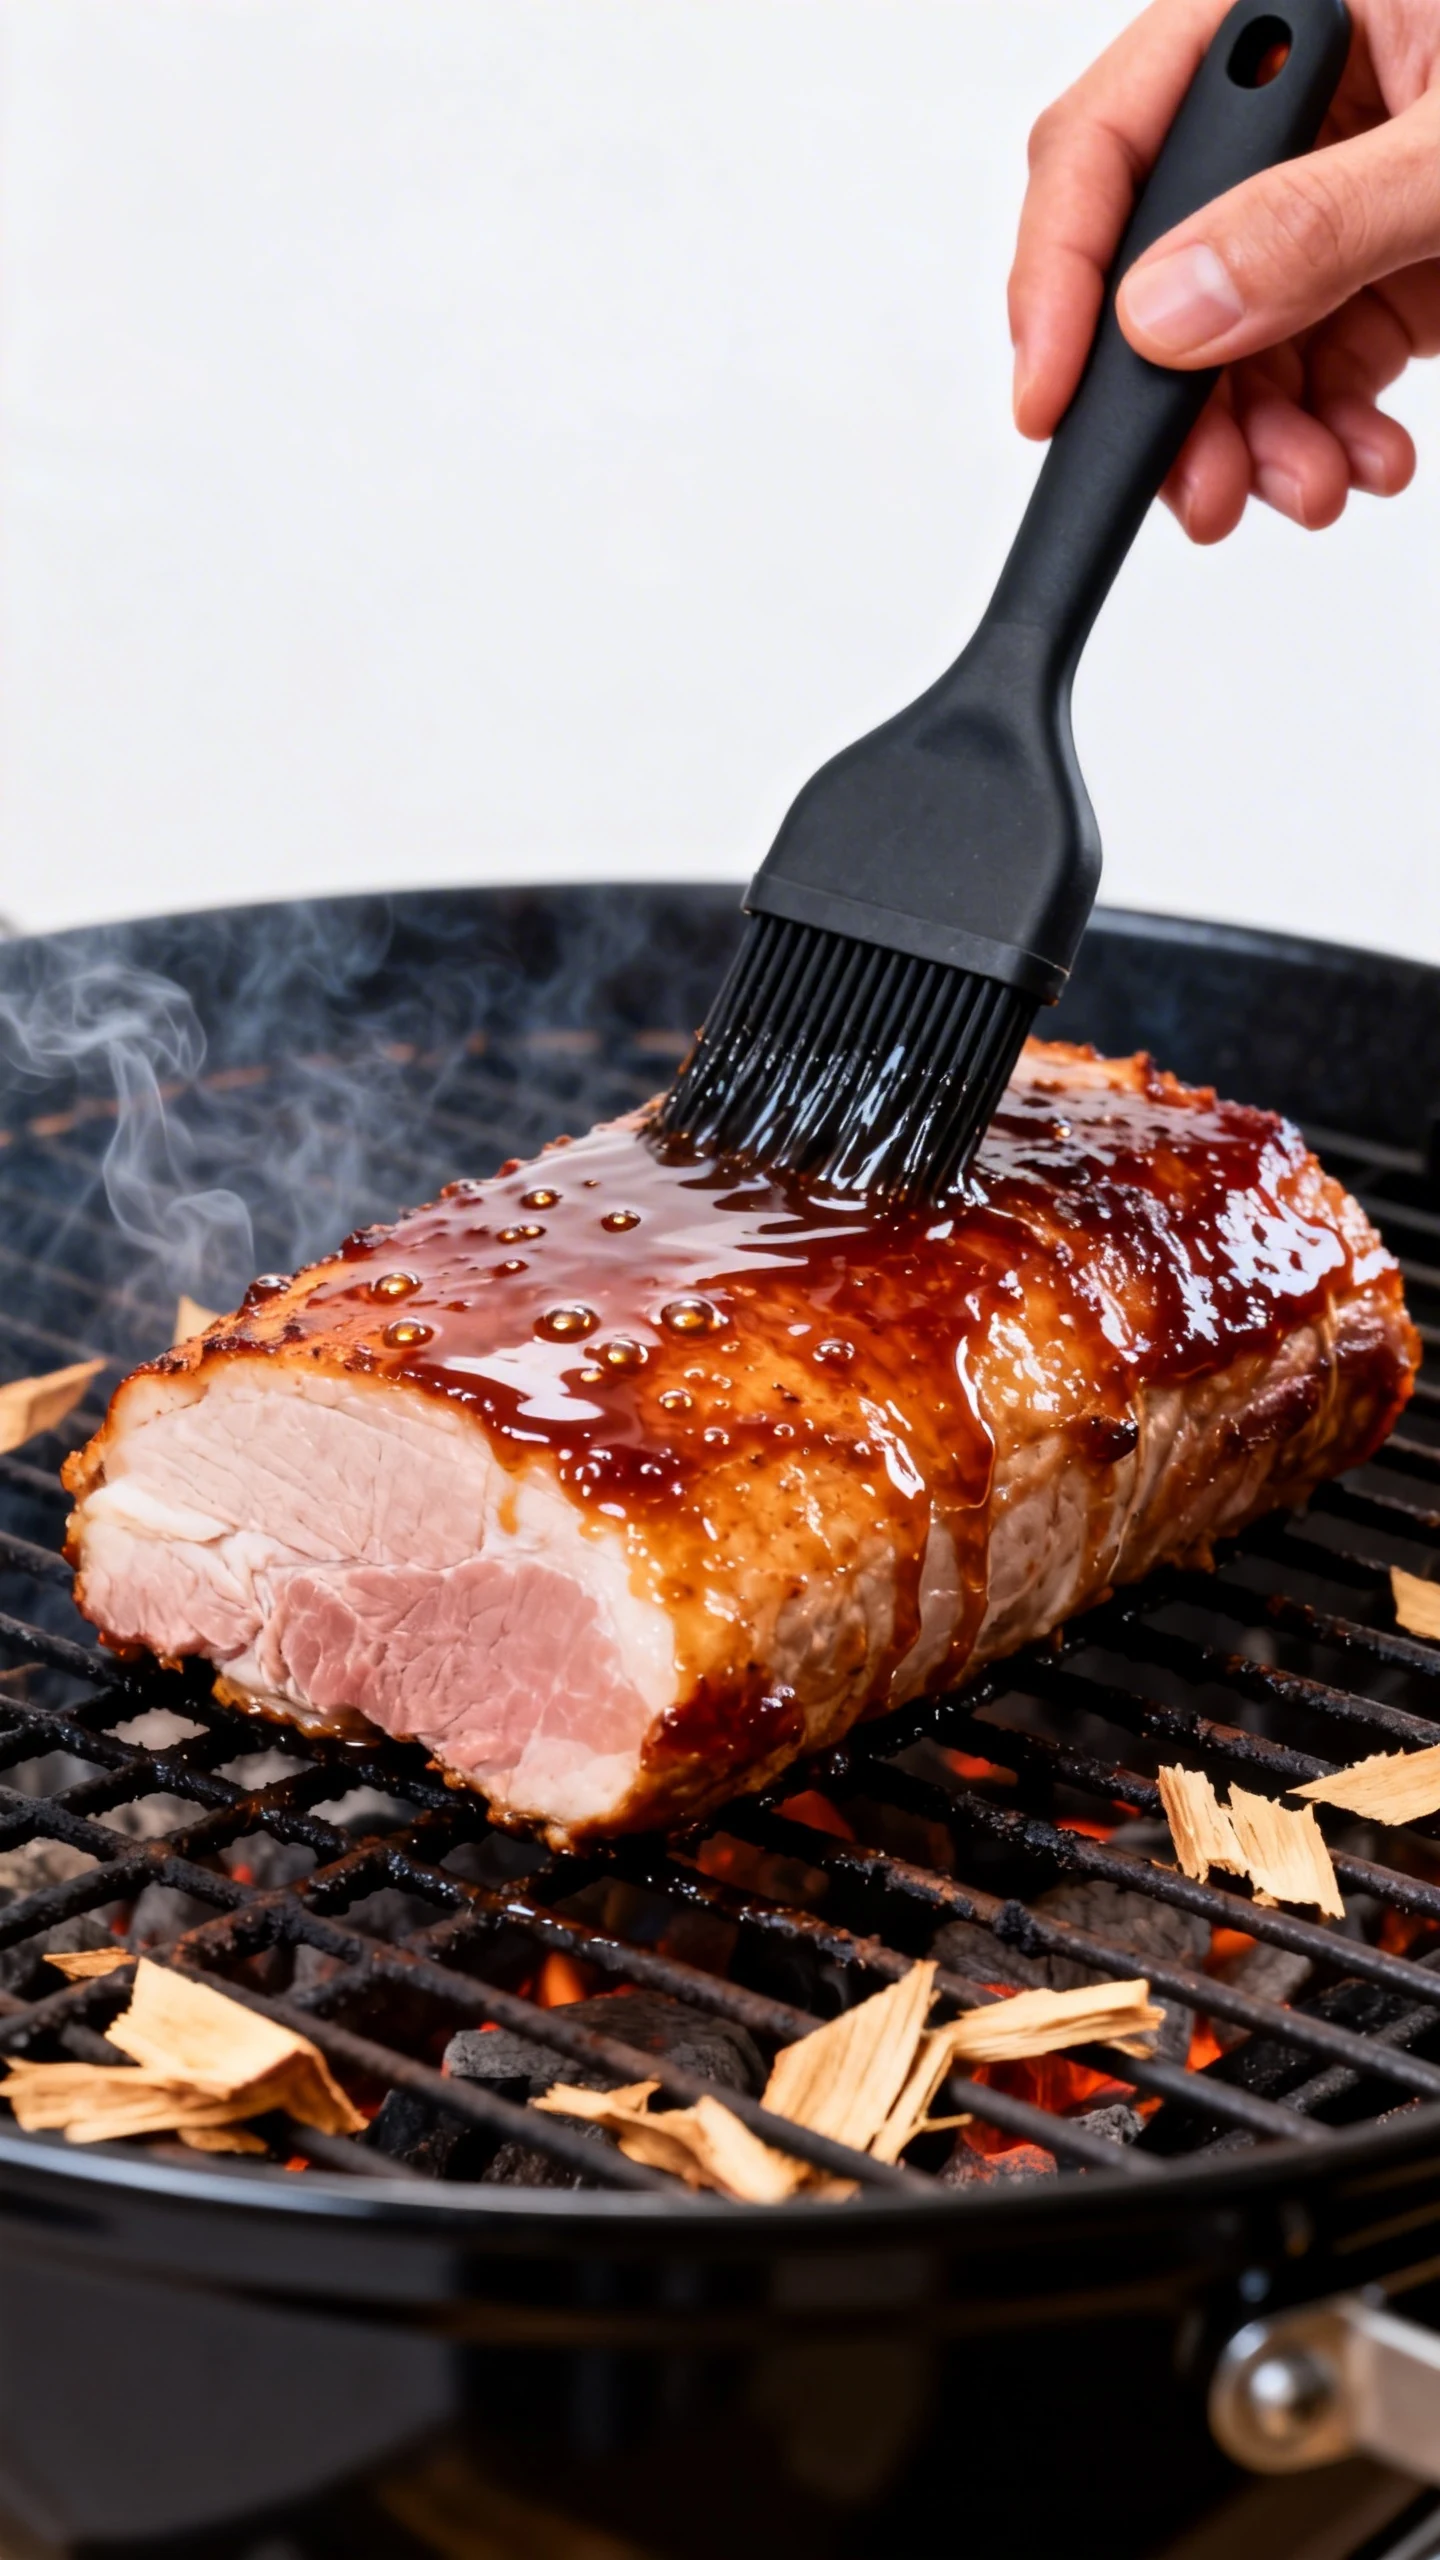
Make the glaze while it cooks. Stir BBQ sauce, apple cider vinegar, Dijon, and Worcestershire in a small pan or bowl. Warm it gently if you can, then whisk in butter if using for extra shine.
-
Glaze near the end. When the pork hits about 135°F, brush on a layer of glaze. Close the lid for 5 minutes, then brush again. Two thin coats beat one messy coat that slides off.
-
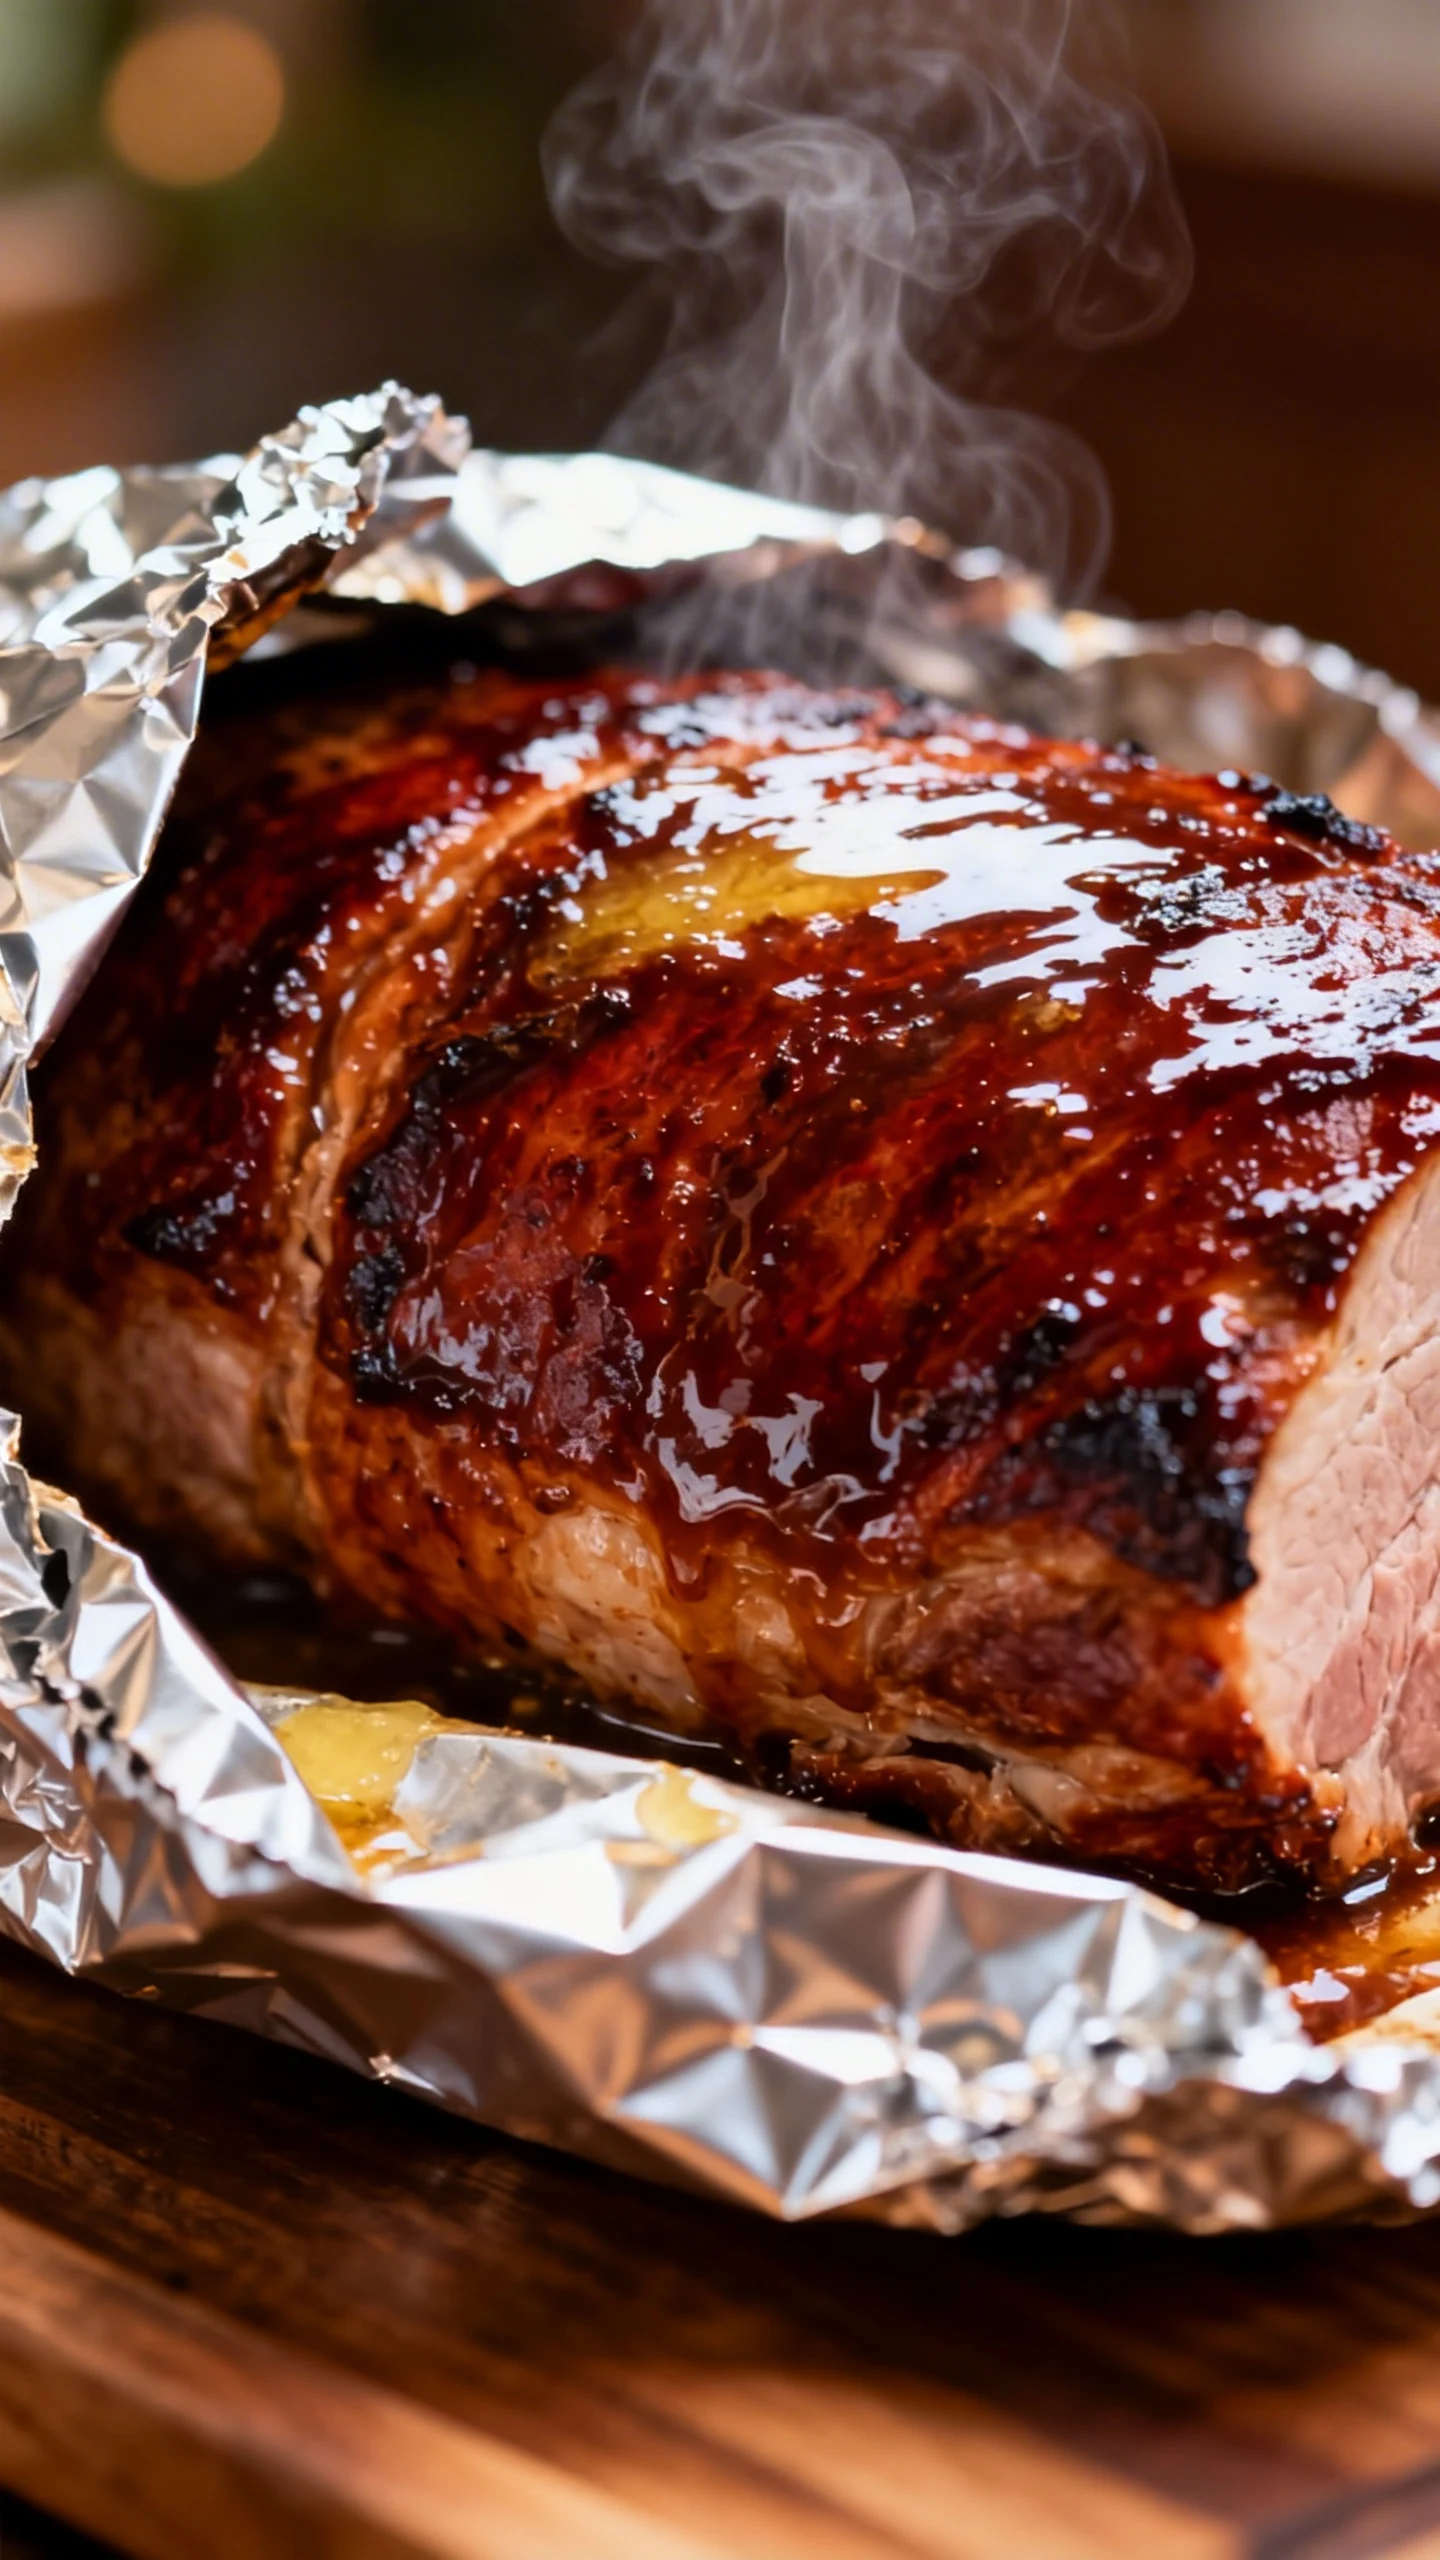
Finish and rest. Pull the roast at 145°F, tent loosely with foil, and rest 10 to 15 minutes. If you slice immediately, the juices will sprint onto the cutting board like they’re late for work.
-
Slice and serve with confidence. Cut against the grain into 1/2-inch slices. Add a final brush of warm glaze or serve extra sauce on the side for the “more please” crowd.
Storage Tips
Refrigerate leftovers in an airtight container within 2 hours. Keep slices whole if you can, because larger pieces stay juicier than a pile of thin shavings.
Store for up to 4 days in the fridge. For longer storage, freeze in portions with a little extra sauce, because frozen meat without moisture turns into sadness when reheated.
Reheat gently. Use a covered skillet with a splash of water or sauce on low heat, or warm in the oven at 300°F until hot. Microwave works, but it can turn your victory into “why is it chewy?” pretty fast.
Benefits of This Recipe

- Weeknight friendly: Grill-roasting keeps it simple and predictable.
- Juicy results: Temperature-based cooking protects moisture.
- Big flavor payoff: Rub plus glaze creates sweet, smoky depth.
- Great for meal prep: Slices work in sandwiches, bowls, and tacos.
- Feeds a crowd: One roast stretches far, especially with sides.
Common Mistakes to Avoid
Cooking by time alone is the fastest route to dry pork. Use a thermometer and you’ll stop guessing, which is honestly a better lifestyle choice in general.
Skipping the rest makes the meat leak juices everywhere. Resting feels like “doing nothing,” but it’s actually the step that makes your slicing look professional.
Over-saucing too early burns sugars and turns the outside bitter. Glaze late so the sauce caramelizes instead of scorching.
Using only direct heat roasts the outside while the inside lags behind. Two-zone heat gives you control, and control is kind of the whole point here.
Recipe Variations
Spicy-sweet: Add extra cayenne and a spoon of hot sauce to the glaze. If you like a little chaos, this one delivers.
Apple-forward: Swap half the vinegar for apple juice and use applewood chips. The flavor turns mellow and slightly fruity, IMO perfect for fall dinners.
Carolina tang: Use a vinegar-based sauce, add a touch more mustard, and finish with a squeeze of lemon. It cuts richness like a champ.
Garlic-herb: Skip the BBQ sauce glaze and brush with melted butter, minced garlic, and chopped rosemary at the end. It’s less sticky, more savory, and still wildly good.
FAQ
Is pork loin the same as pork tenderloin?
No. Pork tenderloin is smaller and cooks faster, while pork loin is larger and better for roast-style cooking and slicing. Treat them differently or they will punish you for it.
What internal temperature should I cook it to?
Aim for 145°F in the thickest part, then rest. That rest time finishes the cook and keeps the meat juicy instead of chalky.
Can I make this in the oven instead of a grill?
Yes. Sear in a hot skillet first, then roast at 350°F until 145°F internal. Brush on glaze during the last 10 minutes so it caramelizes without burning.
How do I keep the glaze from burning?
Apply it only near the end and keep the pork on indirect heat. If flare-ups happen, move it to the cool side and close the lid to regain control.
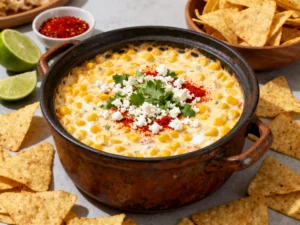
What should I serve with it?
Classic sides like coleslaw, baked beans, and cornbread work every time. For a lighter move, do a crunchy salad, grilled veggies, or roasted sweet potatoes.
Can I prep it ahead of time?
Yes. Season the pork with the rub up to 24 hours ahead and refrigerate uncovered or loosely covered. That dry time helps the crust set up better on the grill.
The Bottom Line
This recipe gives you tender, sliceable pork with a crust that tastes like you planned your whole weekend around it. You get the smoky-sweet barbecue vibe, but you stay in control with simple steps and one key tool: a thermometer.
Do the rub, nail the two-zone cook, glaze late, and rest before slicing. Then enjoy the best part: watching everyone “just grab a little more” until suddenly it’s gone.
