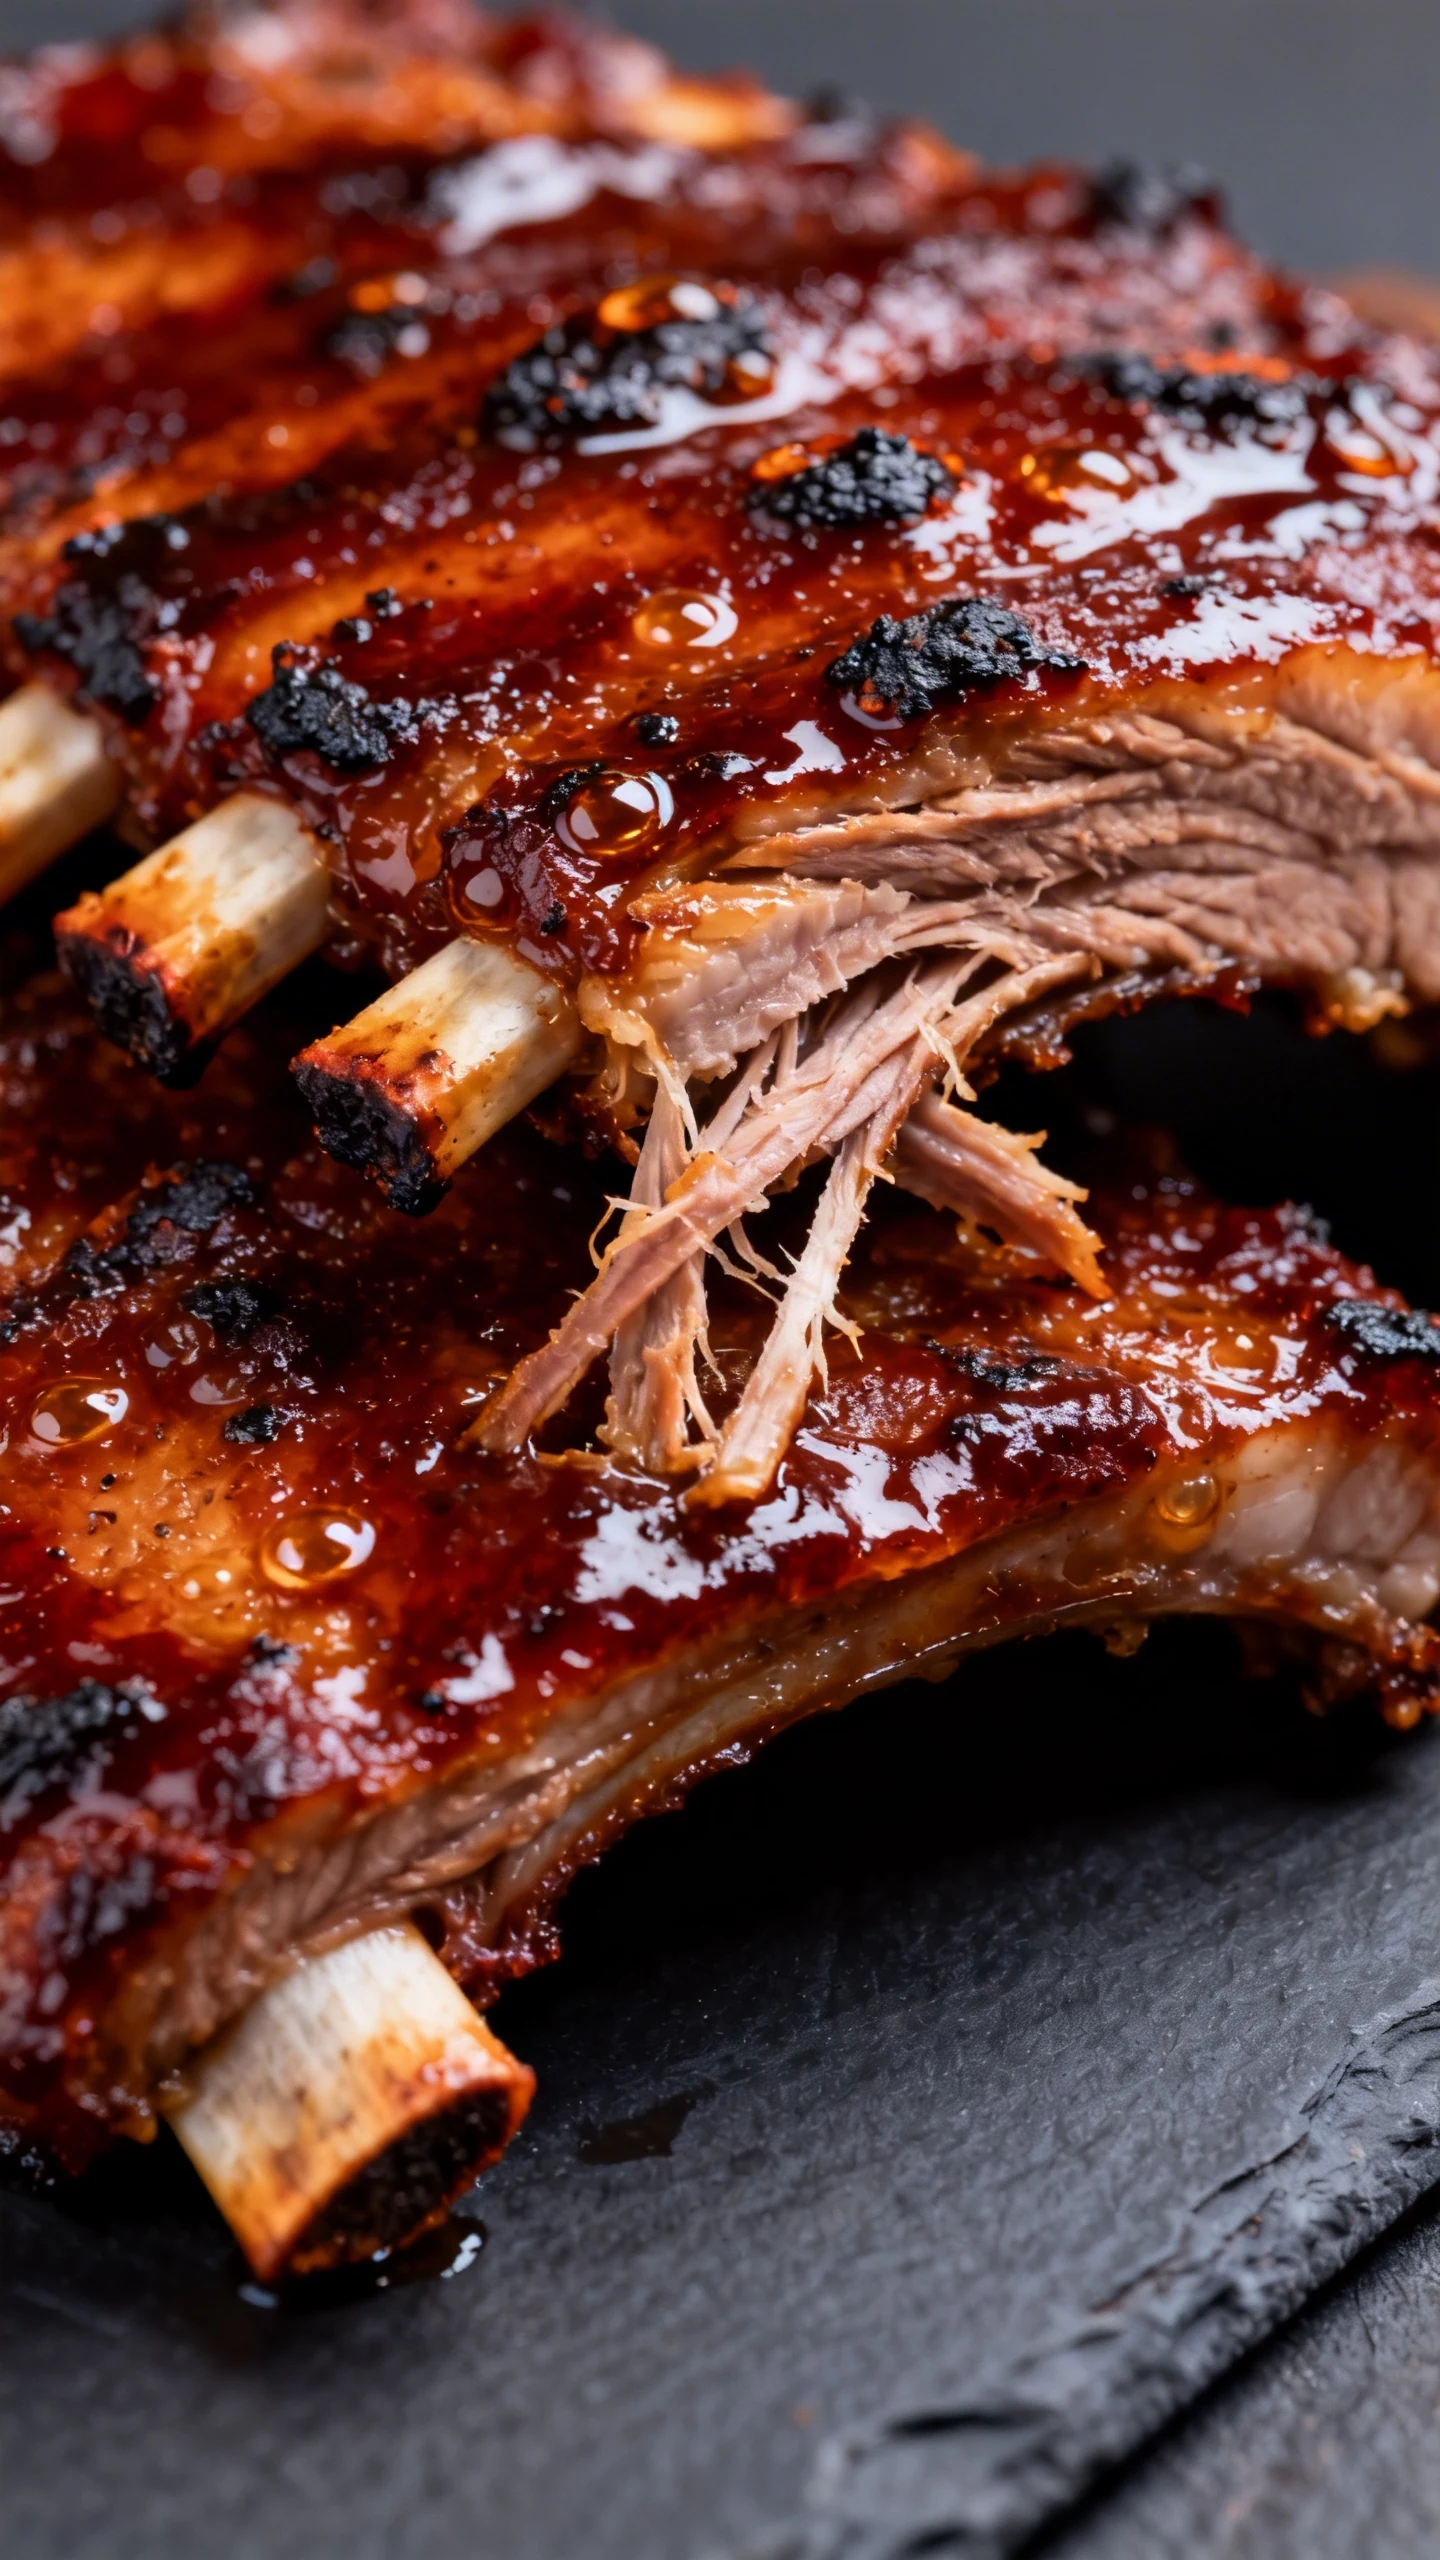
Get sticky, tender ribs with a smoky-sweet glaze using simple pantry spices, a hot oven, and a foolproof timeline.
You want ribs that make people go quiet for a second, then ask, “Wait… you made these in an oven?” Good. Because this is the method that turns a regular weeknight into a backyard-level flex. No smoker, no drama, no standing outside guarding coals like it’s a medieval job. Just tender meat, a glossy sauce, and that satisfying pull from the bone. And yes, you can absolutely get that “how is this so soft?” bite without fancy gear.
Why This Recipe Works
Ribs don’t get tender from hope. They get tender from time, gentle heat, and moisture control. The oven gives you consistent temperature, which means predictable results.
We wrap the ribs to trap steam early, so collagen breaks down instead of tightening up. Then we finish unwrapped at higher heat to concentrate flavor and build that sticky, caramelized glaze.
The seasoning does two jobs: it flavors the meat and helps form a crust under the sauce. And the sauce goes on near the end so it doesn’t burn into a bitter candy shell.
What You’ll Need (Ingredients)
- Pork ribs (baby back or St. Louis-style), about 2 racks
- Kosher salt
- Black pepper
- Smoked paprika (or regular paprika if that’s what you have)
- Garlic powder
- Onion powder
- Chili powder (mild or medium)
- Brown sugar
- Cayenne pepper (optional, for heat)
- BBQ sauce (your favorite, about 1 to 1 1/2 cups)
- Apple cider vinegar (or apple juice) for moisture
- Yellow mustard (optional binder, thin layer)
- Olive oil or neutral oil (optional, tiny amount for the pan)
The Method – Instructions
-
Pick your ribs and preheat. Set the oven to 300°F. Baby backs cook a bit faster; St. Louis-style takes a touch longer but gives you bigger, meatier bites.
-
Prep the racks. Pat the ribs dry. If there’s a membrane on the bone side, peel it off for better texture. Slide a butter knife under it and pull with a paper towel for grip.
-
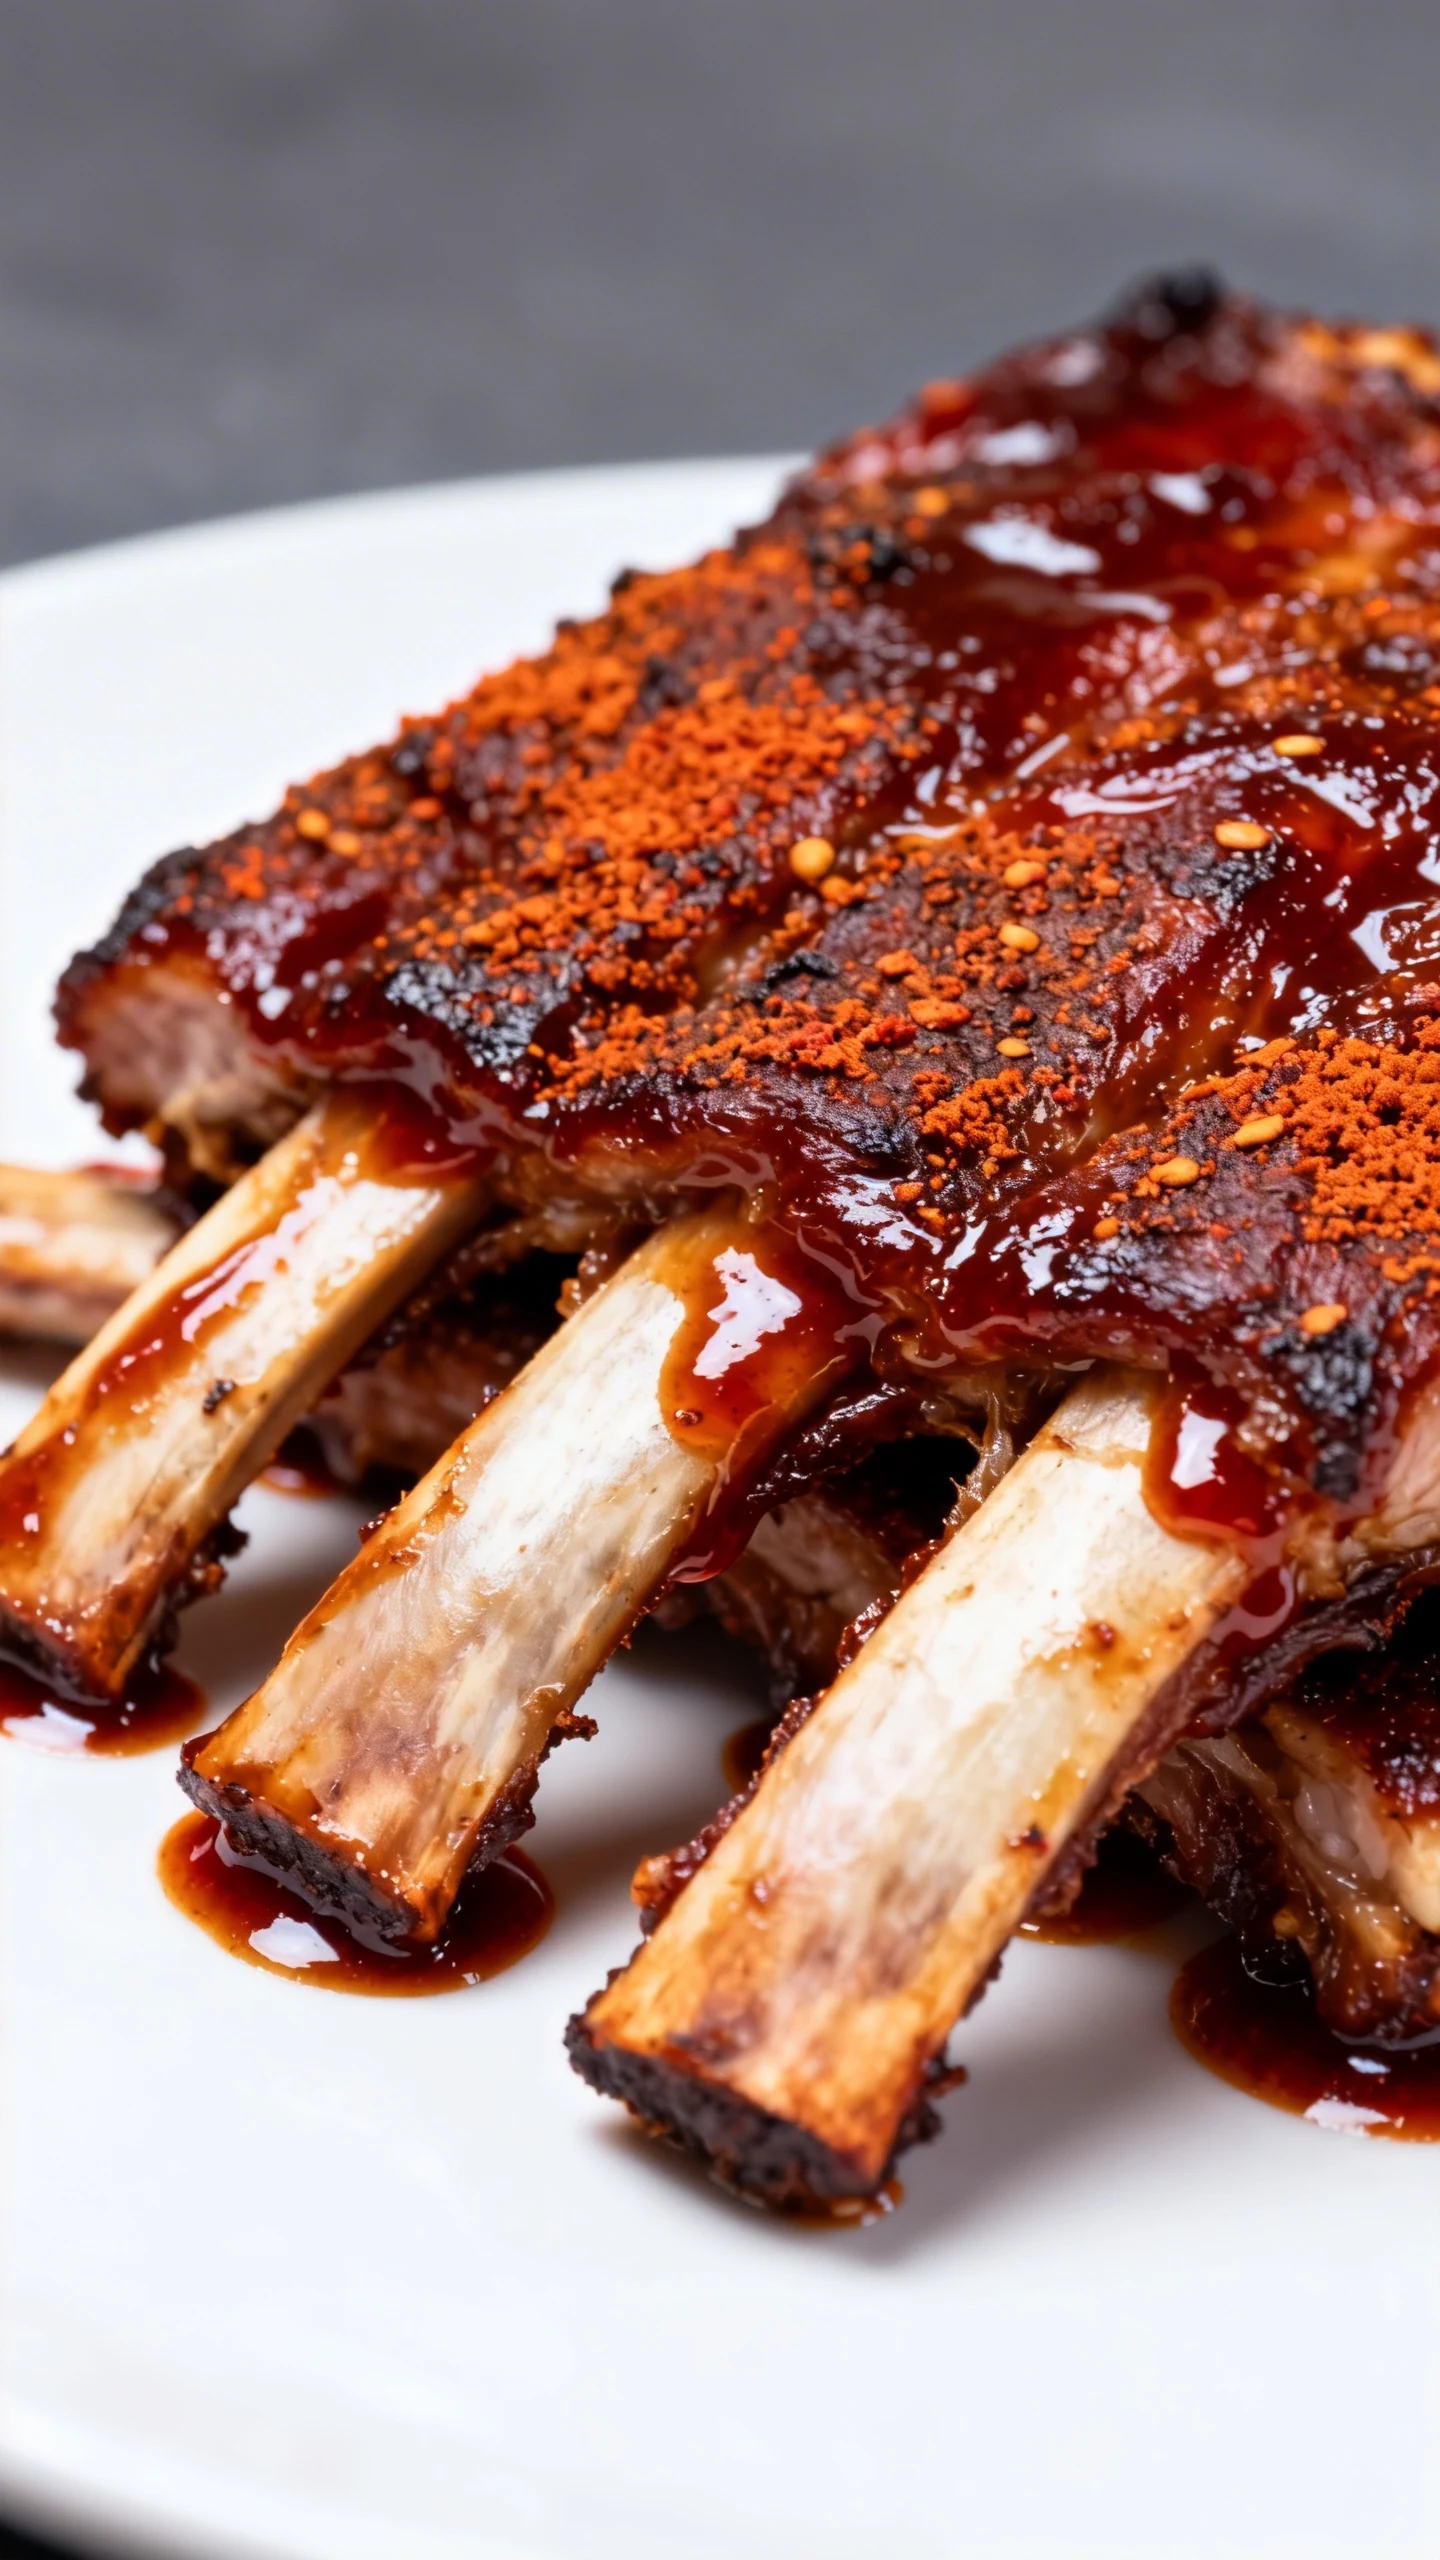
Mix the dry rub. In a bowl, combine salt, pepper, smoked paprika, garlic powder, onion powder, chili powder, brown sugar, and optional cayenne. You want it balanced, not a salt bomb.
-
Season like you mean it. Optional: spread a thin layer of mustard on both sides. Then coat generously with the dry rub and press it in. FYI, “sprinkle and pray” is not a technique.
-
Wrap for tenderness. Place each rack on heavy-duty foil (double layer helps). Add 1 to 2 tablespoons of apple cider vinegar (or apple juice) before sealing tightly. This creates a steamy environment that softens everything up.
-
Bake low and slow. Put the wrapped ribs on a baking sheet and bake 2 hours for baby backs, 2 1/2 to 3 hours for St. Louis-style. They’re ready when a toothpick slides in easily between the bones.
-
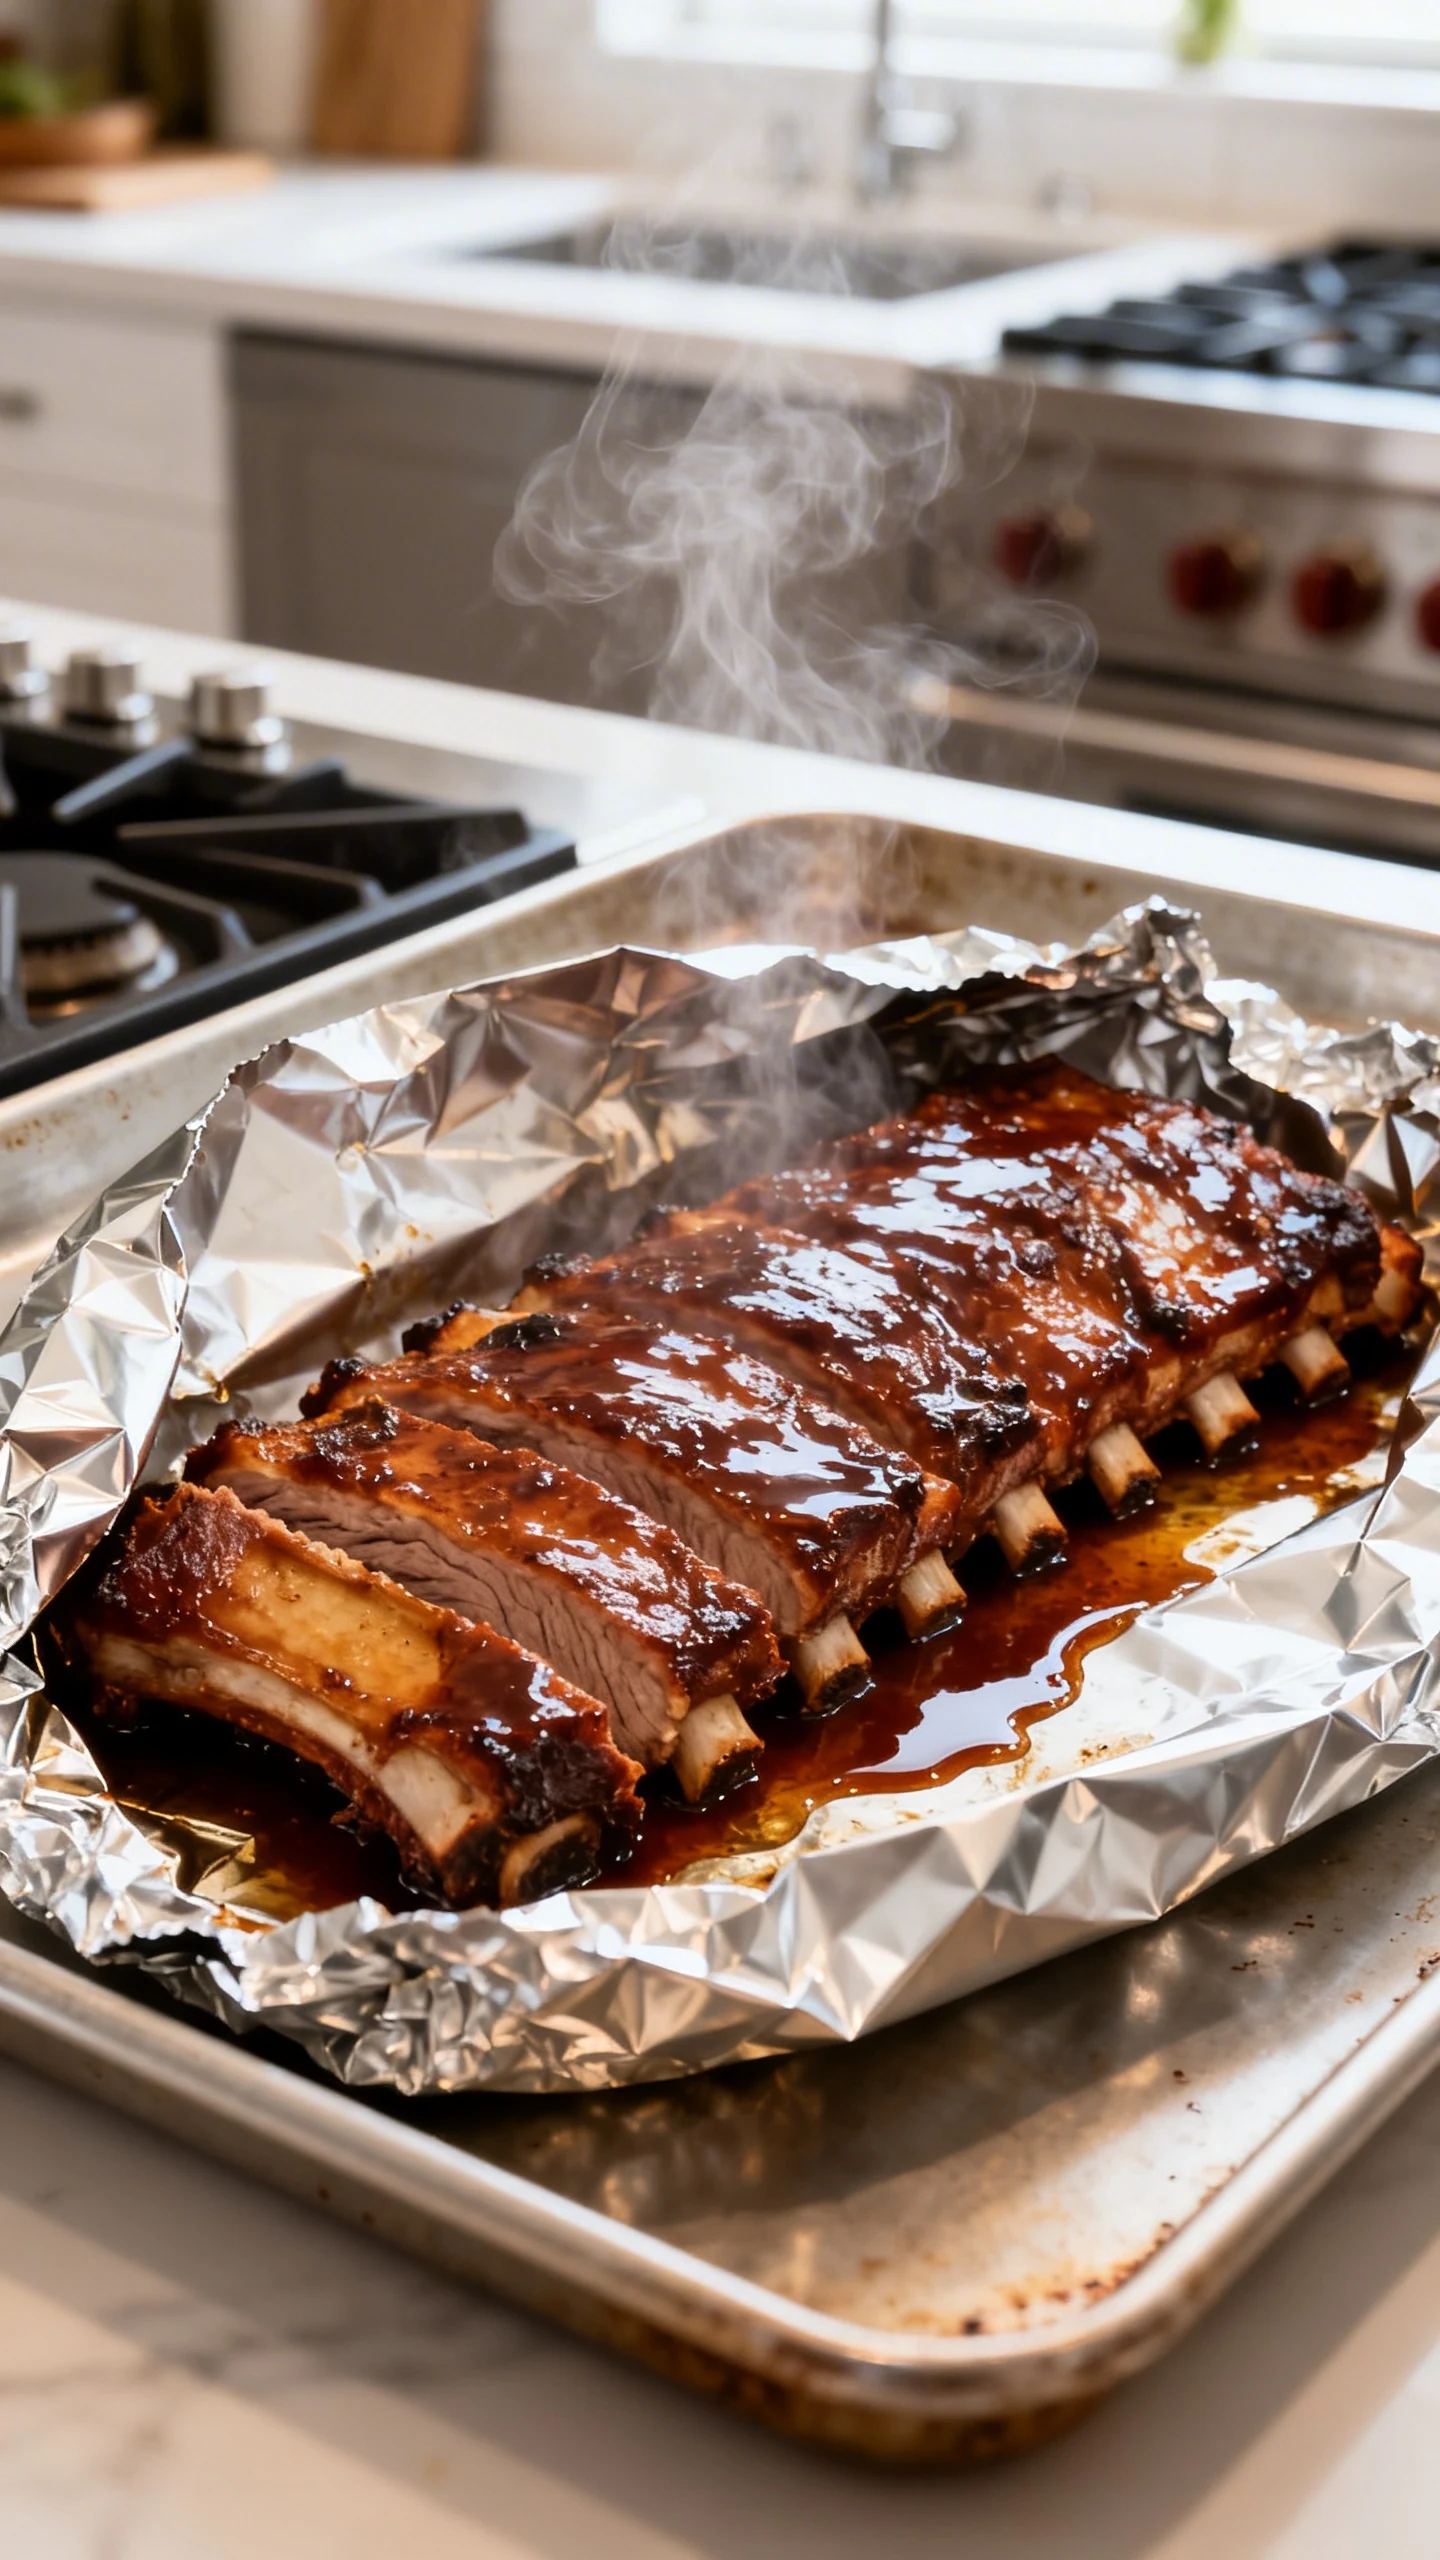
Unwrap carefully. Open the foil slowly; hot steam will rush out and it does not care about your feelings. Transfer ribs to a foil-lined baking sheet.
-
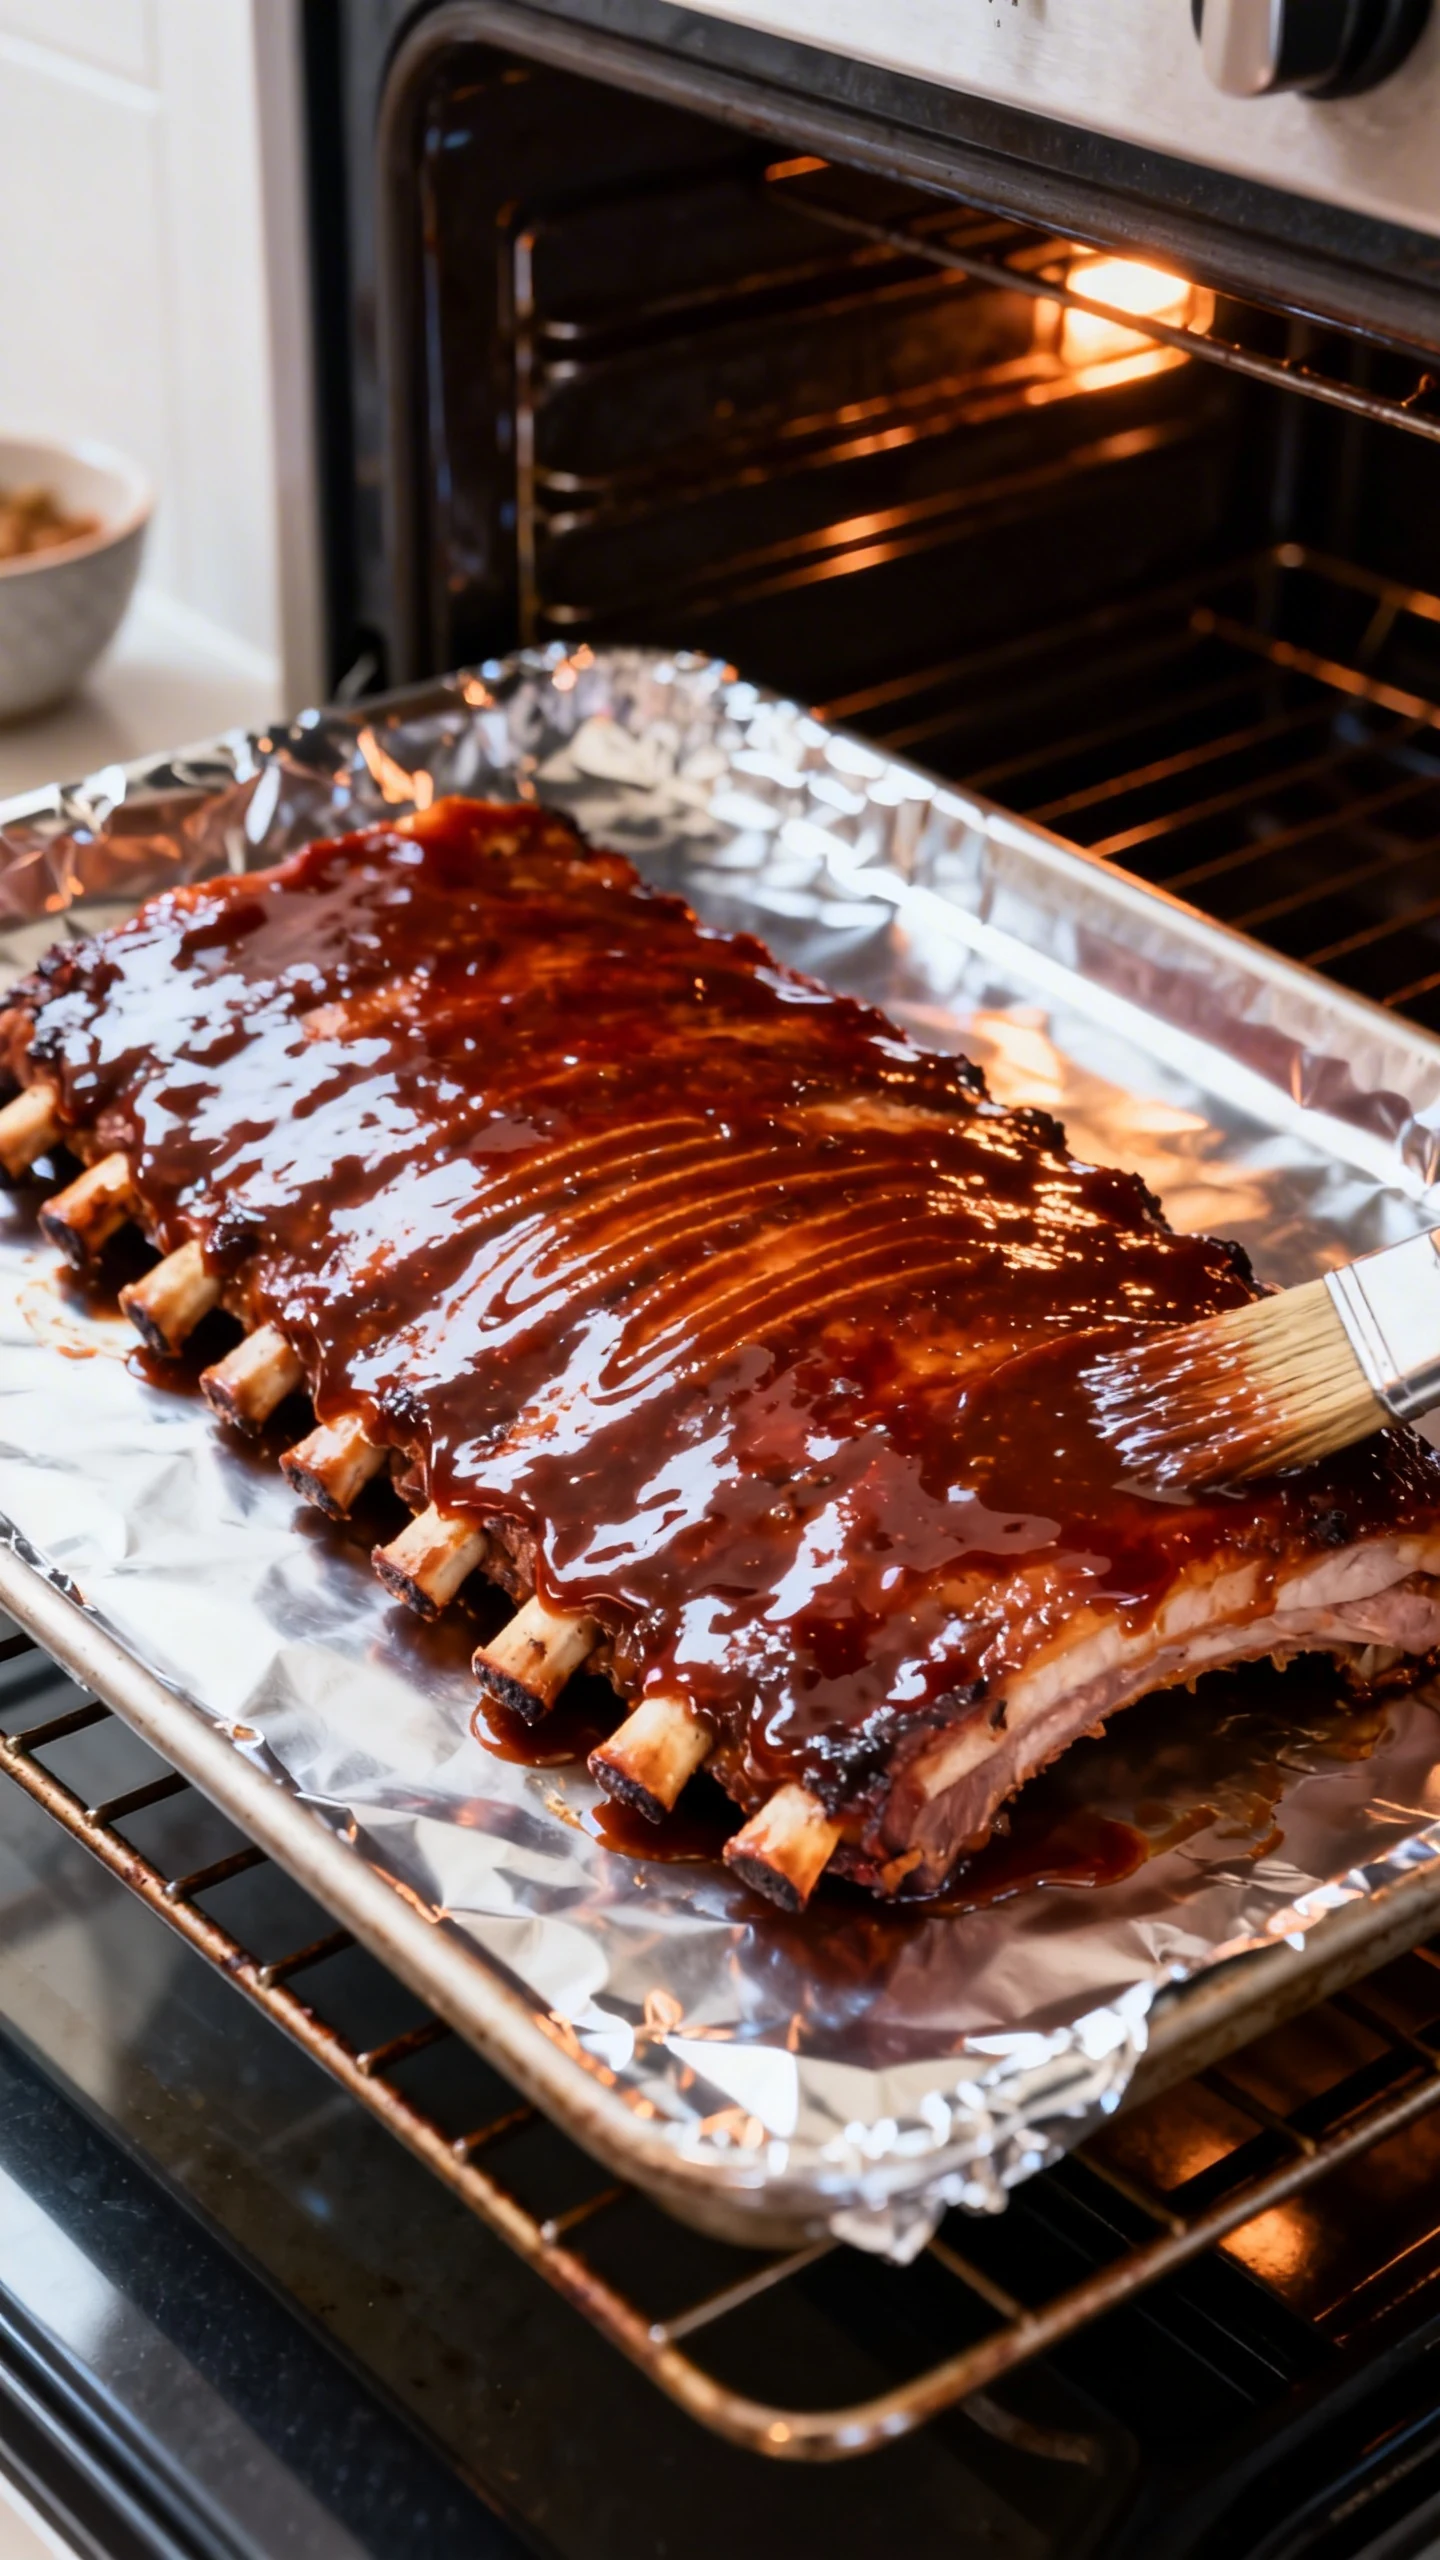
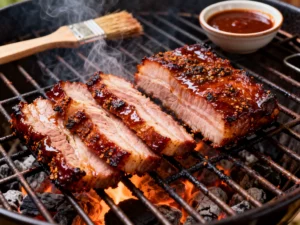
Sauce and set. Brush a thin layer of BBQ sauce on top. Raise oven to 425°F and bake 10 minutes. Add another layer of sauce and bake 5 to 10 minutes more until glossy and tacky.
-
Optional broil for attitude. If you want extra char, broil 1 to 3 minutes. Stay close. BBQ sauce goes from “caramelized” to “blackened regret” fast.
-
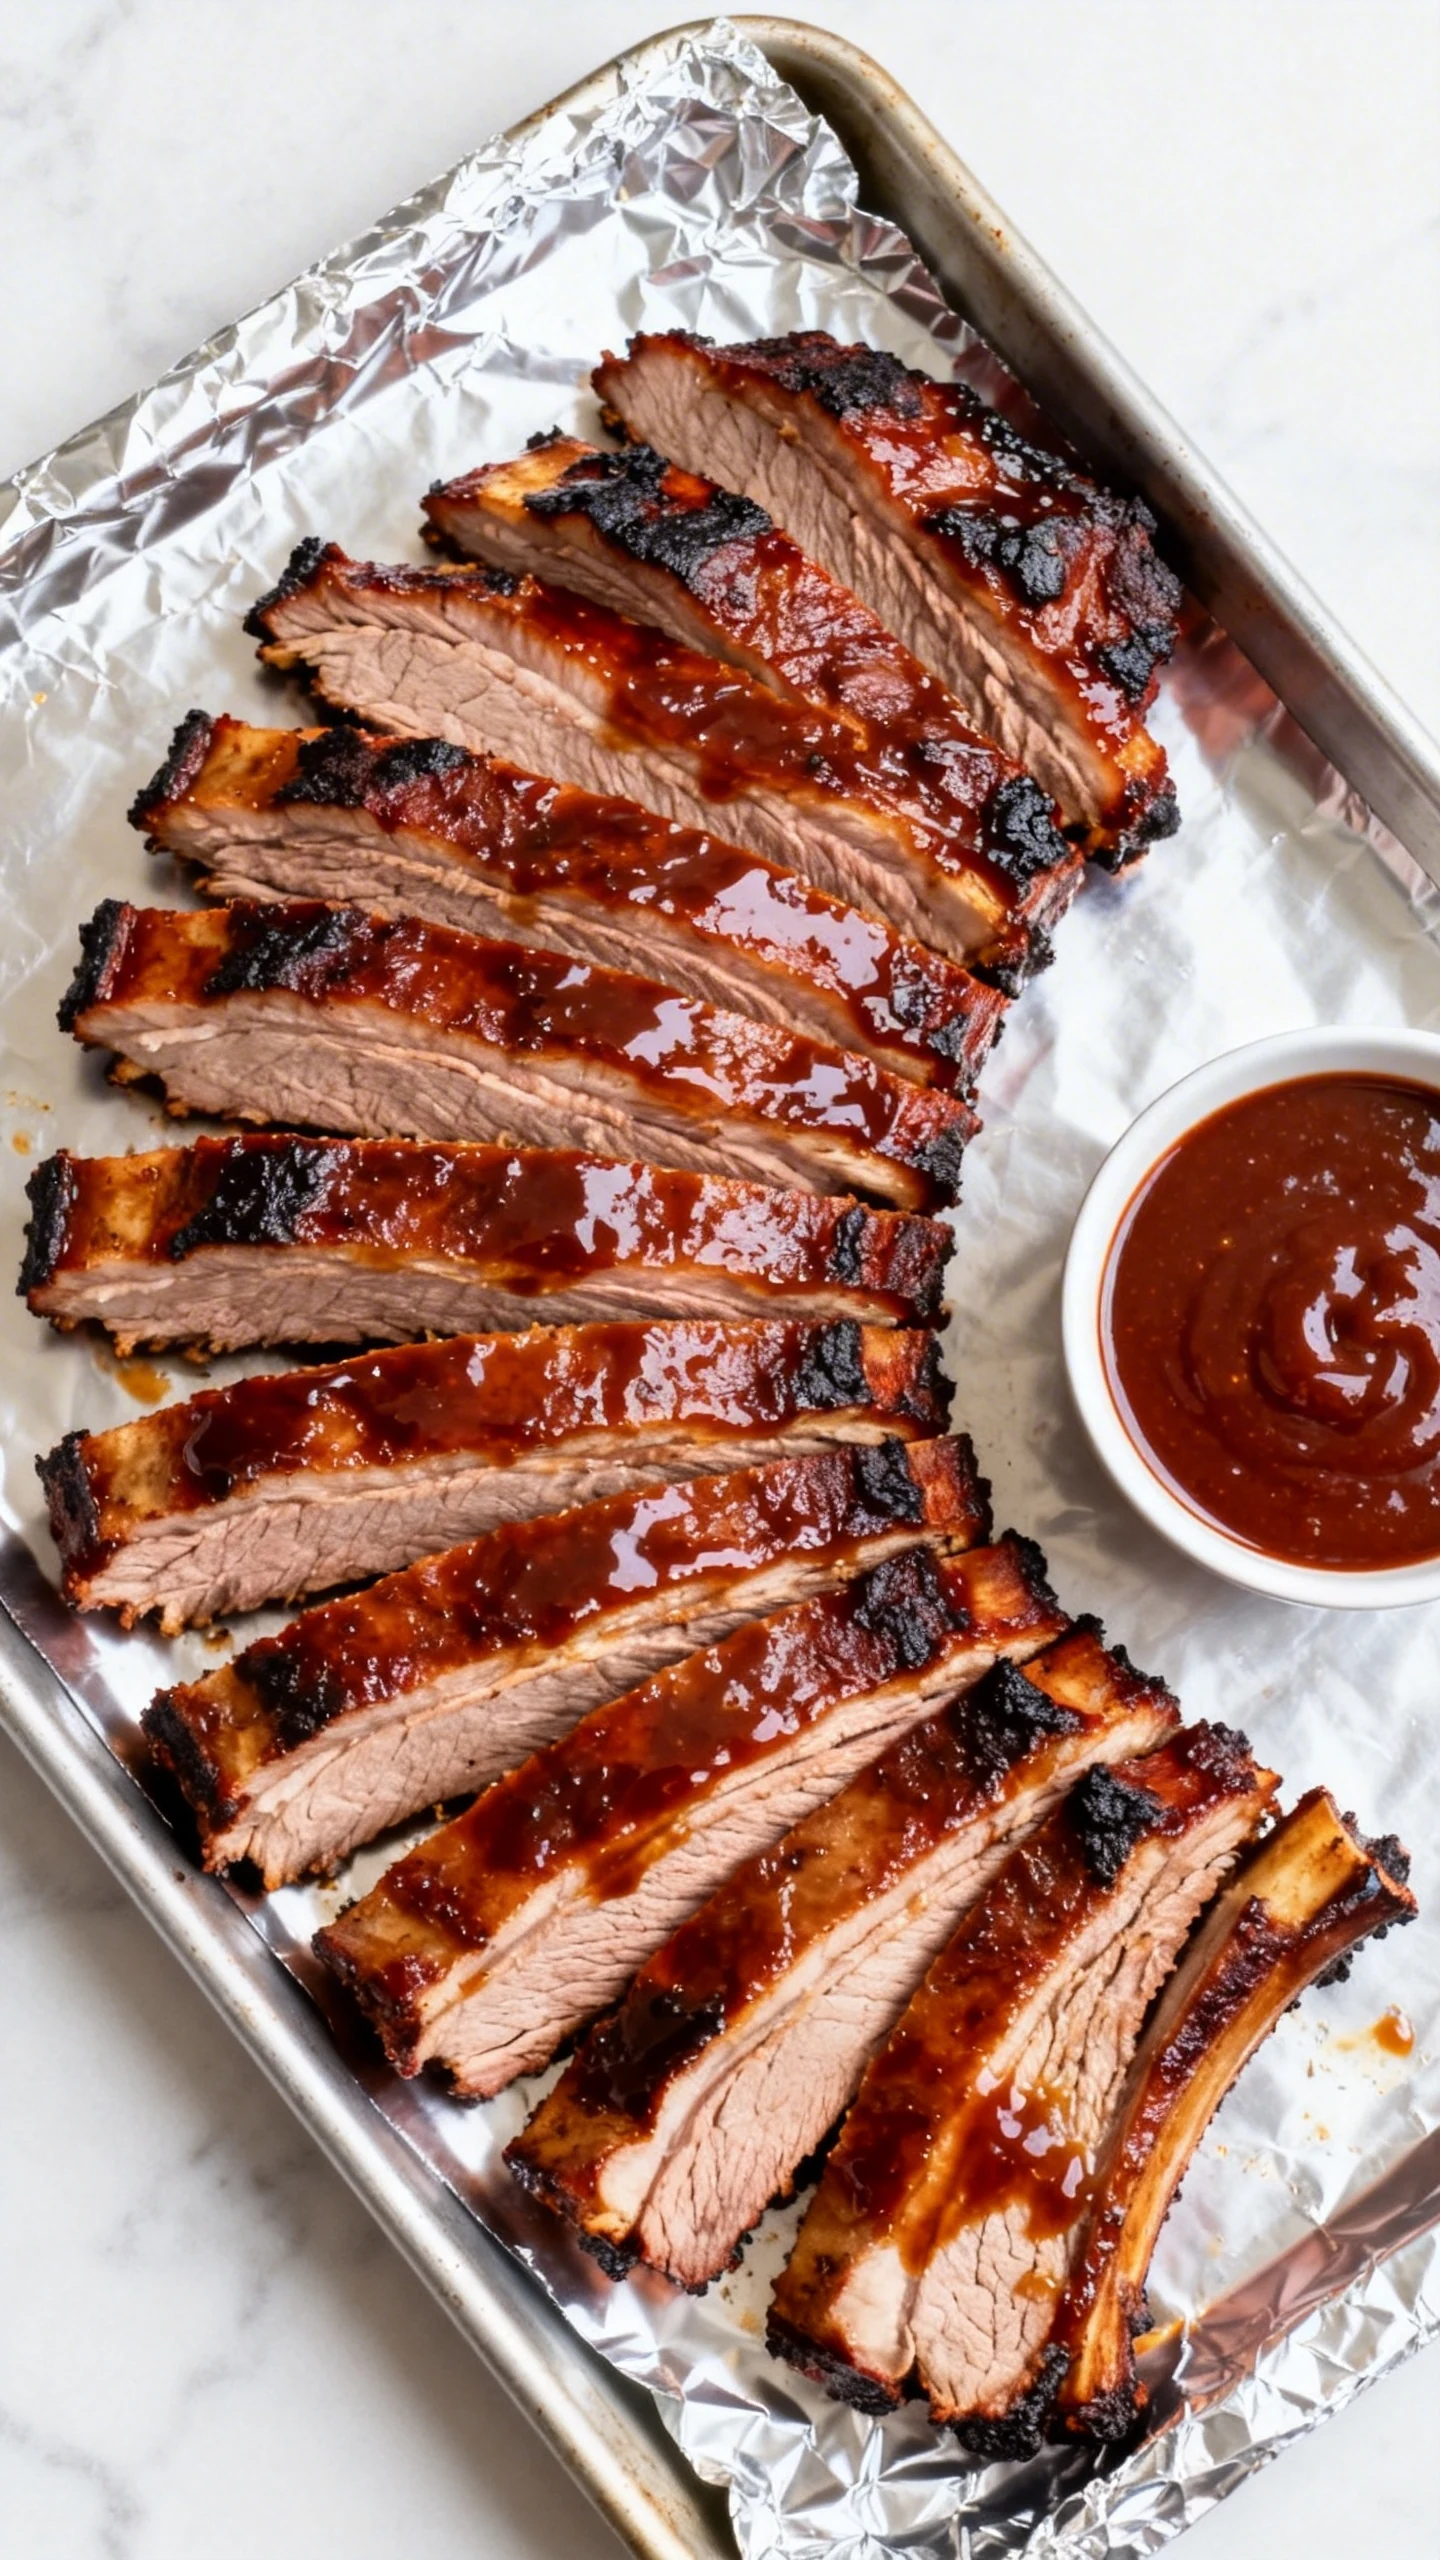
Rest, then slice. Rest 10 minutes so juices settle. Slice between bones and serve with extra sauce on the side, because IMO sauce should be optional, not mandatory.
How to Store
Cool leftovers to room temp, then wrap tightly or store in an airtight container. Refrigerate up to 4 days. The flavor gets even better on day two, which feels unfair to fresh ribs but we’ll allow it.
To reheat, cover with foil and warm at 300°F for 20 to 30 minutes until hot. Add a splash of water or apple juice before sealing the foil to keep them juicy. For a sticky finish, brush with sauce and uncover for the last 5 minutes.
To freeze, wrap portions in foil, then place in a freezer bag. Freeze up to 2 months for best texture. Thaw overnight in the fridge before reheating.
Nutritional Perks

Pork ribs deliver a solid hit of protein and key minerals like iron and zinc. If you pair them with fiber-rich sides like slaw, beans, or roasted veggies, you get a more balanced plate without losing the fun.
You control the sugar and sodium more than most restaurant versions. Choose a lower-sugar sauce or make your own blend, and you can keep the flavor loud without turning it into dessert with bones.
Avoid These Mistakes
-
Skipping the membrane removal. It turns leathery and blocks seasoning. Removing it takes one minute and saves the whole vibe.
-
Cooking too hot too soon. High heat early makes ribs tighten up. Start low, then finish hot for glaze.
-
Not sealing the foil. Leaky foil means dry ribs. Crimp edges tightly and double-wrap if needed.
-
Over-saucing at the start. Sauce contains sugar, and sugar burns. Add it late, in layers.
-
Cutting immediately. Slice too soon and juices run out. Resting is the difference between tender and “why is this dry?”
Alternatives
Want to tweak the flavor without rewriting your whole plan? Here are easy swaps that still deliver tender ribs and big taste.
-
Spicy version: Add more cayenne, plus a spoon of hot sauce mixed into the BBQ sauce. Finish with a squeeze of lime for punch.
-
Sweet and smoky: Use extra brown sugar in the rub and a smoky sauce. Add a pinch of ground cumin for that “what is that?” depth.
-
Dry-style finish: Skip sauce at the end and instead sprinkle a little extra rub and broil briefly. Serve sauce on the side for dipping.
-
Honey-garlic glaze: Mix BBQ sauce with honey and a little minced garlic. Brush on in the last 10 minutes only.
-
Make it tangier: Stir apple cider vinegar into the sauce and add a touch of mustard. This cuts richness and keeps bites lively.
FAQ
How long should ribs bake in the oven?
At 300°F, baby back ribs usually take about 2 hours wrapped, while St. Louis-style ribs often need 2 1/2 to 3 hours. The real test is tenderness: a toothpick should slide in easily between the bones.
Do I have to wrap ribs in foil?
You don’t have to, but wrapping makes them reliably tender and moist. If you skip foil, expect a longer cook time and more risk of drying out unless you manage humidity carefully.
How do I know when ribs are done without a thermometer?
Look for visual and texture cues: the meat pulls back slightly from bone ends, and a toothpick inserts with little resistance. You can also lift the rack with tongs; it should bend easily and start to crack on the surface.
Should I bake ribs meat side up or down?
Wrap them either way, but many cooks prefer meat side down in foil so the meat braises in its own juices. Once unwrapped for saucing, flip meat side up to glaze properly.
Can I make these ahead for a party?
Yes. Bake them wrapped until tender, then cool and refrigerate. Before serving, reheat covered at 300°F until hot, then sauce and finish at 425°F or under the broiler for that fresh, sticky exterior.
What’s the best BBQ sauce for oven ribs?
Use what you love, but aim for a sauce that balances sweet, tangy, and smoky. If your sauce is very sweet, thin it slightly with vinegar so it doesn’t scorch during the high-heat finish.
In Conclusion
These ribs prove you don’t need a smoker to get serious results. Low heat builds tenderness, foil locks in moisture, and a hot finish gives you that sticky, finger-licking glaze that makes napkins look optional.
Keep the method, customize the rub and sauce, and you’ll have a repeatable win anytime cravings hit. Because honestly, the only thing better than great ribs is realizing you can make them whenever you want.