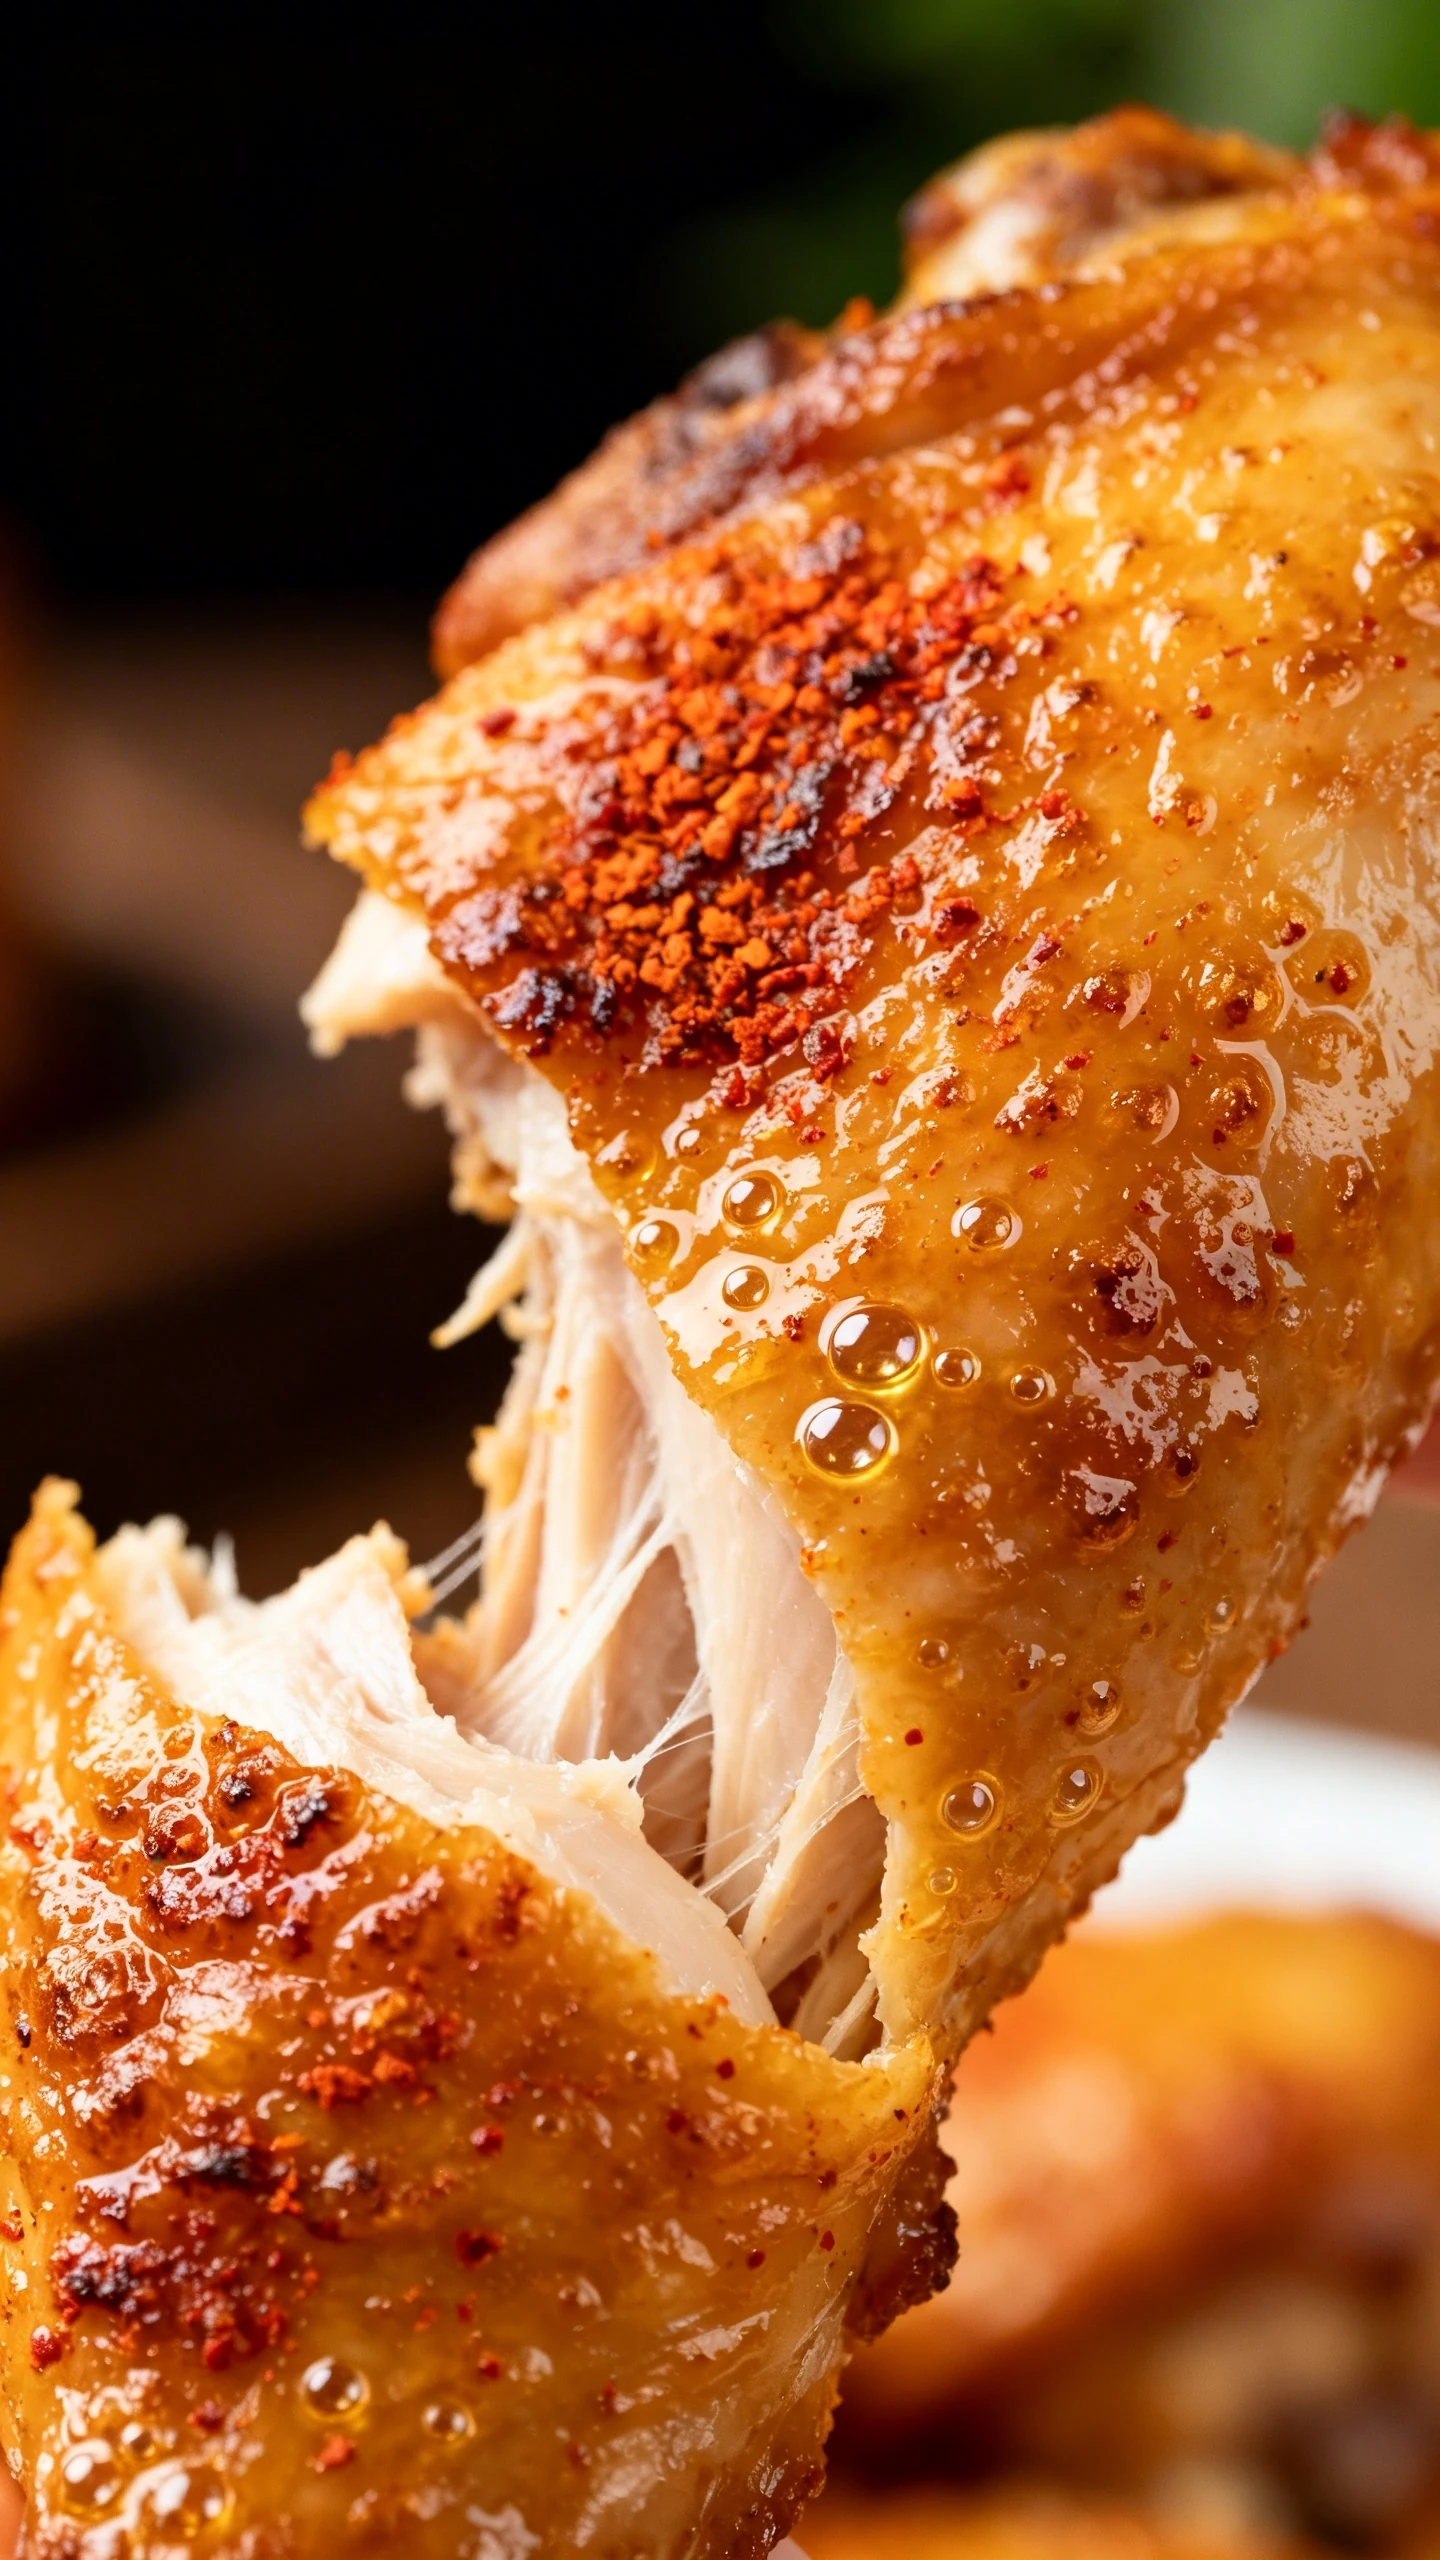
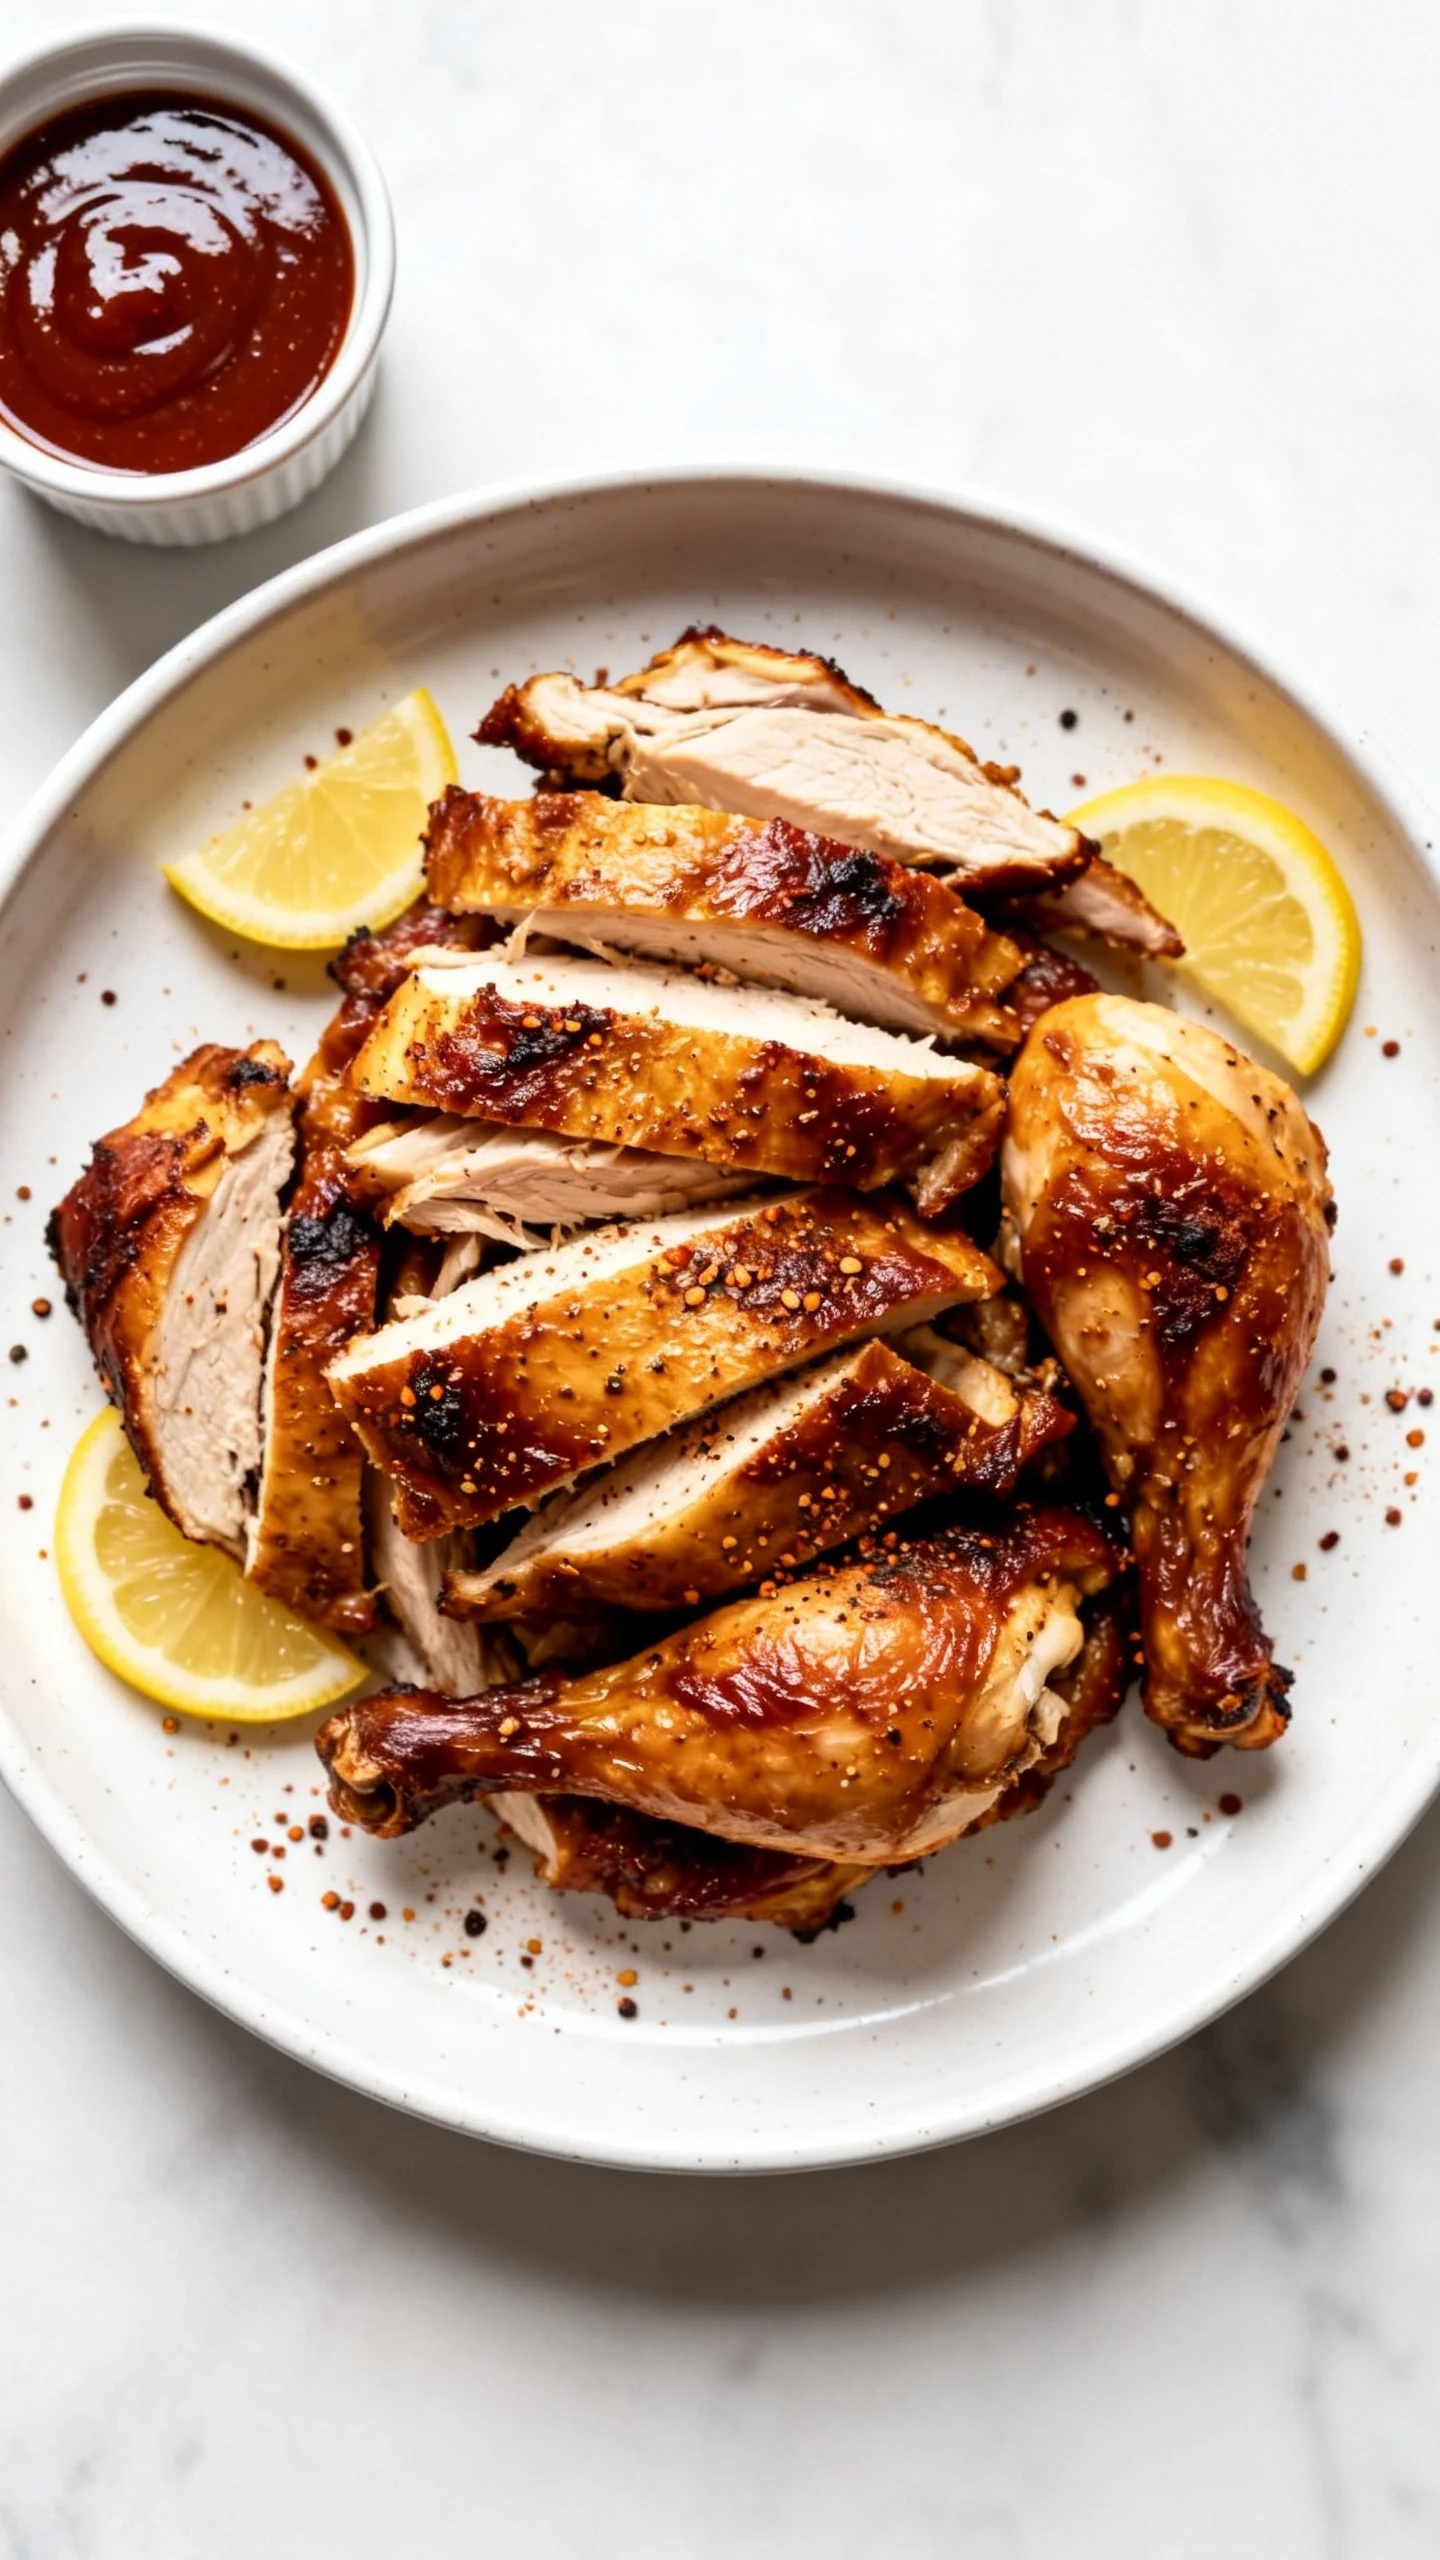
Juicy, smoky, crisp-skinned chicken with a simple rub and steady heat, built for backyard wins without babysitting the grill.
You know that moment when everyone “just wants a bite” and then suddenly your platter looks robbed? That’s the goal. This is the kind of chicken that smells expensive, tastes unfairly good, and makes you look like you’ve been practicing for years. The trick isn’t some mystical pitmaster chant. It’s a repeatable system: dry skin, balanced seasoning, and controlled fire.
Most people fail because they treat a whole chicken like a big breast with legs attached. They blast heat, panic-flip it, and wonder why it’s dry. We’re doing the opposite: we’ll set you up for juicy meat, bite-through skin, and that smoky “wait, what did you put in this?” reaction. Ready to become a problem at every cookout?
The Secret Behind This Recipe

The “secret” is not a secret ingredient. It’s temperature management plus skin prep. If the skin stays wet, it turns rubbery. If the heat swings wildly, the breast dries out before the legs finish.
We fix both with three moves: a quick dry-brine to season deeply and dry the surface, a two-zone fire to cook evenly, and a short high-heat finish to crisp the skin. That’s it. No magic, just physics doing you a favor.
One more edge: we aim for dark meat to reach the right tenderness, not just “safe.” Legs taste best closer to 175–185°F, while breast stays happiest around 155–165°F. The method below gets you both without stress.
Shopping List – Ingredients
- 1 whole chicken (3.5 to 5 pounds), giblets removed
- 1 to 1 1/2 tablespoons kosher salt (adjust for size)
- 2 tablespoons brown sugar
- 1 tablespoon paprika (smoked paprika if you want extra smoky flavor)
- 2 teaspoons black pepper
- 1 teaspoon garlic powder
- 1 teaspoon onion powder
- 1/2 teaspoon ground cumin
- 1/4 to 1/2 teaspoon cayenne (optional)
- 1 tablespoon baking powder (aluminum-free preferred)
- 1 tablespoon neutral oil (avocado or canola)
- 2 tablespoons unsalted butter, melted (optional but excellent)
- 1 lemon, halved
- 4 to 6 sprigs fresh thyme or rosemary (optional)
- Wood chunks or chips for smoke (hickory, apple, cherry, or pecan)
- BBQ sauce (optional, for glazing at the end)
The Method – Instructions
-
Dry it like you mean it. Pat the chicken very dry with paper towels, inside and out. Moisture is the enemy of crisp skin, and it loves showing up uninvited.
-
Spatchcock for faster, juicier cooking. Cut out the backbone with kitchen shears, flip the bird, and press down on the breastbone to flatten. This helps everything cook evenly and makes you look oddly competent.
-
Mix the rub. Combine kosher salt, brown sugar, paprika, pepper, garlic powder, onion powder, cumin, cayenne, and baking powder. The baking powder helps the skin crisp without tasting like science.
-
Season under and over the skin. Gently loosen the skin over the breast and thighs with your fingers. Sprinkle a little rub underneath, then coat the outside evenly. Finish with a light brush of oil to help browning.
-
Dry-brine in the fridge. Place the chicken on a rack over a sheet pan and refrigerate uncovered for at least 4 hours, ideally overnight. This step upgrades flavor and skin texture more than most people want to admit.
-
Set up a two-zone grill. For charcoal, bank coals to one side. For gas, light one side and leave the other off. Add a drip pan on the cool side if you want easy cleanup.
-
Add smoke the smart way. Toss 1 to 2 wood chunks onto the coals, or use a smoker box on gas. You want steady smoke, not a bonfire audition.
-
Preheat to 325–350°F. Stabilize the grill temperature before the chicken goes on. Cooking is easier when you don’t negotiate with chaos.
-
Place chicken on the cool side, skin-side up. Keep it indirect. Close the lid and let the grill do its job. Resist the urge to poke it every 3 minutes. FYI, that’s not “checking,” that’s sabotaging.
-
Cook until the breast hits 155–160°F. Start checking around 40 minutes, then every 10–15 minutes. Most spatchcocked chickens finish in 50–75 minutes depending on size and grill behavior.
-
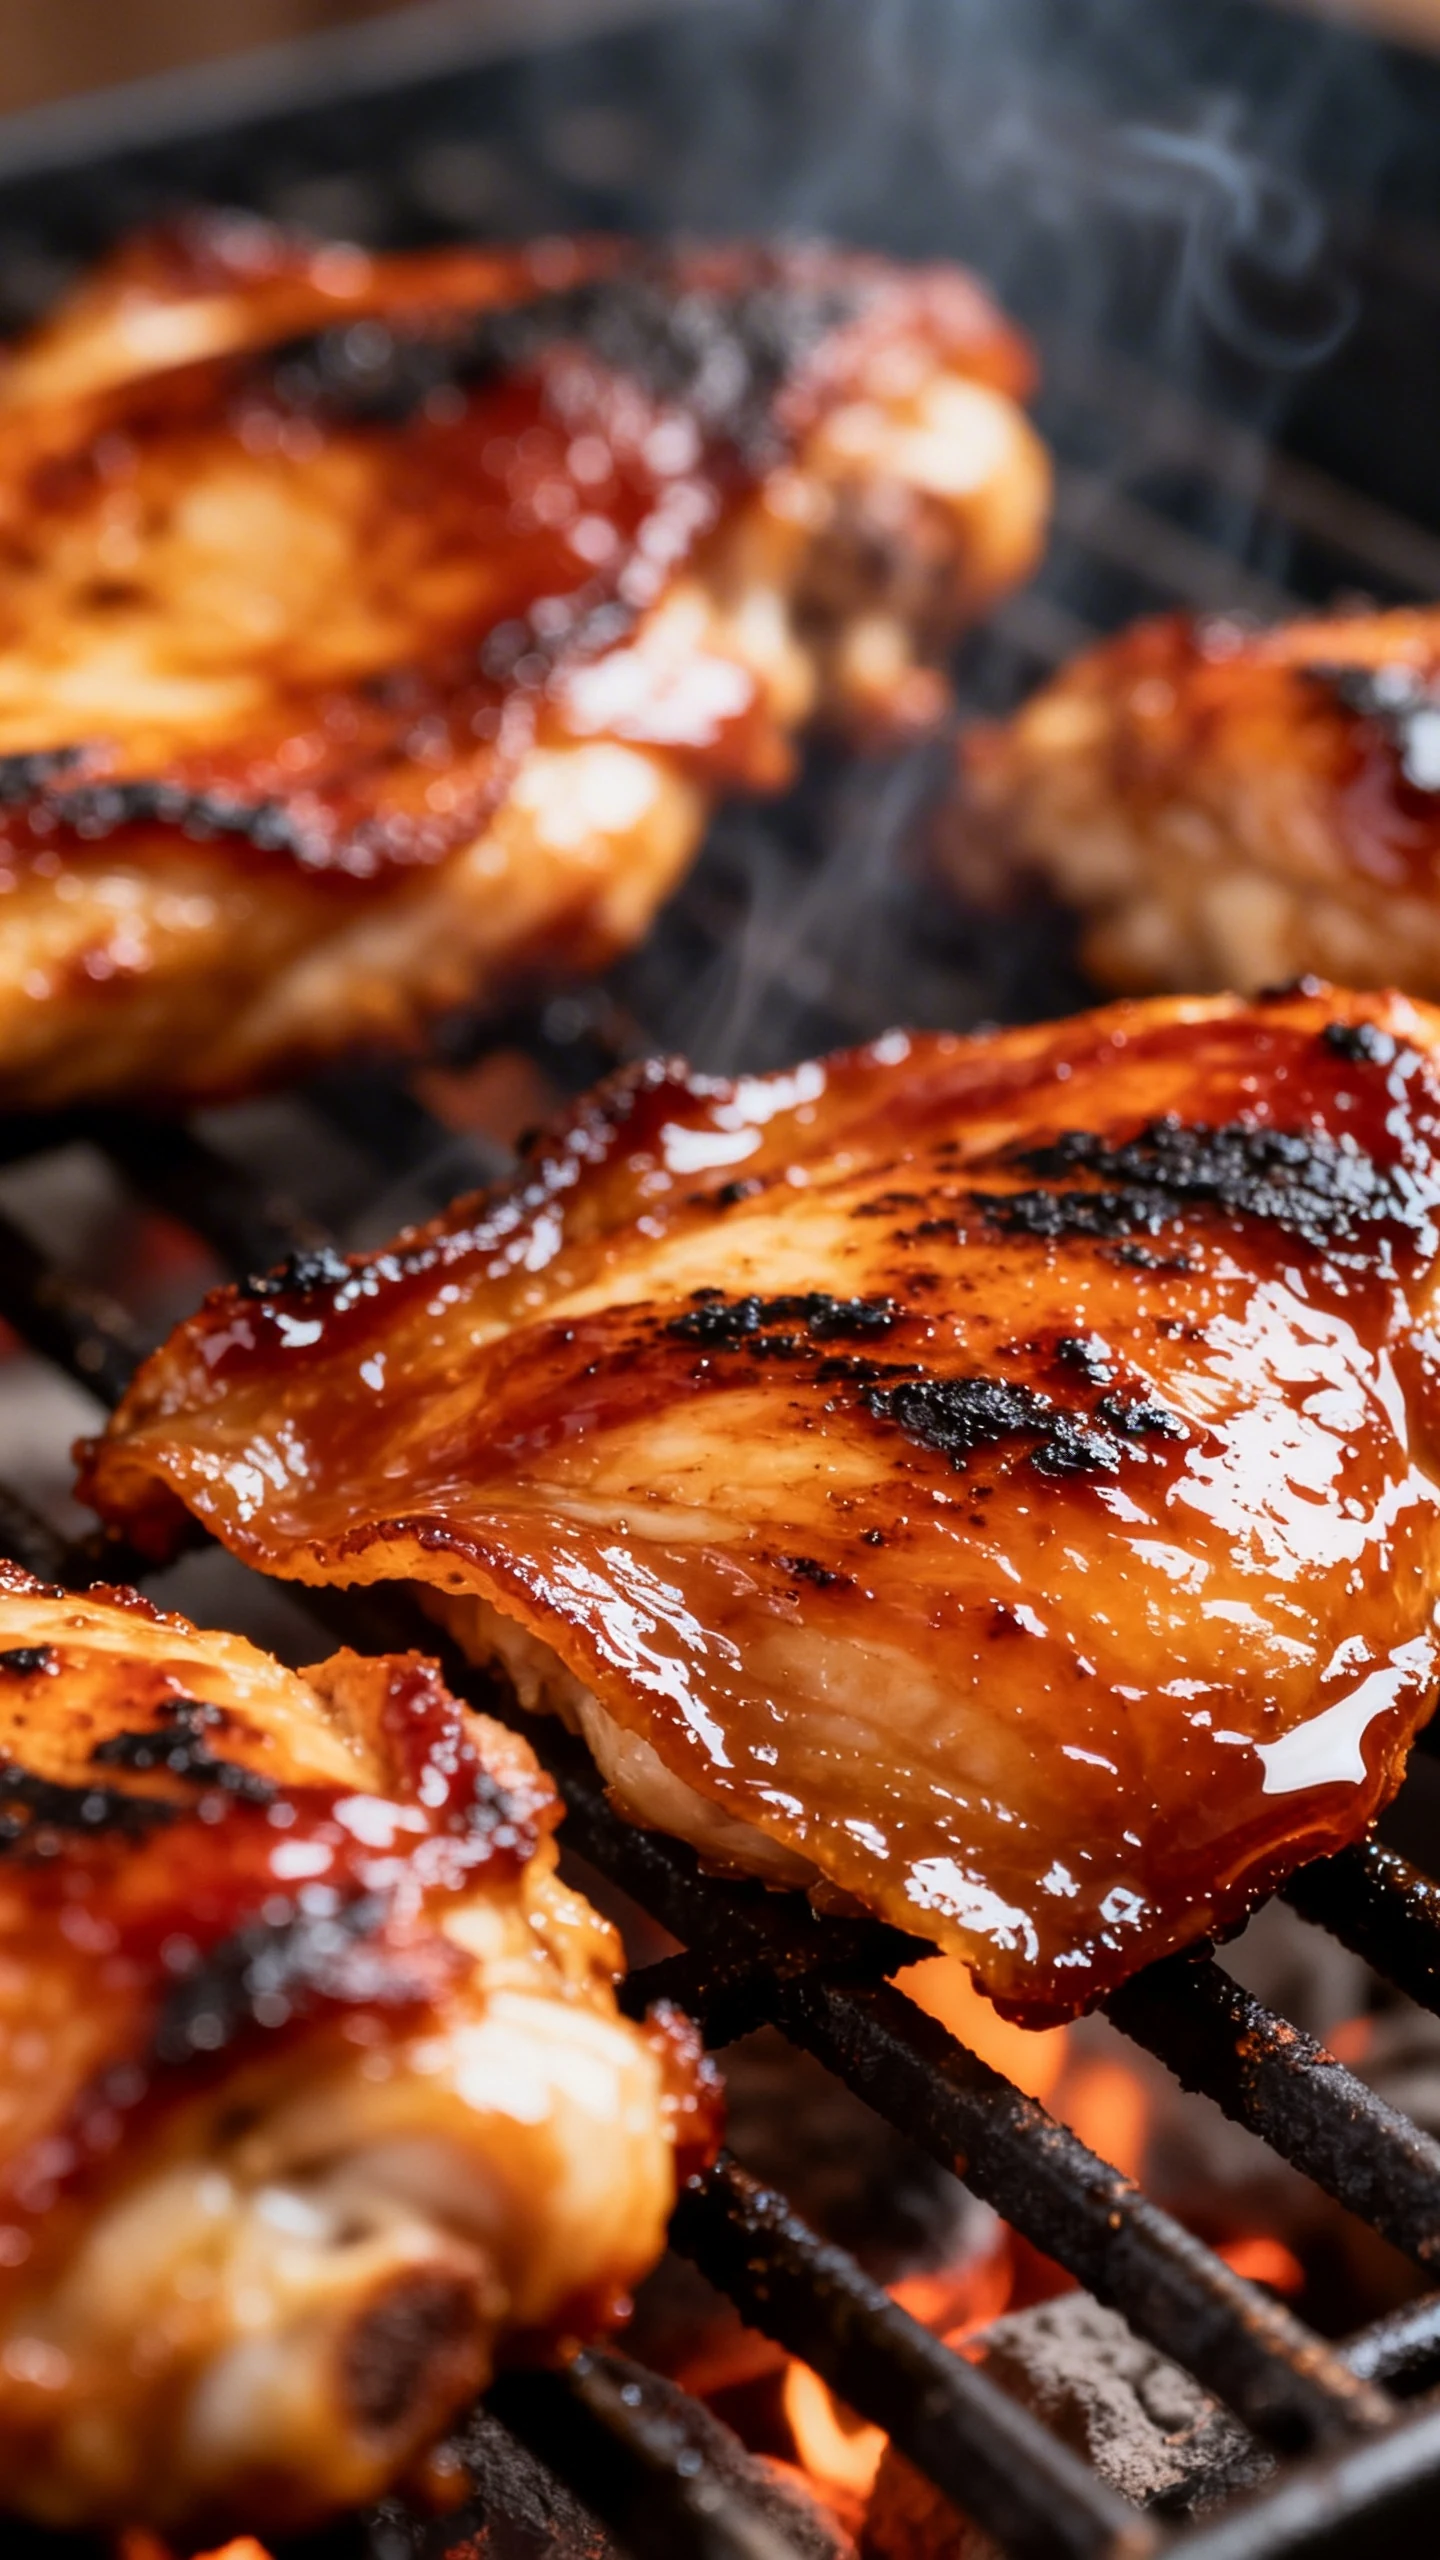
Crisp the skin over direct heat. Move the chicken over the hot side for 2–5 minutes, watching closely. Flip if needed to avoid scorching. You want deep golden, not “campfire regret.”
-
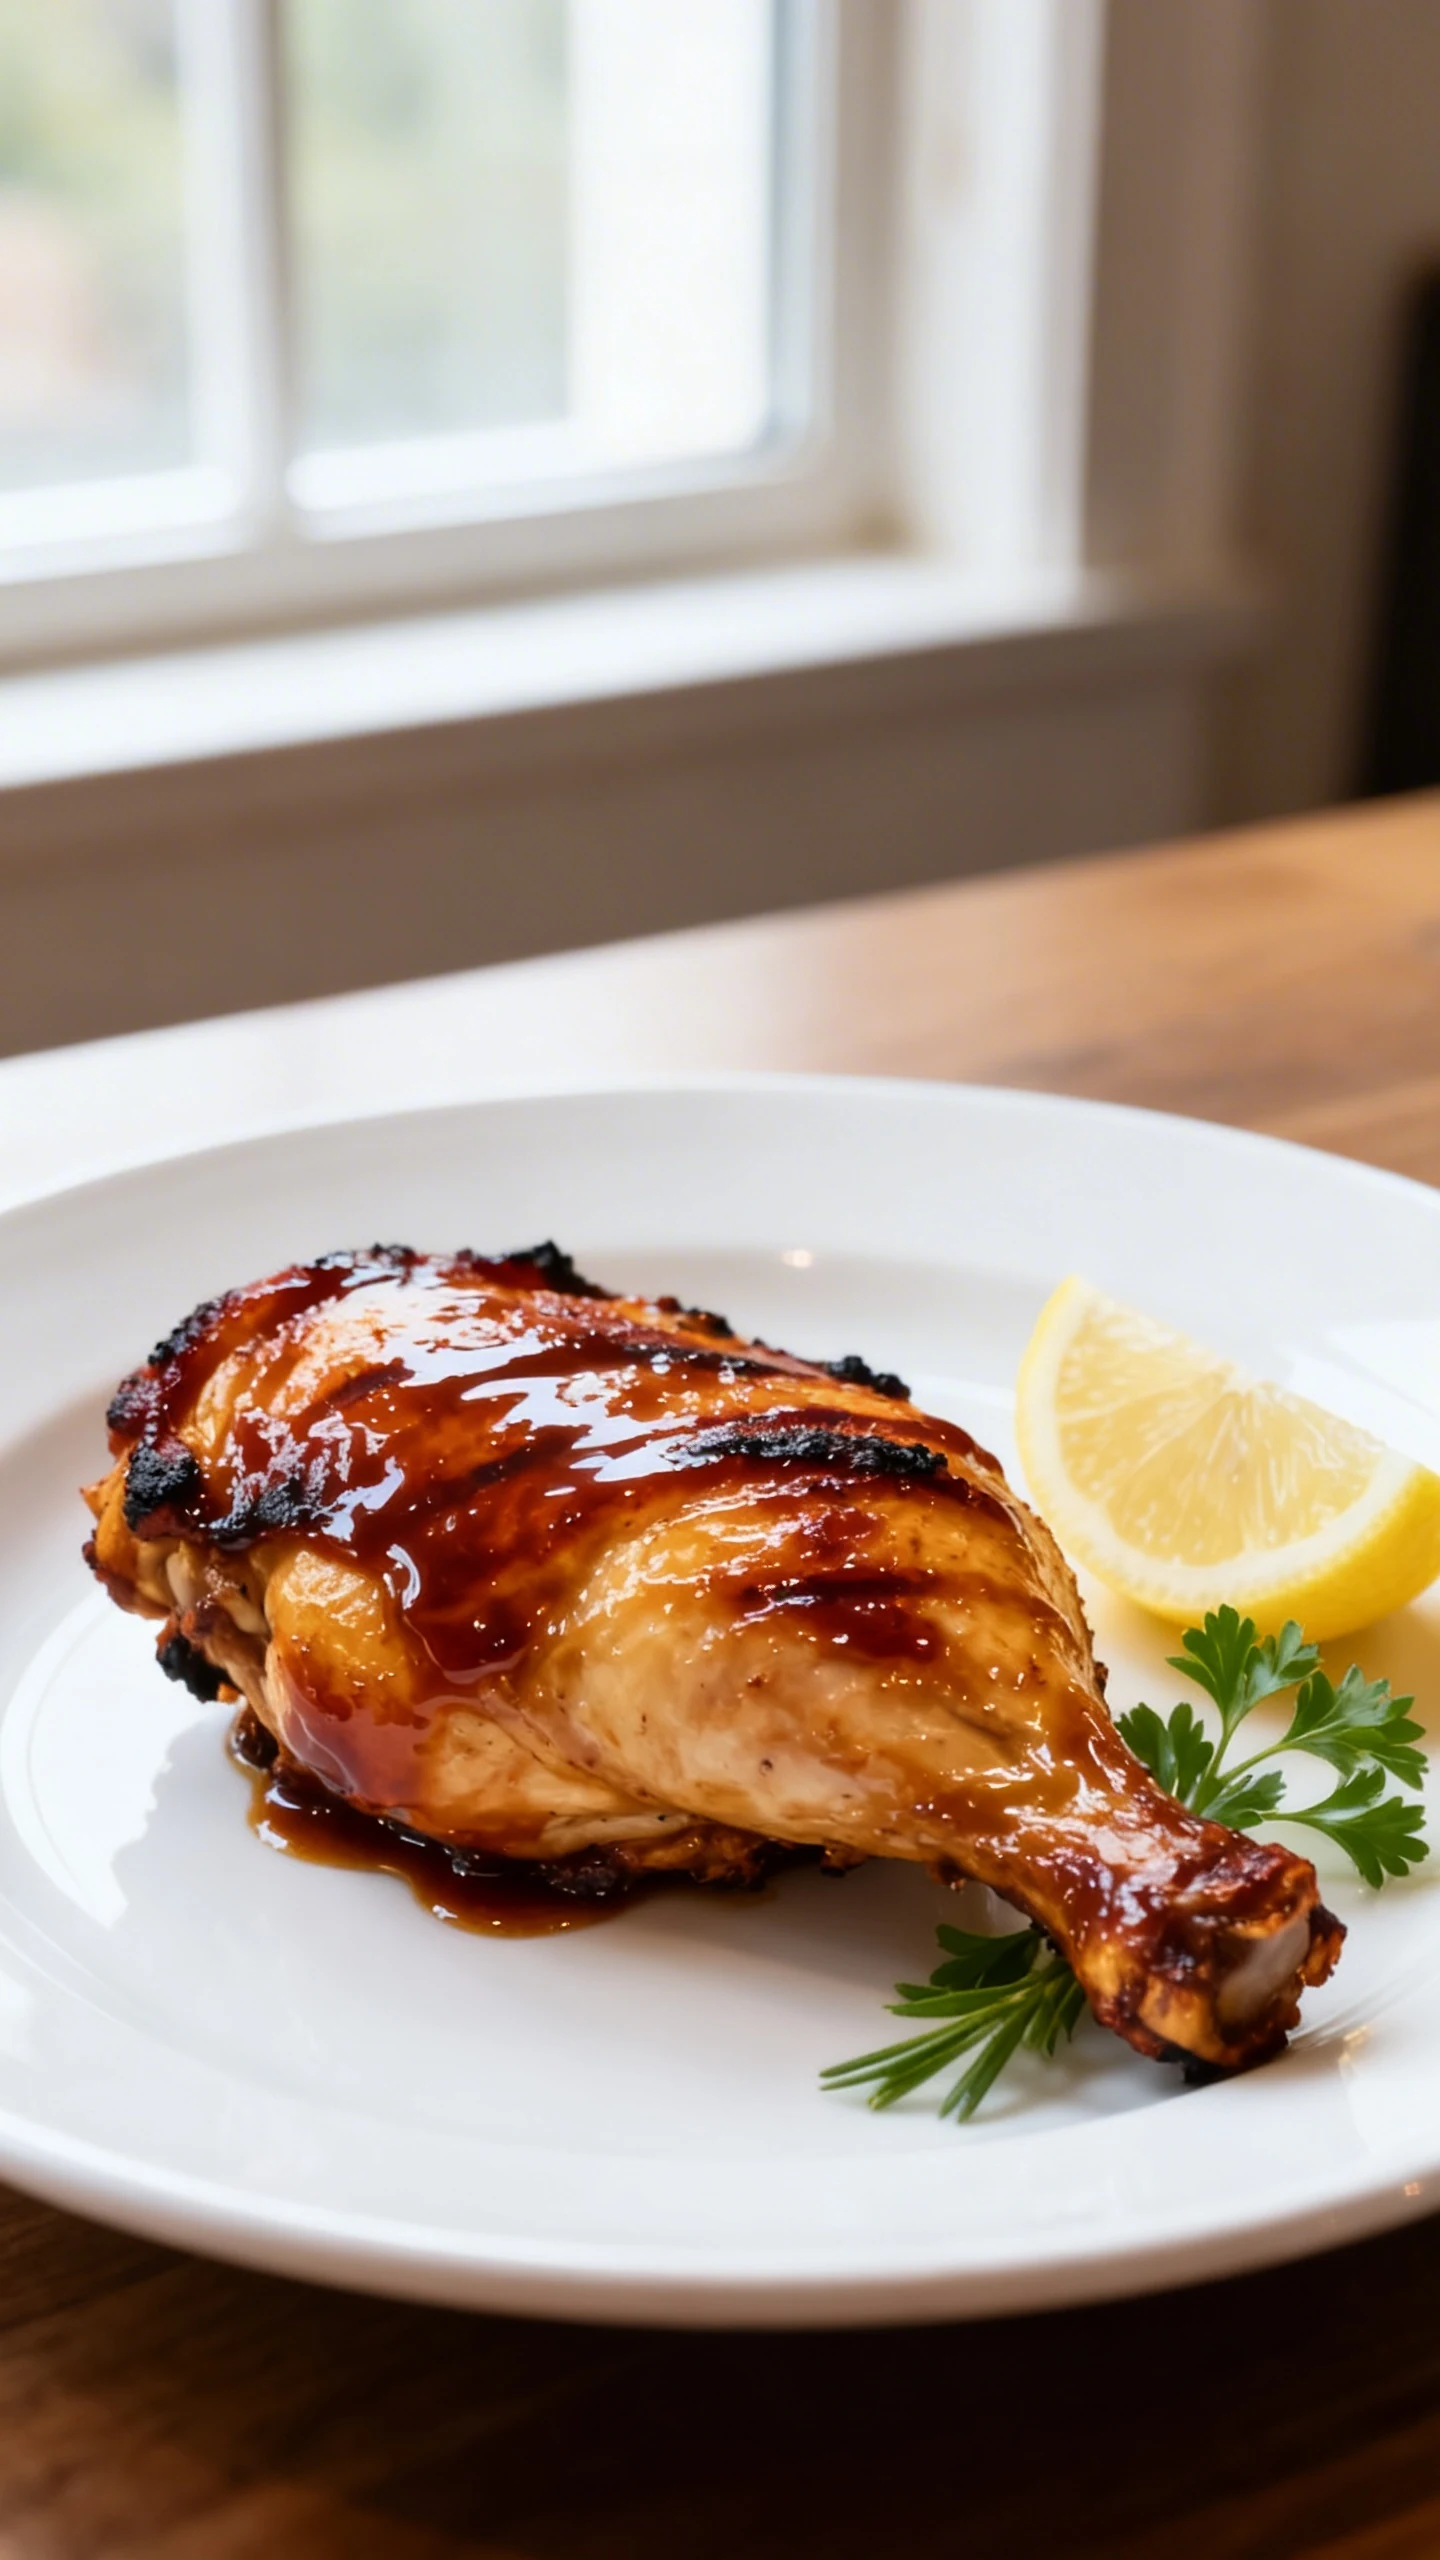
Optional: glaze with sauce at the end. Brush on BBQ sauce during the last 3–5 minutes only. Sauce early equals burnt sugar armor, and nobody asked for that.
-
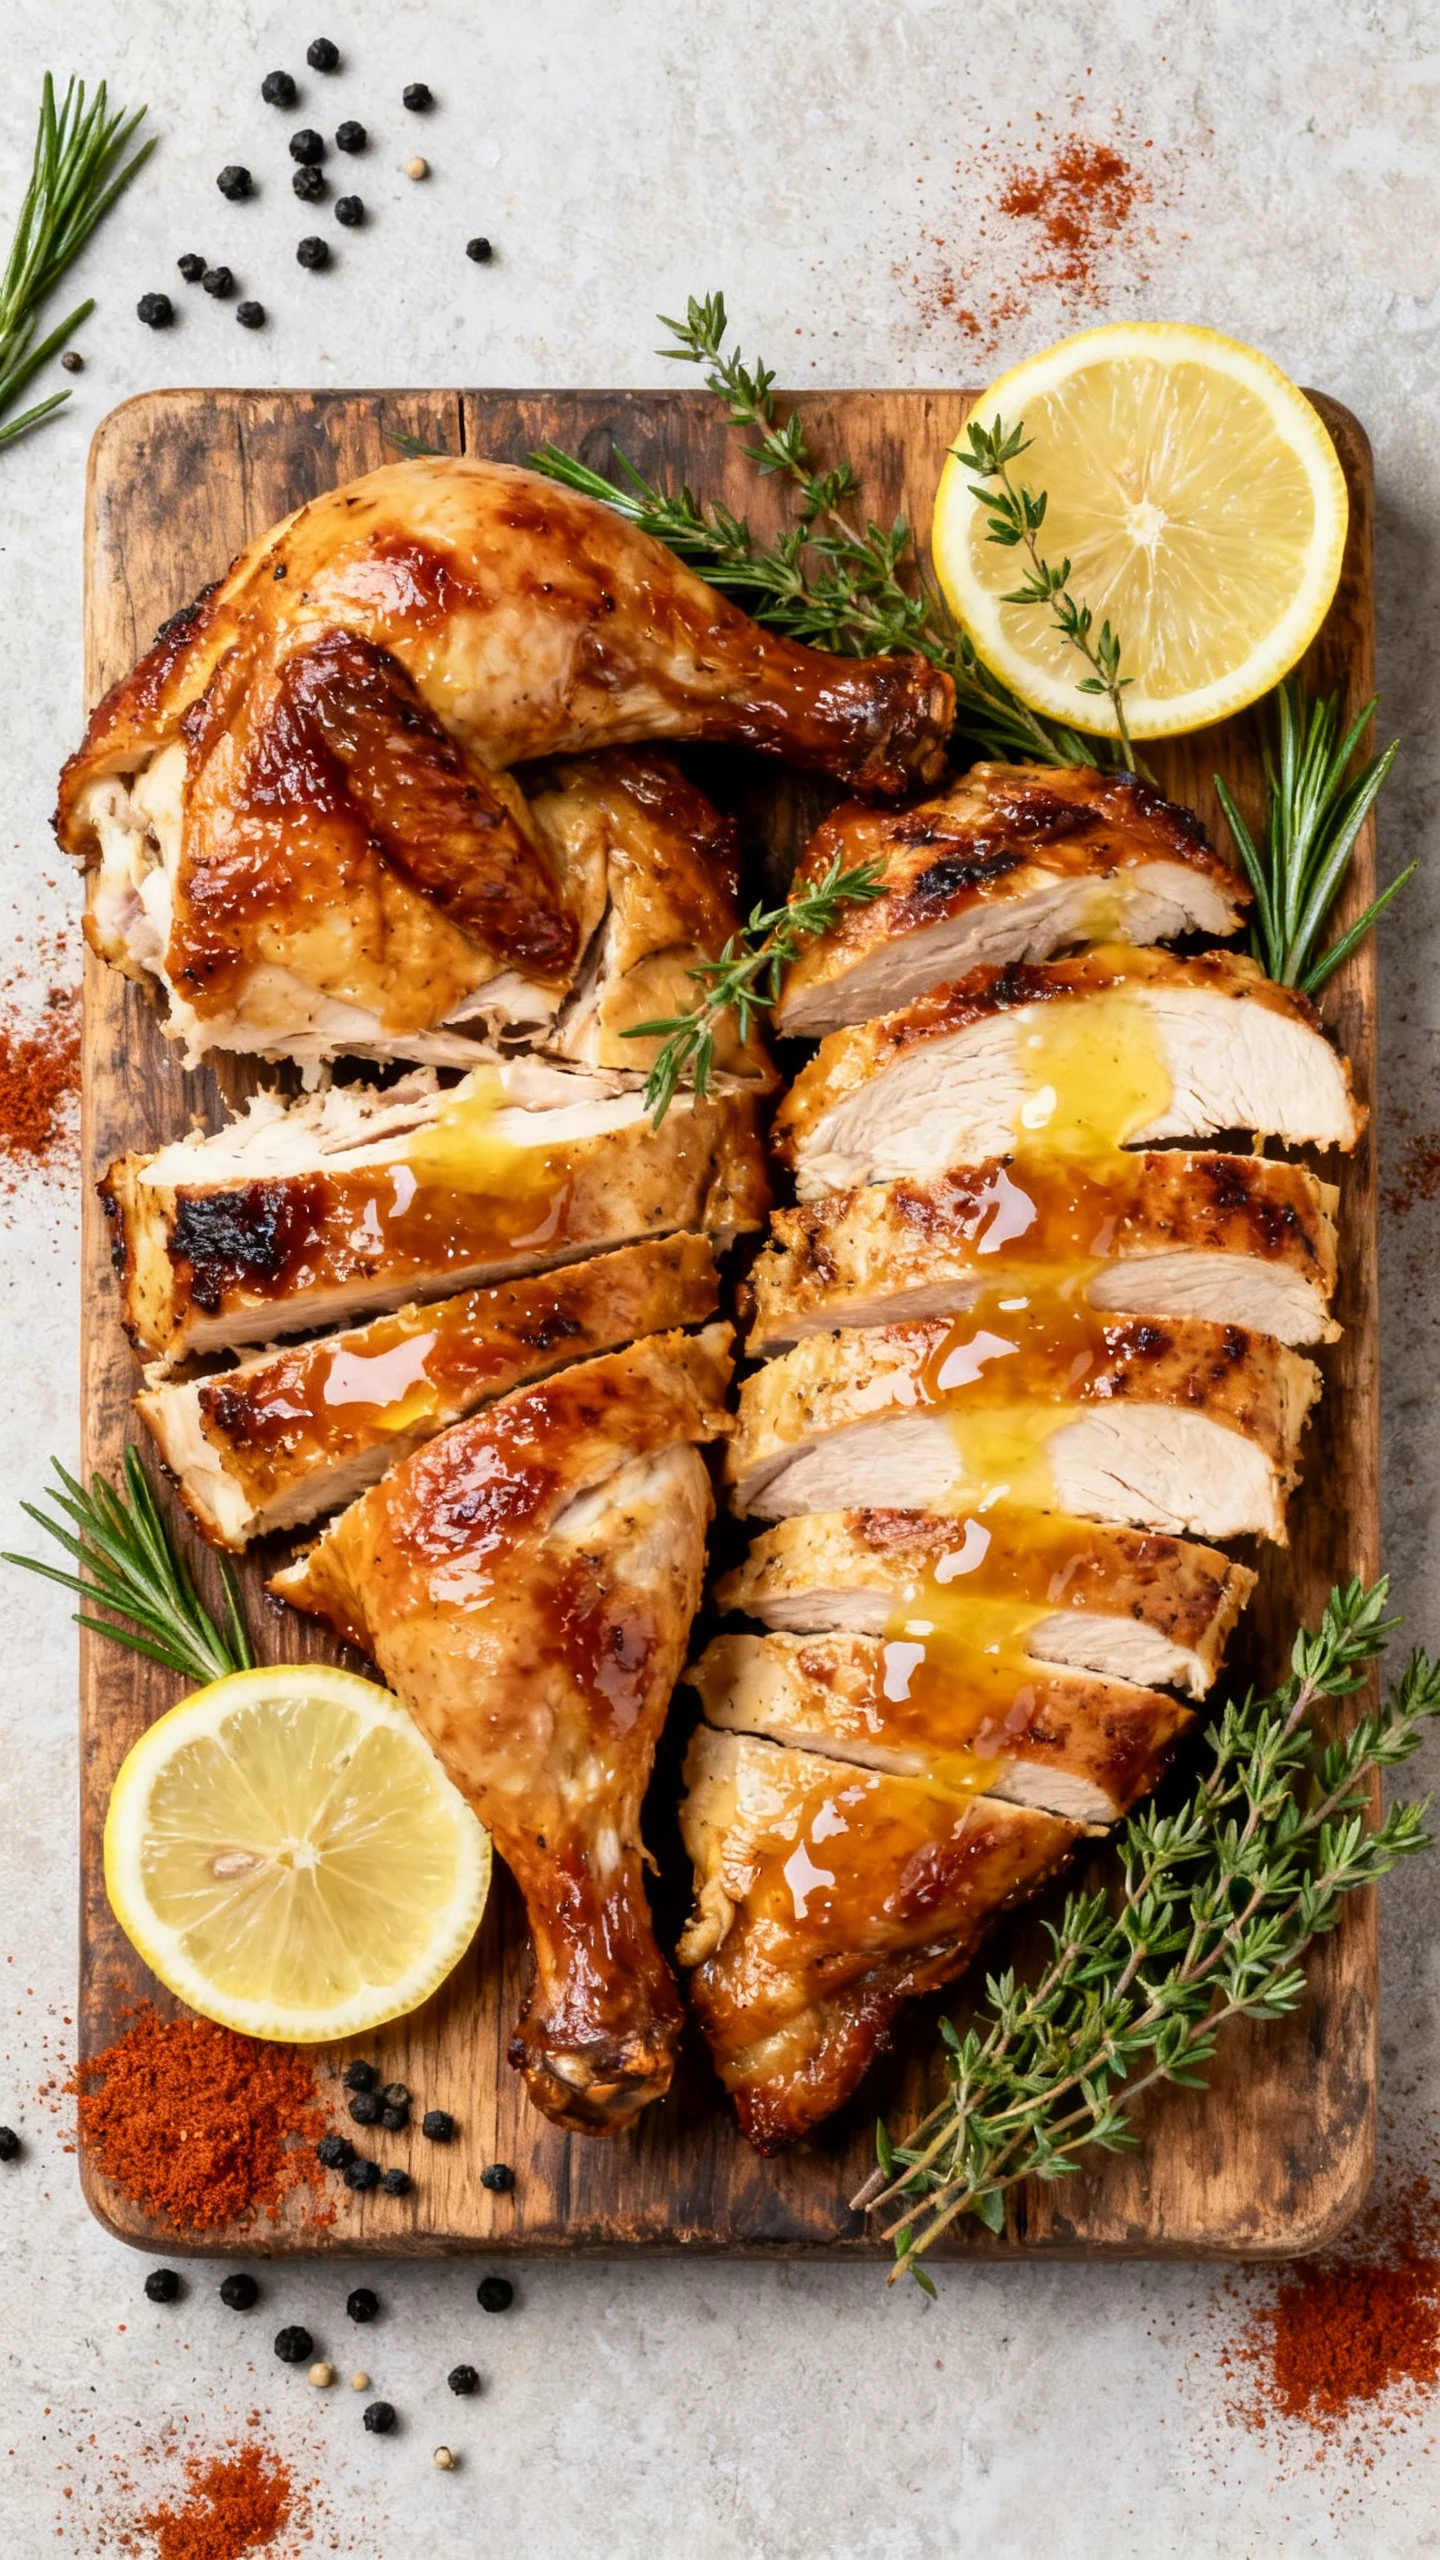
Rest, then carve. Rest 10–15 minutes. Squeeze the lemon over it, add herbs if you’re feeling fancy, and carve into quarters or slices. The rest keeps juices where they belong: in the meat, not on your cutting board.
Storage Instructions
Cool leftovers quickly, then store in an airtight container in the refrigerator for up to 4 days. If you can, store meat off the bone for faster reheating and easier snacking.
For freezing, wrap tightly or use freezer bags with as much air removed as possible. Freeze for up to 3 months. Label it, unless you enjoy mystery meat roulette.
To reheat, use a 325°F oven until warmed through, or a covered skillet with a splash of water or stock. If you want the skin to crisp again, uncover for the last few minutes or finish under the broiler briefly.
Benefits of This Recipe
-
High payoff for low effort. A whole chicken feeds a crowd and looks impressive without requiring a culinary degree.
-
Juicy breast and tender legs. The two-zone approach helps you hit the sweet spot for both white and dark meat.
-
Better flavor than store-bought rotisserie. Fresh smoke plus a real rub beats “vaguely seasoned” any day, IMO.
-
Flexible finish. Serve it dry-rub style, sauce-glazed, or with a squeeze of lemon for a lighter vibe.
-
Meal prep hero. Leftovers become tacos, salads, sandwiches, and soups with almost zero extra work.
Pitfalls to Watch Out For
-
Skipping the dry-brine. You’ll still get cooked chicken, but the skin won’t crisp the same and the seasoning won’t penetrate as well.
-
Running the grill too hot. High heat burns skin before the inside finishes. Slow down. You’re not racing anyone.
-
Using sauce too early. Sugar burns fast. Glaze late or keep sauce on the side.
-
Not using a thermometer. Guessing doneness is a hobby, not a strategy. A quick-read thermometer ends drama.
-
Over-smoking. More smoke does not equal more delicious. Thin, steady smoke wins; thick white smoke tastes like licking a log.
Different Ways to Make This
Once you nail the core method, you can swap flavors endlessly without changing the cooking logic. Keep the heat steady, keep it indirect, and finish with a crisping blast.
-
Classic sweet heat. Add extra brown sugar and a touch more cayenne, then glaze with a spicy-sweet sauce.
-
Herb-lemon “grill roast” style. Skip the brown sugar, add more black pepper, lemon zest, and lots of thyme or rosemary.
-
Carolina-ish tang. Season as written, then finish with a thin vinegar-pepper sauce instead of a thick glaze.
-
Jerk-inspired. Add allspice, cinnamon, and a bit of ginger, then serve with lime and a bright slaw.
-
Butter-basted finish. Brush melted butter during the last 10 minutes for deeper browning and extra richness.
FAQ
Do I have to spatchcock the chicken?
No, but it helps a lot. A flattened bird cooks faster and more evenly, which means juicier breast meat and fewer “why is this part raw?” moments. If you keep it whole, expect a longer cook and consider rotating the bird to balance heat exposure.
What grill temperature should I aim for?
Keep the grill around 325–350°F for most of the cook. This range renders fat, browns the skin, and cooks the meat through without drying it out. You can finish hotter for a short burst to crisp the skin.
How much smoke flavor should I add?
Start with 1 to 2 chunks of wood for charcoal, or a small handful of chips in a smoker box for gas. The chicken takes smoke quickly, especially early on. If you can smell clean, slightly sweet smoke, you’re in the right zone.
When do I pull the chicken off the grill?
Pull it when the breast reaches 155–160°F and the thighs are at least 170°F. After resting, temperatures rise a bit and the juices redistribute. If your thighs hit 180°F and the breast stays in range, you just won.
Can I make this without BBQ sauce?
Absolutely. The rub and smoke deliver plenty of flavor on their own. Serve sauce on the side so everyone can choose their own adventure, and your crispy skin won’t get soggy.
What’s the best way to keep the skin crispy?
Dry-brine uncovered in the fridge, pat the skin dry before cooking if it looks damp, and avoid basting with watery liquids mid-cook. Save any glaze for the final minutes. Crisp skin hates moisture like it pays rent.
What should I serve with it?
Go classic with coleslaw, grilled corn, and potato salad, or keep it lighter with a chopped salad and roasted veggies. If you want maximum applause, add a tangy side to balance the smoky richness.
Final Thoughts
This recipe doesn’t ask you to “wing it.” It gives you a simple framework that works: dry the skin, season boldly, cook indirect with steady heat, then crisp at the end. Once you do it once, you’ll stop buying dry chicken and pretending it’s “fine.”
Make it for a crowd, or make it for yourself and enjoy leftovers that actually taste better than your weekday plans. Keep the thermometer handy, keep the smoke clean, and let the grill do the heavy lifting. Next cookout, expect compliments and suspicious questions.