Tender, smoky, sticky perfection with simple prep, bold flavor, and crowd winning results for weekends or game day.
You know that moment when a platter hits the table and everyone suddenly forgets how to act? That is what happens with ribs done right. Not dry, not chewy, not drowning in sauce to hide mistakes. Just juicy, smoky meat with a glossy finish that makes people hover near the grill like it is a live event.
The best part is that great ribs are not reserved for pitmasters with a trailer smoker and a branded apron. You can make them at home with a smart method, a balanced rub, and enough patience to avoid poking them every five minutes. IMO, ribs reward calm more than talent. Give them time, and they pay you back hard.
This recipe leans into that sweet spot between backyard comfort and serious flavor. You get a bark that tastes deep and savory, meat that bites cleanly off the bone, and sauce that caramelizes instead of burning into sugary sadness. If your goal is to impress people without acting like you trained in Texas for six years, this is your move.
What Makes This Special
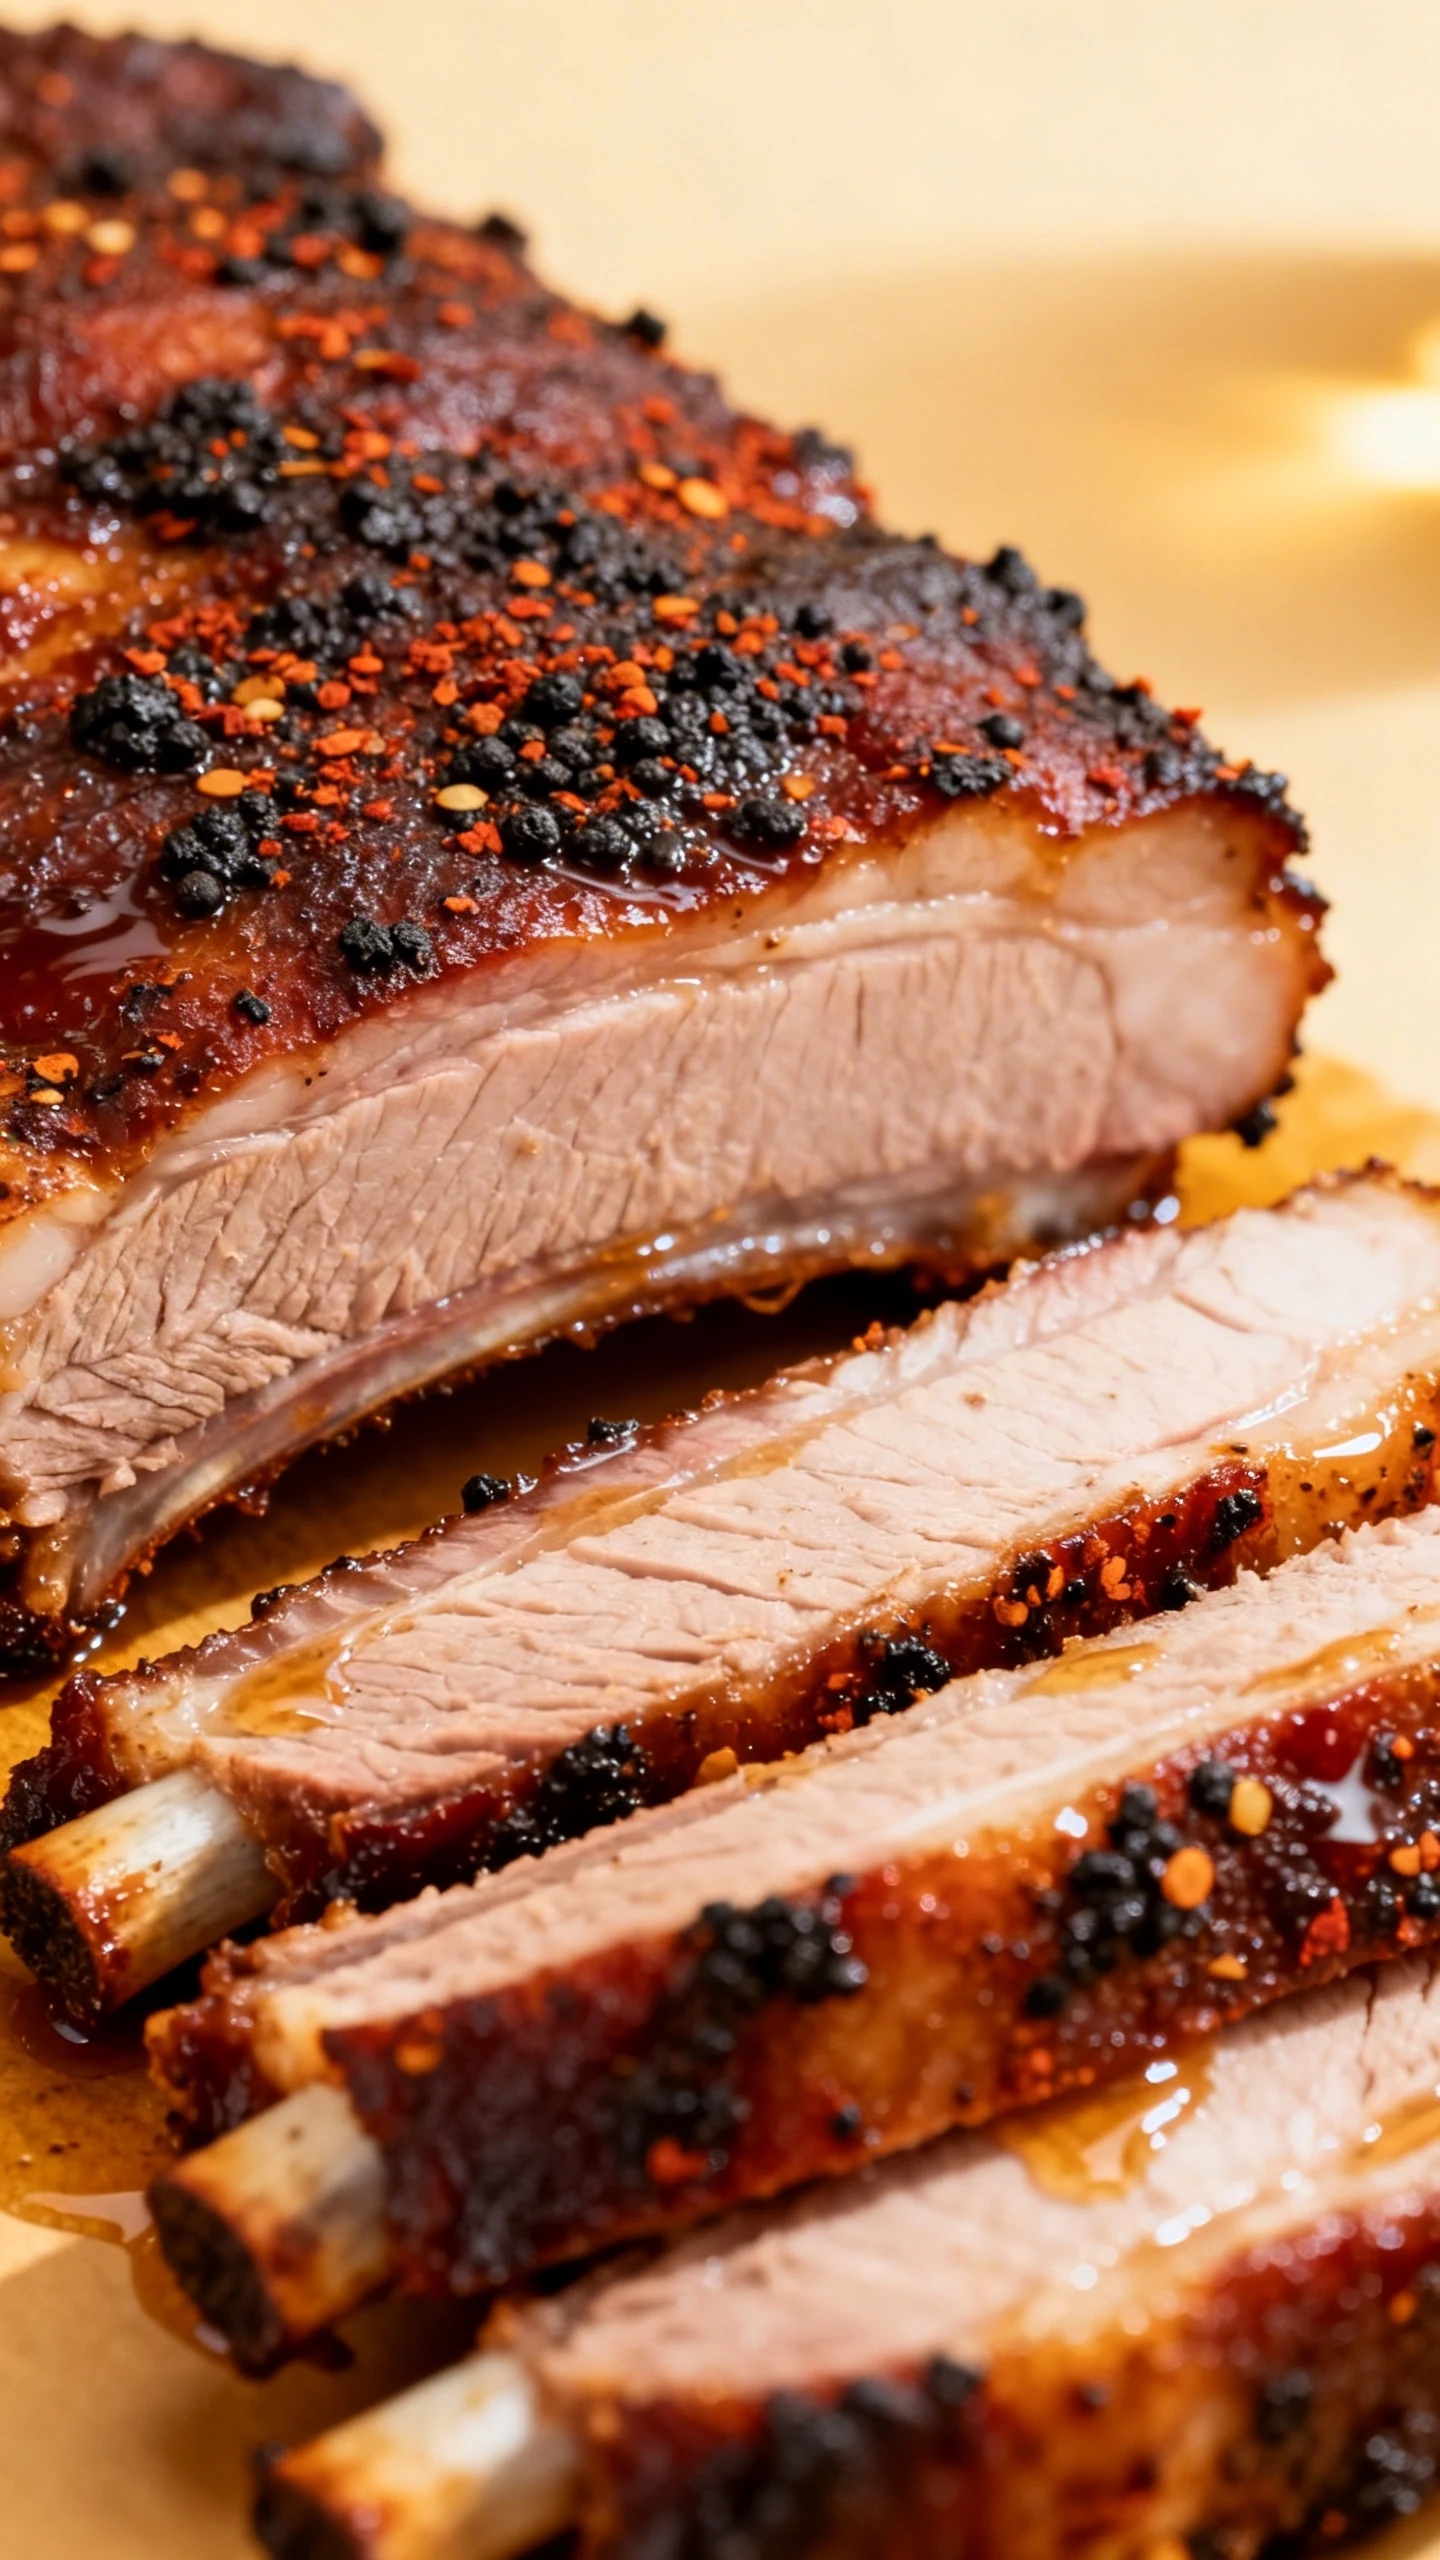
These ribs stand out because they balance smoke, spice, sweetness, and texture without letting any one element bully the rest. A lot of rib recipes go all in on sugar, then call the blackened edges flavor. That is not flavor. That is a warning sign.
The dry rub builds layers first. Paprika brings color and warmth, brown sugar helps with caramelization, garlic and onion powder create depth, and black pepper adds bite. Then the low and slow cook gives the fat and collagen time to melt into the meat, which is where that rich, juicy texture comes from.
The finishing sauce matters too. Instead of slathering it on from the start, you brush it on near the end so it sets into a sticky glaze. That means you get shine and flavor without turning your ribs into a burnt candy experiment. FYI, that one choice changes everything.
What You’ll Need (Ingredients)
These amounts make about 2 racks, enough for 4 to 6 people depending on sides and how competitive your table gets.
- 2 racks baby back ribs, about 2 to 2 1/2 pounds each
- 2 tablespoons yellow mustard or neutral oil, to help the rub stick
- 1/4 cup brown sugar
- 2 tablespoons paprika
- 2 teaspoons kosher salt
- 2 teaspoons black pepper
- 2 teaspoons garlic powder
- 2 teaspoons onion powder
- 1 teaspoon chili powder
- 1 teaspoon smoked paprika
- 1/2 teaspoon cayenne pepper, optional for heat
- 1/2 teaspoon dry mustard
- 1/2 teaspoon ground cumin
- 1 cup barbecue sauce, your favorite brand or homemade
- 2 tablespoons apple cider vinegar
- 2 tablespoons apple juice or water, for moisture during cooking
- Wood chips or chunks, such as apple, hickory, or cherry, if smoking
If you want a slightly more complex finish, mix the barbecue sauce with 1 tablespoon honey and 1 teaspoon hot sauce. That little tweak gives you extra gloss and a soft heat in the background. Not mandatory, but definitely not a bad life choice.
Step-by-Step Instructions
-
Prep the ribs. Remove the membrane from the back of each rack if it is still attached. Slide a butter knife under it, grab it with a paper towel, and pull. This step helps seasoning penetrate and keeps the final texture from getting weirdly chewy.
-
Coat lightly. Rub both sides of the ribs with yellow mustard or a little oil. You will not really taste it. It acts like edible glue, which sounds less romantic than it works.
-
Mix the dry rub. Combine brown sugar, paprika, salt, black pepper, garlic powder, onion powder, chili powder, smoked paprika, cayenne, dry mustard, and cumin in a bowl. Stir until the color looks even and the sugar breaks up.
-
Season generously. Sprinkle the rub all over both sides of the ribs and press it in. Do not massage like you are in a spa commercial. Just make sure every inch gets covered, especially the edges.
-
Rest the racks. Let the seasoned ribs sit for 30 to 45 minutes at room temperature, or refrigerate them for several hours if you want a deeper cure. This helps the rub start bonding with the meat instead of just sitting there looking decorative.
-
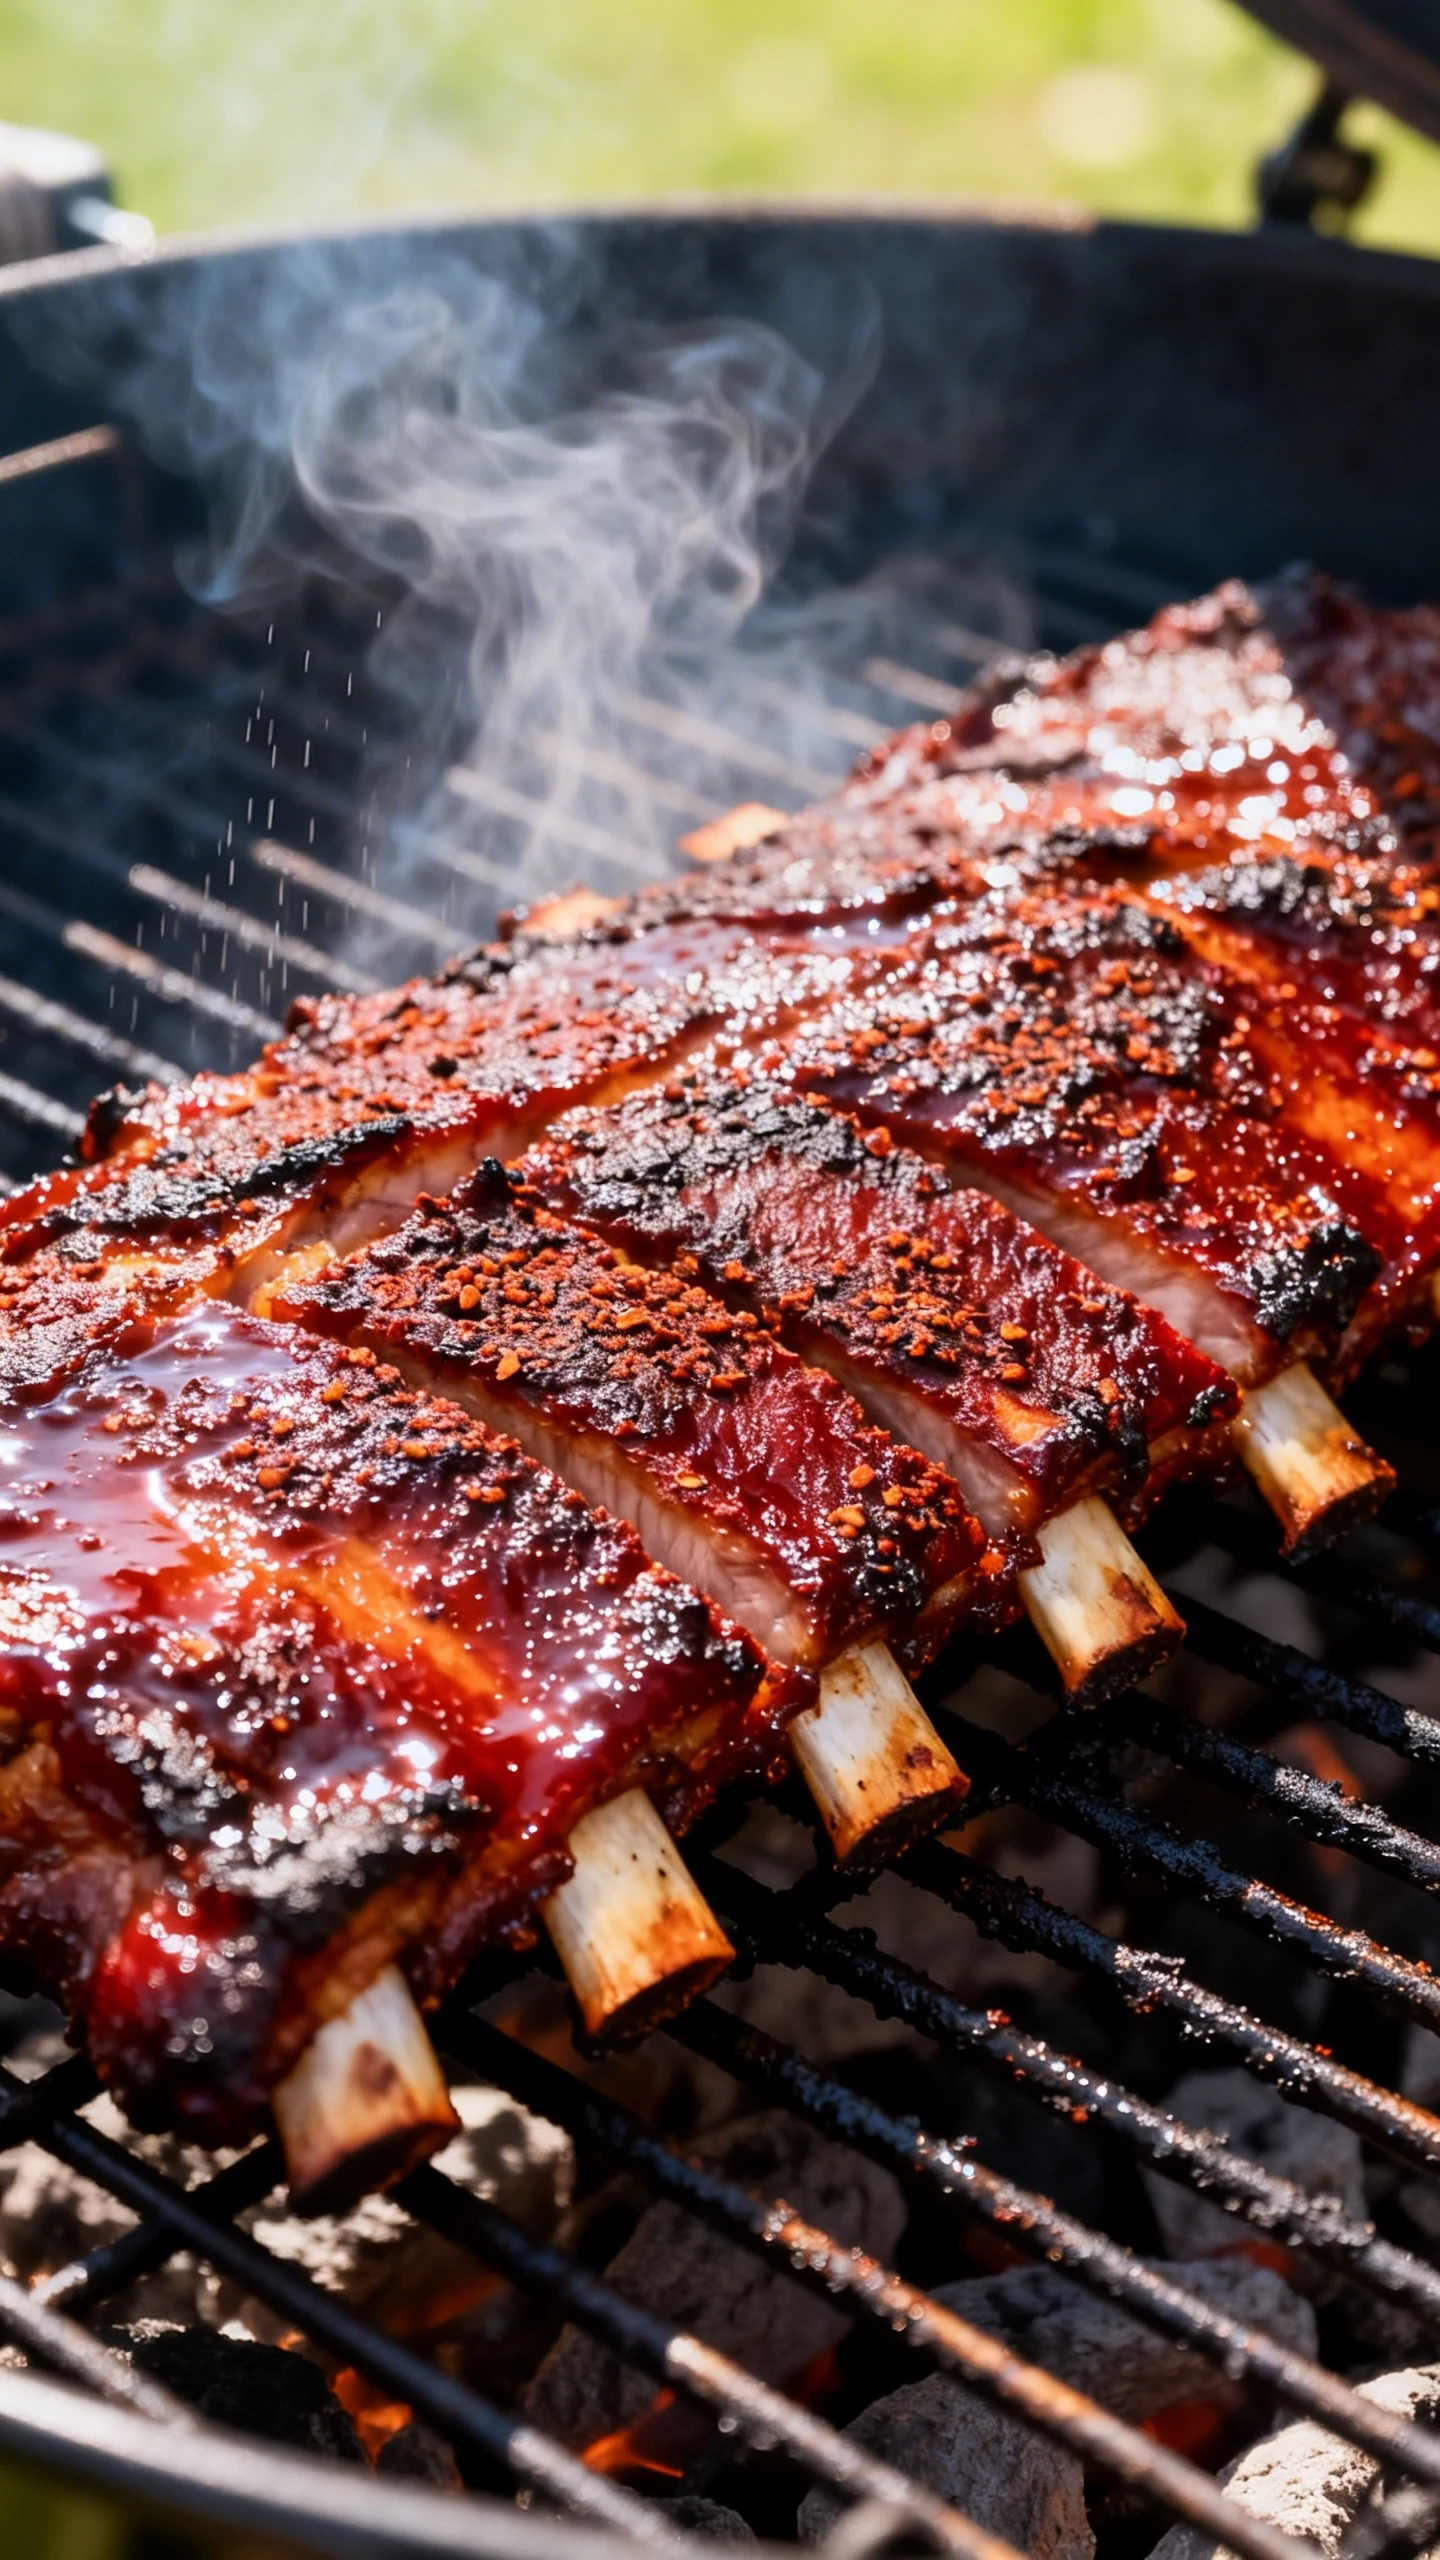
Set up your cooker. Heat your smoker or grill for indirect cooking at 250 to 275 degrees Fahrenheit. If using a gas or charcoal grill, keep the heat on one side and place the ribs on the cooler side. Add wood for smoke if you want that classic backyard aroma that makes neighbors suddenly become social.
-
Cook low and slow. Place the ribs bone side down and close the lid. Cook for about 2 1/2 to 3 hours, maintaining steady heat. Spritz or brush with a little apple juice and vinegar mixture every 45 minutes if the surface looks dry.
-
Wrap if you want softer ribs. For extra tenderness, wrap the racks tightly in foil after the first stage with a tablespoon or two of apple juice inside. Return them to the heat for 45 to 60 minutes. If you prefer firmer bark and a cleaner bite, skip wrapping and cook straight through.
-
Check for doneness. The ribs are ready when the meat has pulled back from the bone tips and the rack bends easily when lifted from one end. You want tender, not falling apart like it lost the will to live. A toothpick should slide into the meat with little resistance.
-
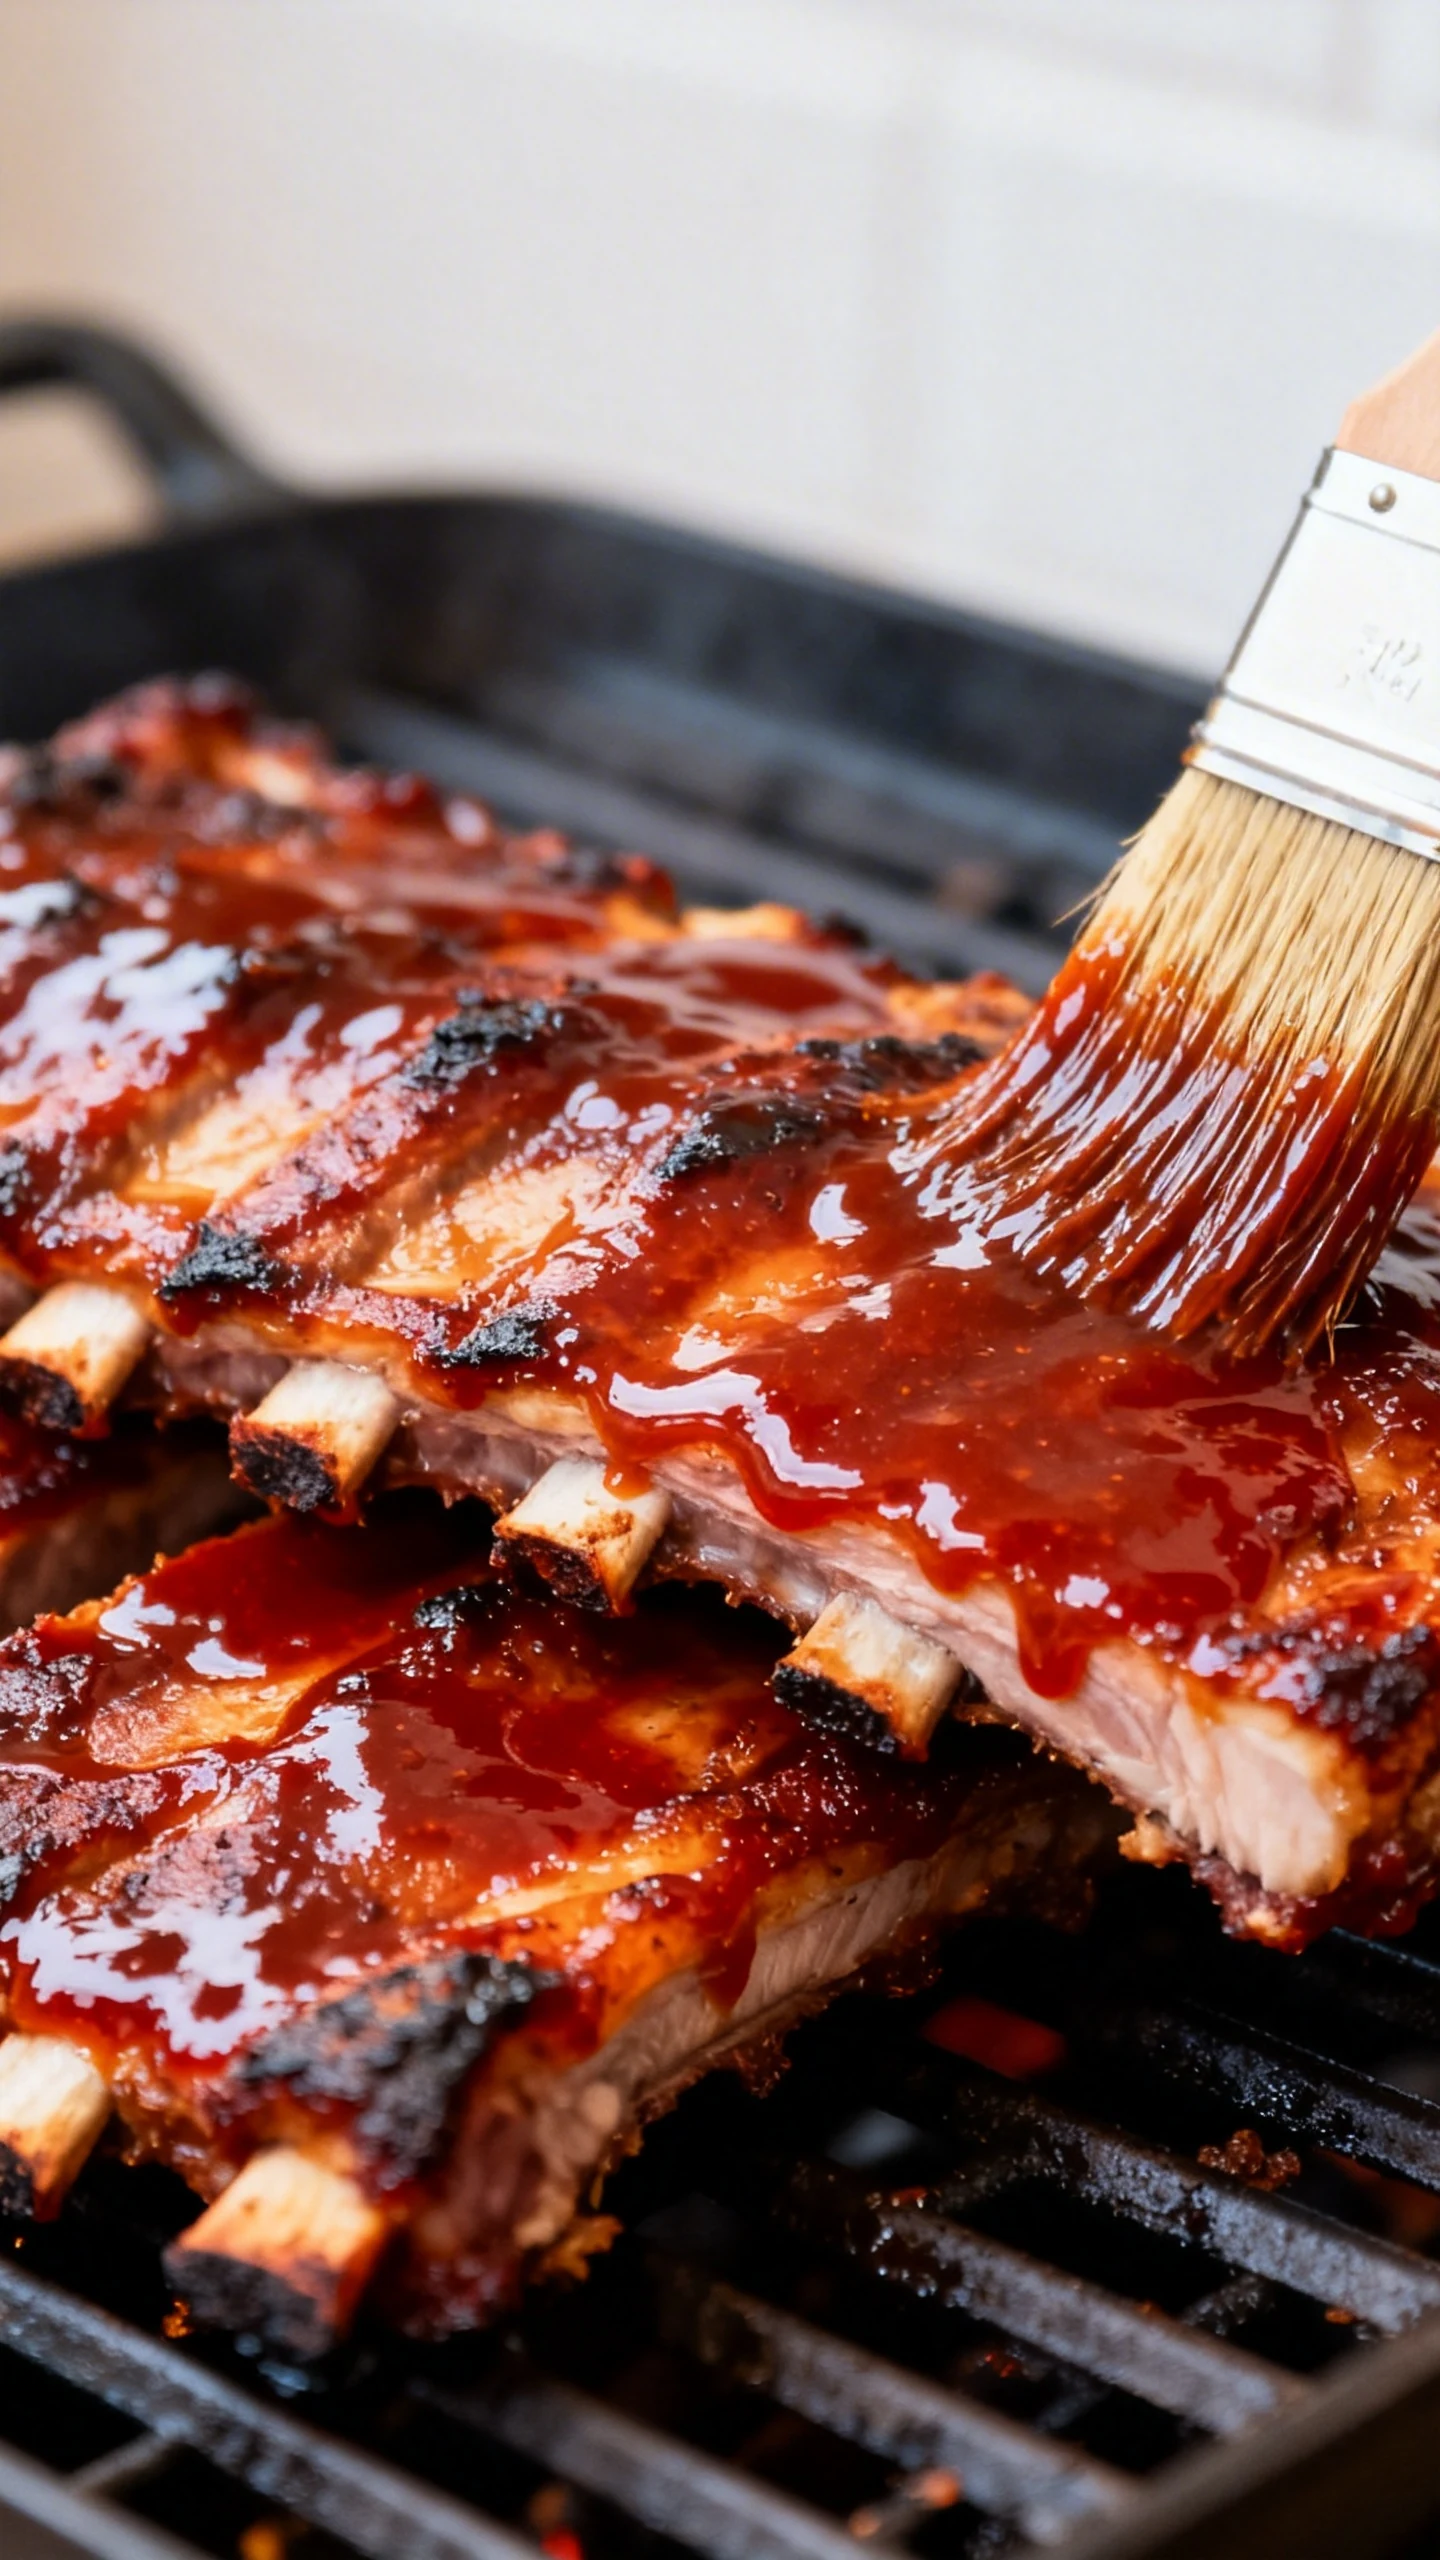
Sauce near the end. Brush the ribs with barbecue sauce during the last 15 to 20 minutes of cooking. Add one or two thin layers, letting each one set before adding more. This gives you a tacky, glossy finish without scorching the sugars.
-
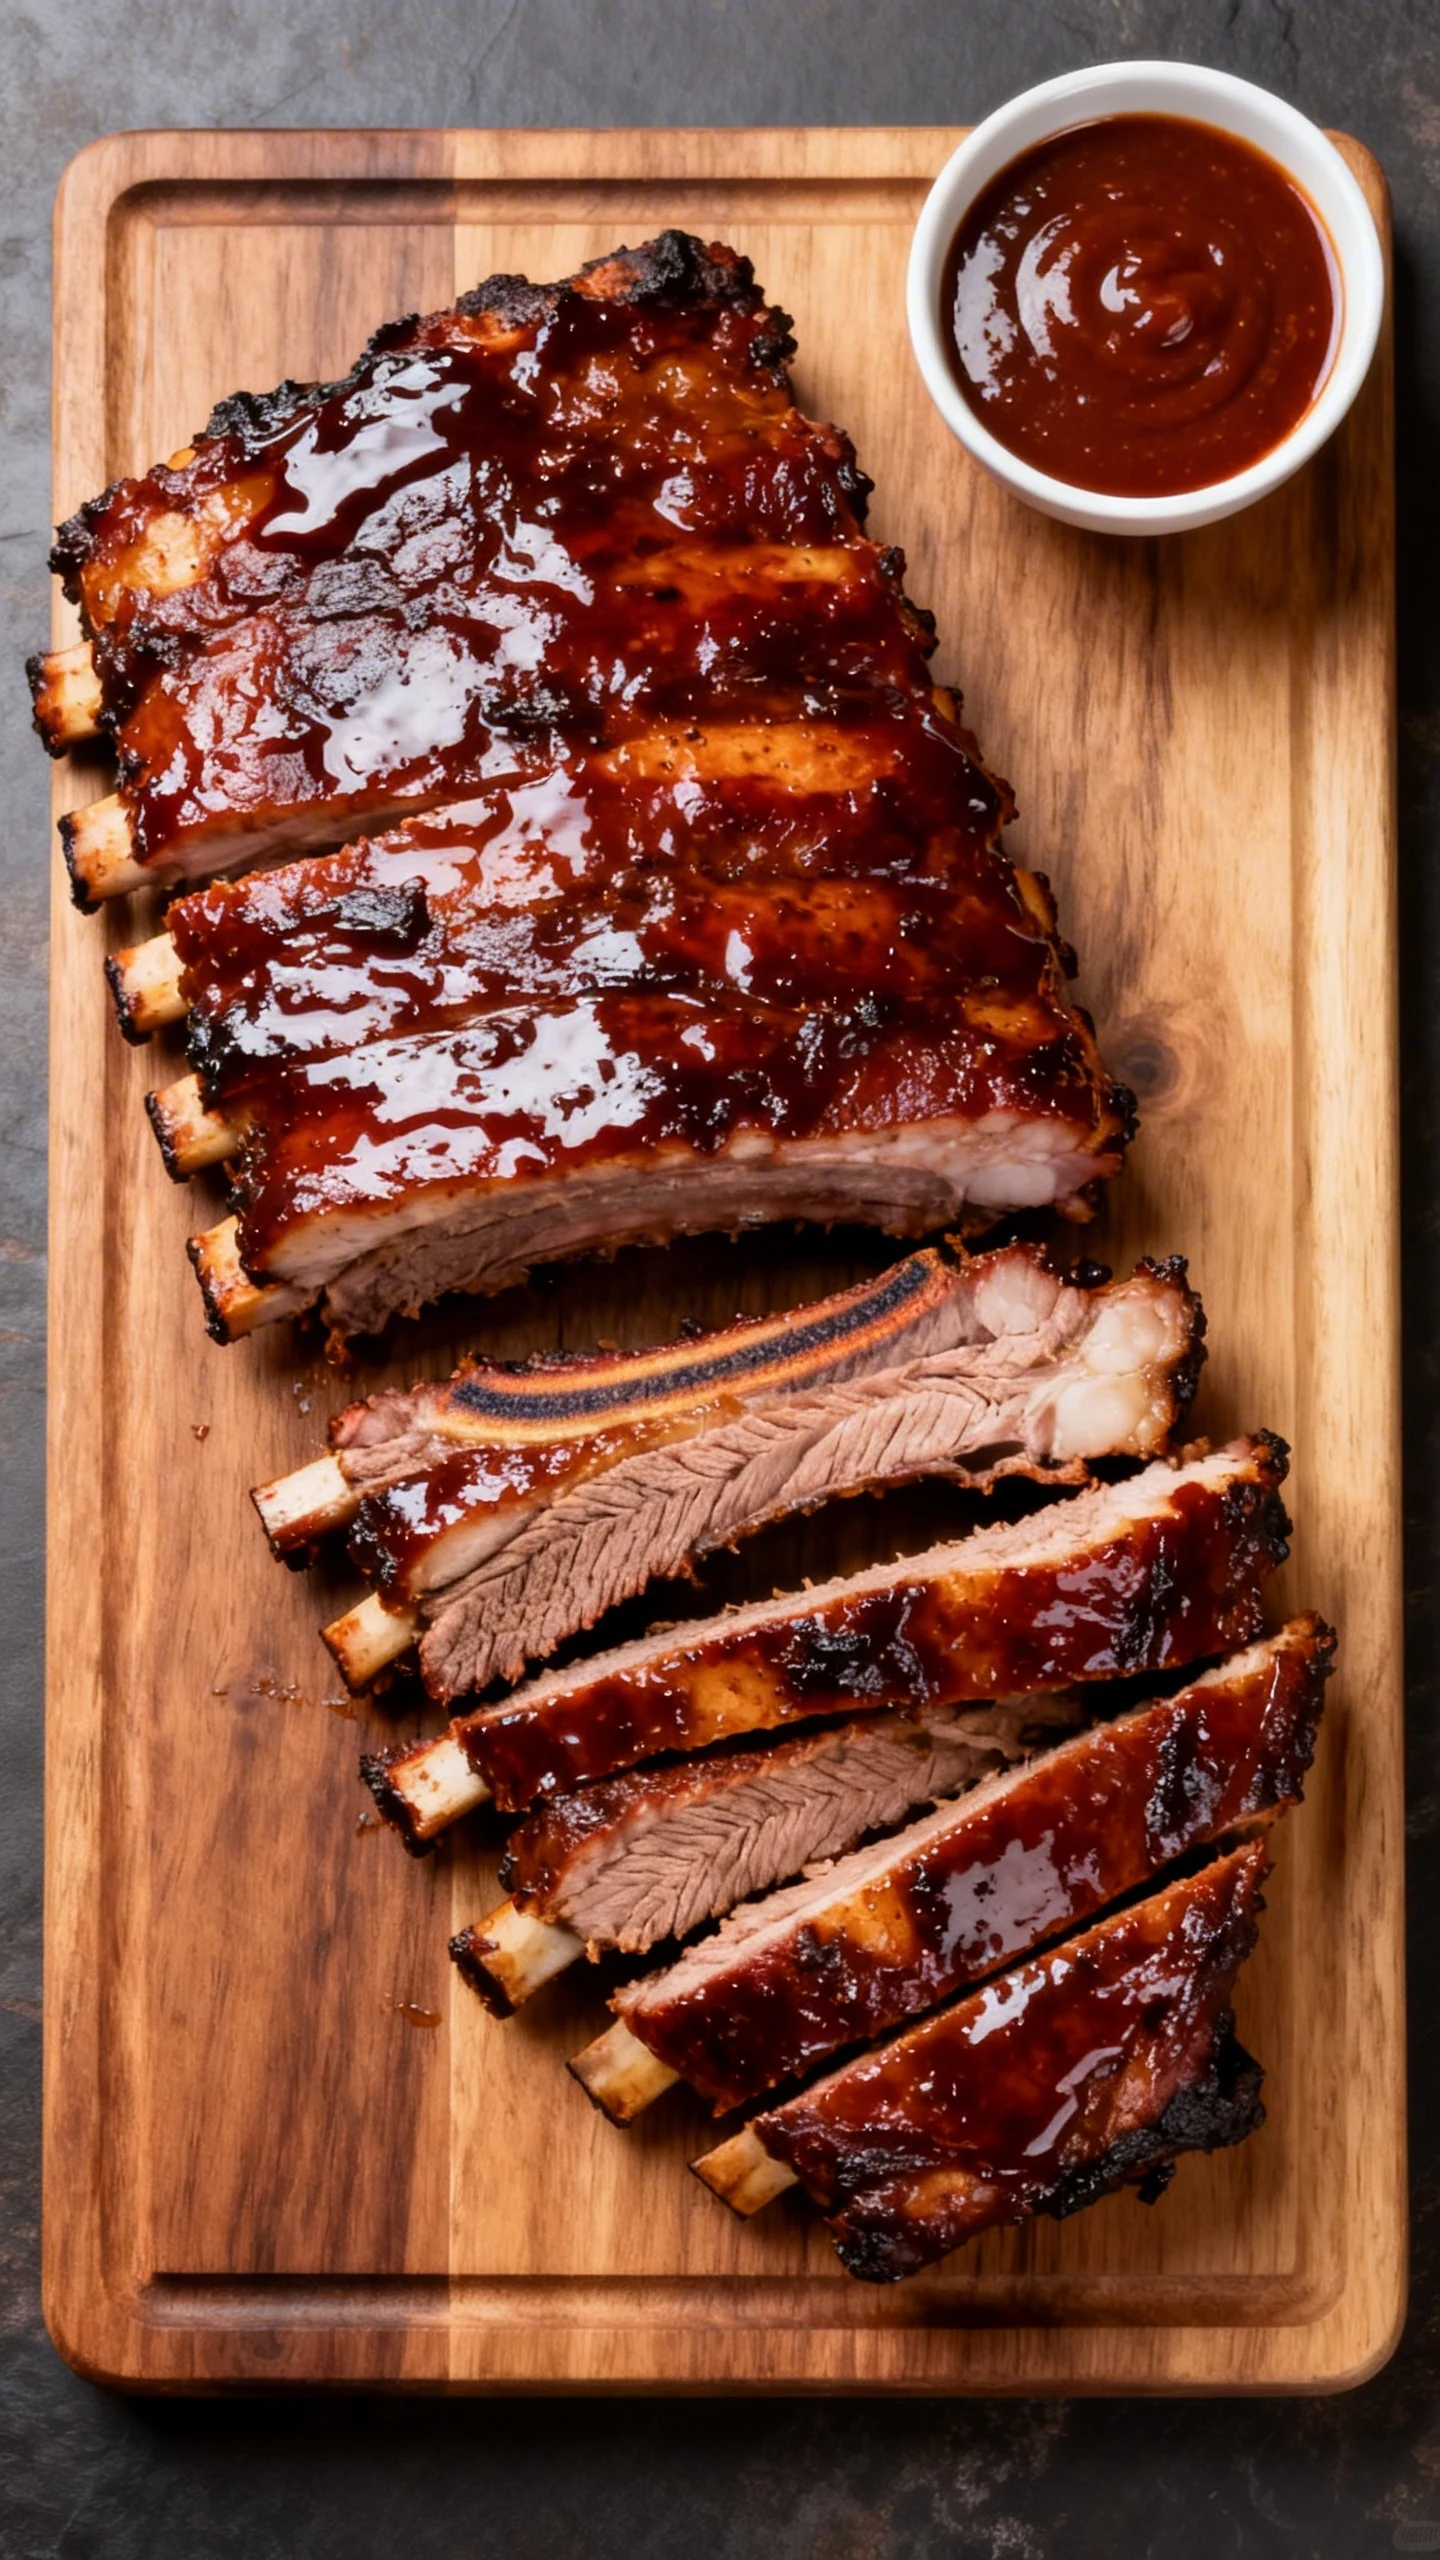
Rest before slicing. Take the ribs off the heat and let them rest for 10 minutes. Then slice between the bones with a sharp knife. Serve warm with extra sauce on the side, not poured over the top like you are hiding evidence.
How to Store
Let the ribs cool slightly, then store them in an airtight container in the refrigerator for up to 4 days. If possible, keep the sauce separate so the bark stays closer to its original texture. Already sliced ribs work fine, but whole sections stay juicier.
For longer storage, wrap portions tightly in foil and place them in a freezer safe bag or container. Freeze for up to 3 months. Label the package, unless you enjoy mystery meat roulette later.
To reheat, place the ribs in a baking dish with a splash of water or apple juice, cover with foil, and warm at 300 degrees Fahrenheit until heated through. You can uncover them for the last few minutes and brush on fresh sauce if you want that sticky finish again. Microwaving works in an emergency, but it is not exactly doing the ribs any favors.
Benefits of This Recipe
It is reliable. The method gives you a clear path to tender ribs without requiring expensive gear or competition tricks. Once you understand the timing and temperature, you can repeat the results again and again.
It feeds a group well. Ribs feel generous and celebratory, which makes them perfect for cookouts, birthdays, game nights, and lazy weekends. Put out a few simple sides, and suddenly you look wildly organized.
It is flexible. You can use a smoker, charcoal grill, gas grill, or even an oven if needed. The rub and sauce can swing sweet, spicy, smoky, or tangy depending on your mood. That means the recipe works whether you like classic barbecue or want to tweak it into your own house style.
The flavor payoff is huge. Few dishes deliver this much aroma, texture, and crowd reaction from such a short ingredient list. Ribs just have that dramatic energy. They show up loud, and honestly, good for them.
Don’t Make These Errors
Do not cook too hot. High heat toughens the outside before the inside has time to tenderize. Keep the temperature steady and let time do the heavy lifting.
Do not skip the membrane. Leaving it on can block seasoning and make the bite less pleasant. It takes a minute to remove and saves you from awkward chewing later.
Do not sauce too early. Most barbecue sauce contains sugar, and sugar burns fast. Add it near the end so it glazes instead of charring.
Do not rely only on the clock. Ribs finish based on thickness, cooker type, and temperature control. Use visual cues and tenderness tests, not blind faith.
Do not cut immediately. Resting helps the juices settle and keeps the meat from drying out on the board. Yes, waiting is annoying. It is still better than ruining the finish line.
Alternatives
If you cannot find baby back ribs, St. Louis style ribs make a great substitute. They are larger, meatier, and usually need a bit more cooking time. The flavor is excellent, and many people prefer their richer texture.
If you want an indoor version, use your oven. Bake the seasoned ribs covered at 300 degrees Fahrenheit until tender, then uncover, sauce, and finish under the broiler for a few minutes. You lose some smoke, but you keep the tenderness and sticky glaze.
Want a different flavor profile? Swap the standard rub for a spicier blend with more cayenne, chipotle powder, and black pepper. Or go sweeter with extra brown sugar and a touch of cinnamon. Both routes work if you keep the salt balanced.
For a lighter twist, try a vinegar based finish instead of a thick sauce. It cuts through the richness and gives the ribs a punchier edge. Not everyone expects it, which makes it even better when it lands.
FAQ
How long do baby back ribs take to cook?
At 250 to 275 degrees Fahrenheit, baby back ribs usually take about 3 to 4 hours total depending on size and whether you wrap them. Smaller racks cook faster. Always check tenderness before pulling them off the heat.
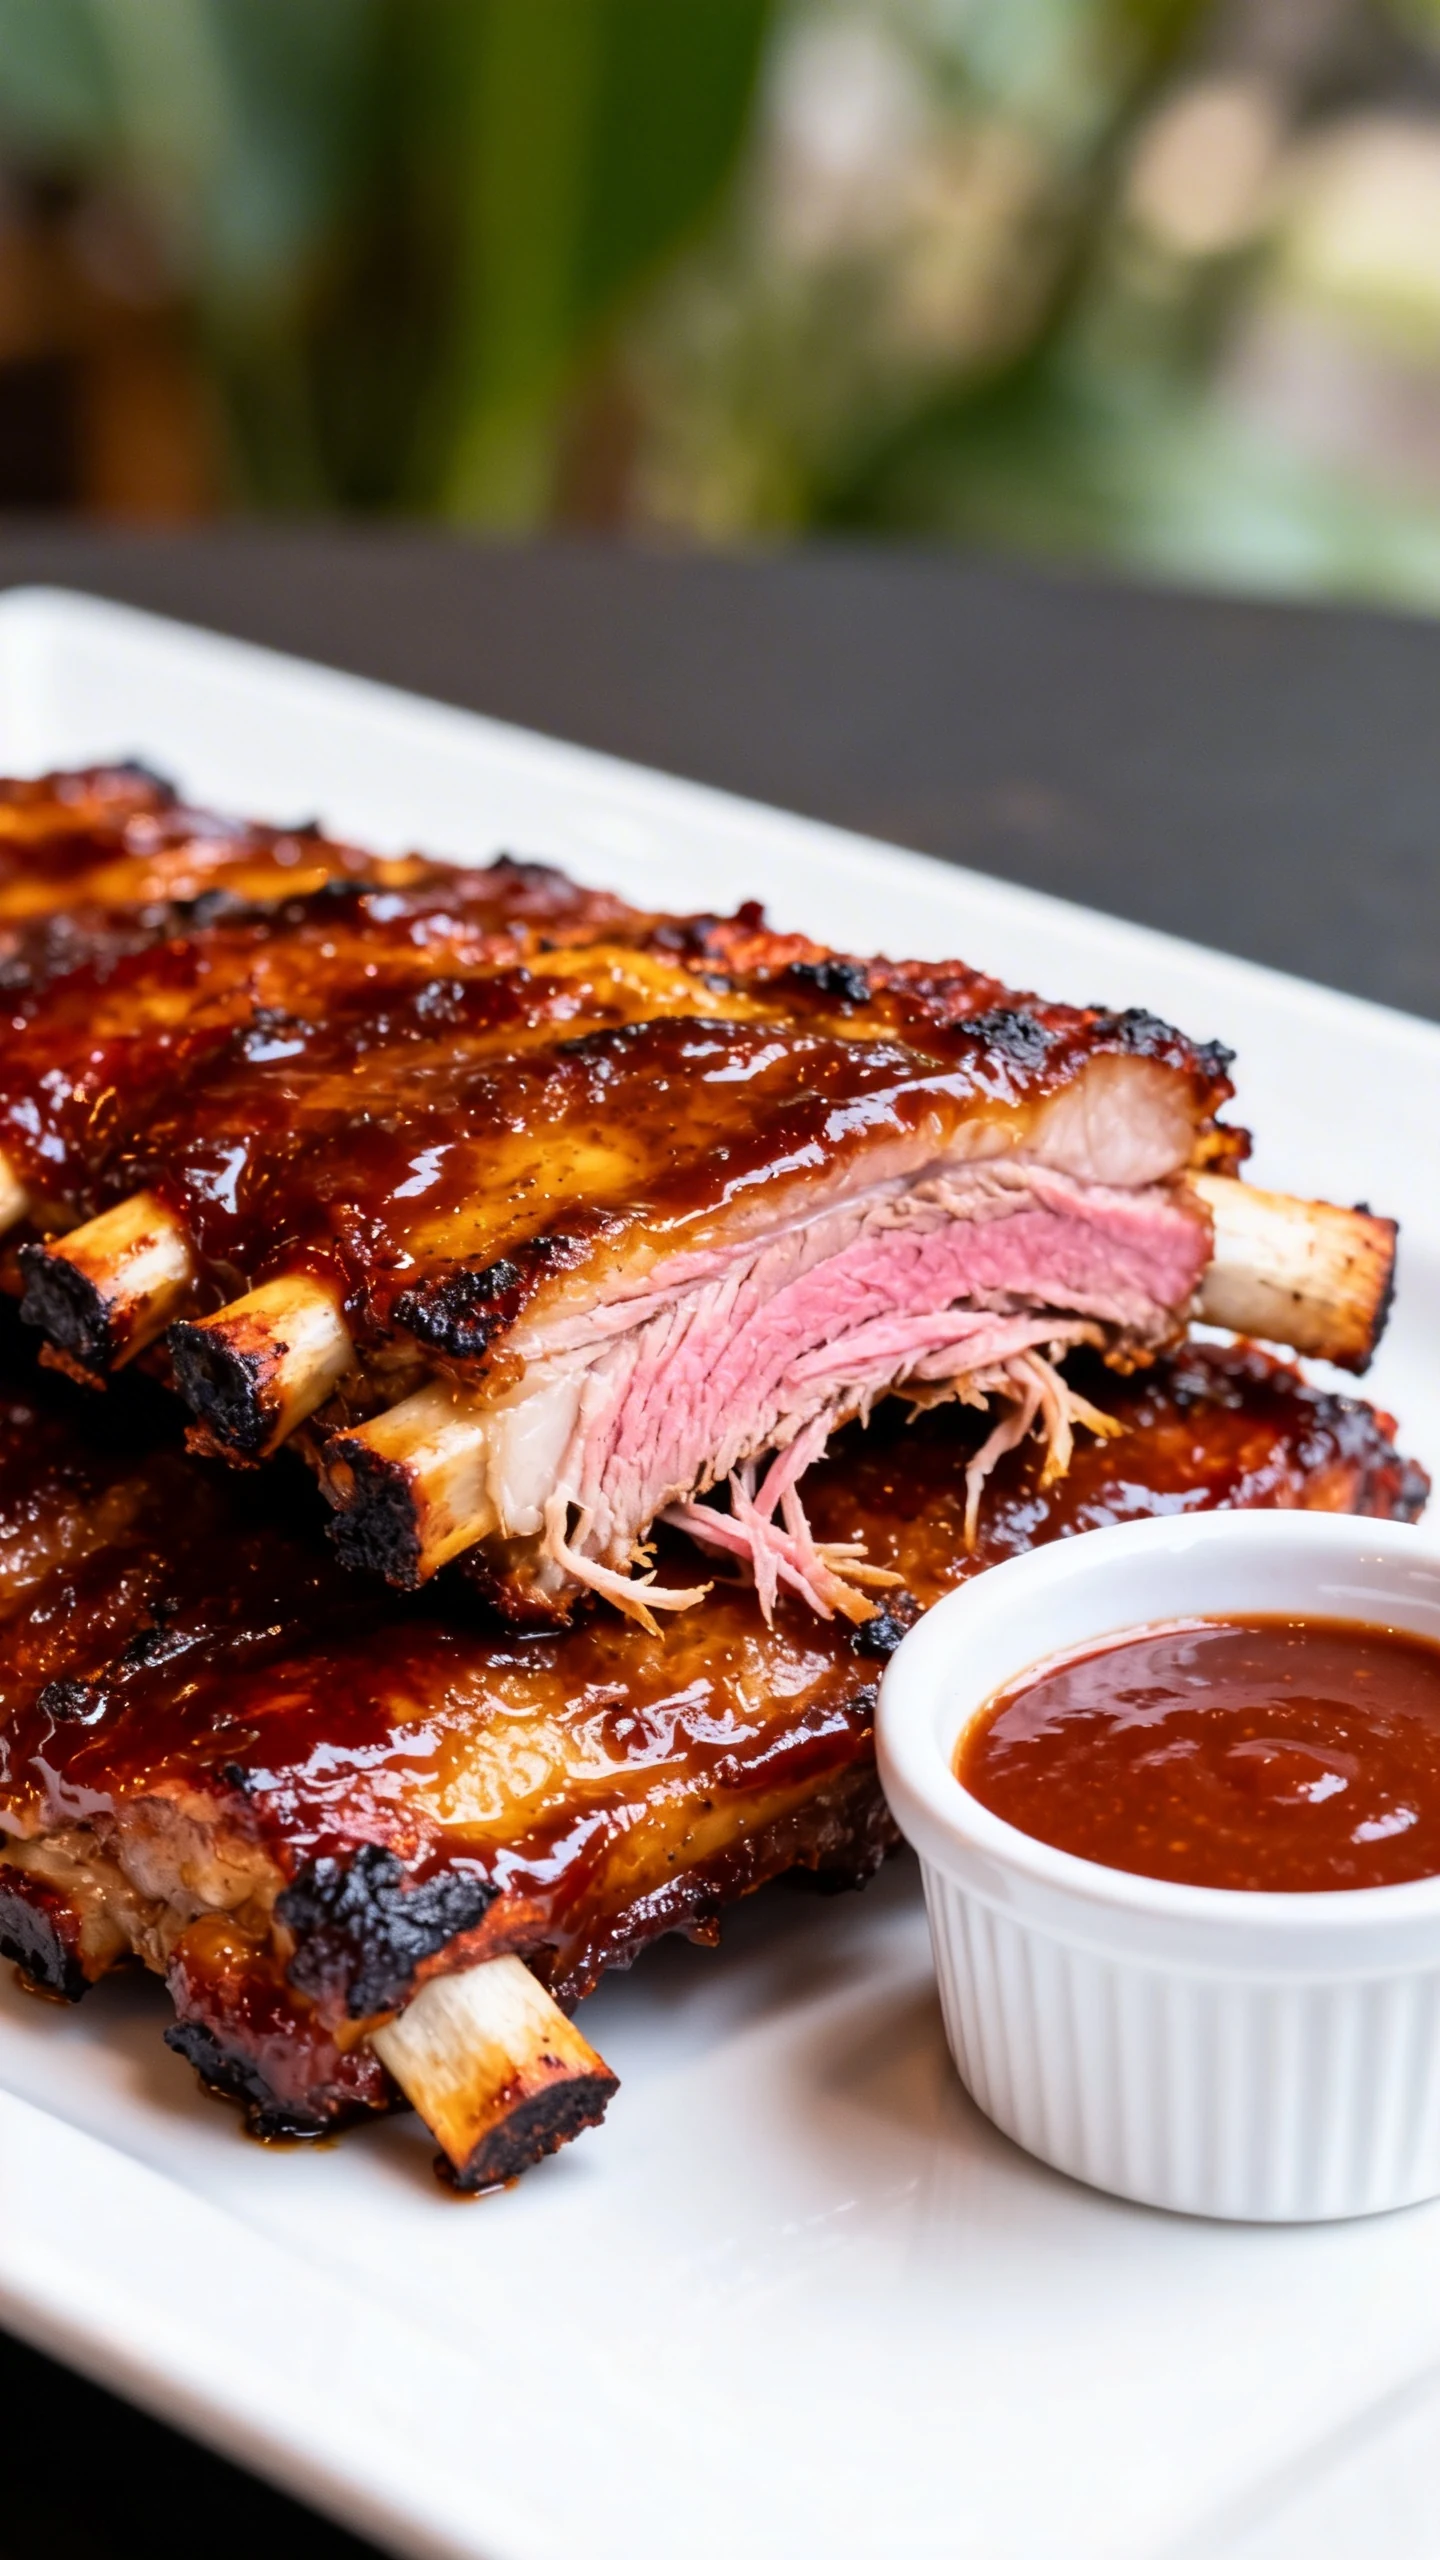
Should ribs fall off the bone?
Not necessarily. A lot of people think that means perfect, but in barbecue terms it often means overcooked. Great ribs should feel tender and juicy with a clean bite that leaves a neat mark on the bone.
Can I make them ahead of time?
Yes. You can cook the ribs until tender, cool them, and refrigerate them. Reheat gently and sauce them just before serving for the best texture and shine.
What wood works best for ribs?
Apple and cherry give a sweeter, milder smoke that pairs beautifully with pork. Hickory adds a stronger classic barbecue flavor. If you are new to smoking, start with fruit wood for a more forgiving result.
Do I need to wrap the ribs?
No. Wrapping speeds up tenderness and helps keep moisture in, but it softens the bark. If you love a firmer crust and a more traditional smoked exterior, leave them unwrapped and cook patiently.
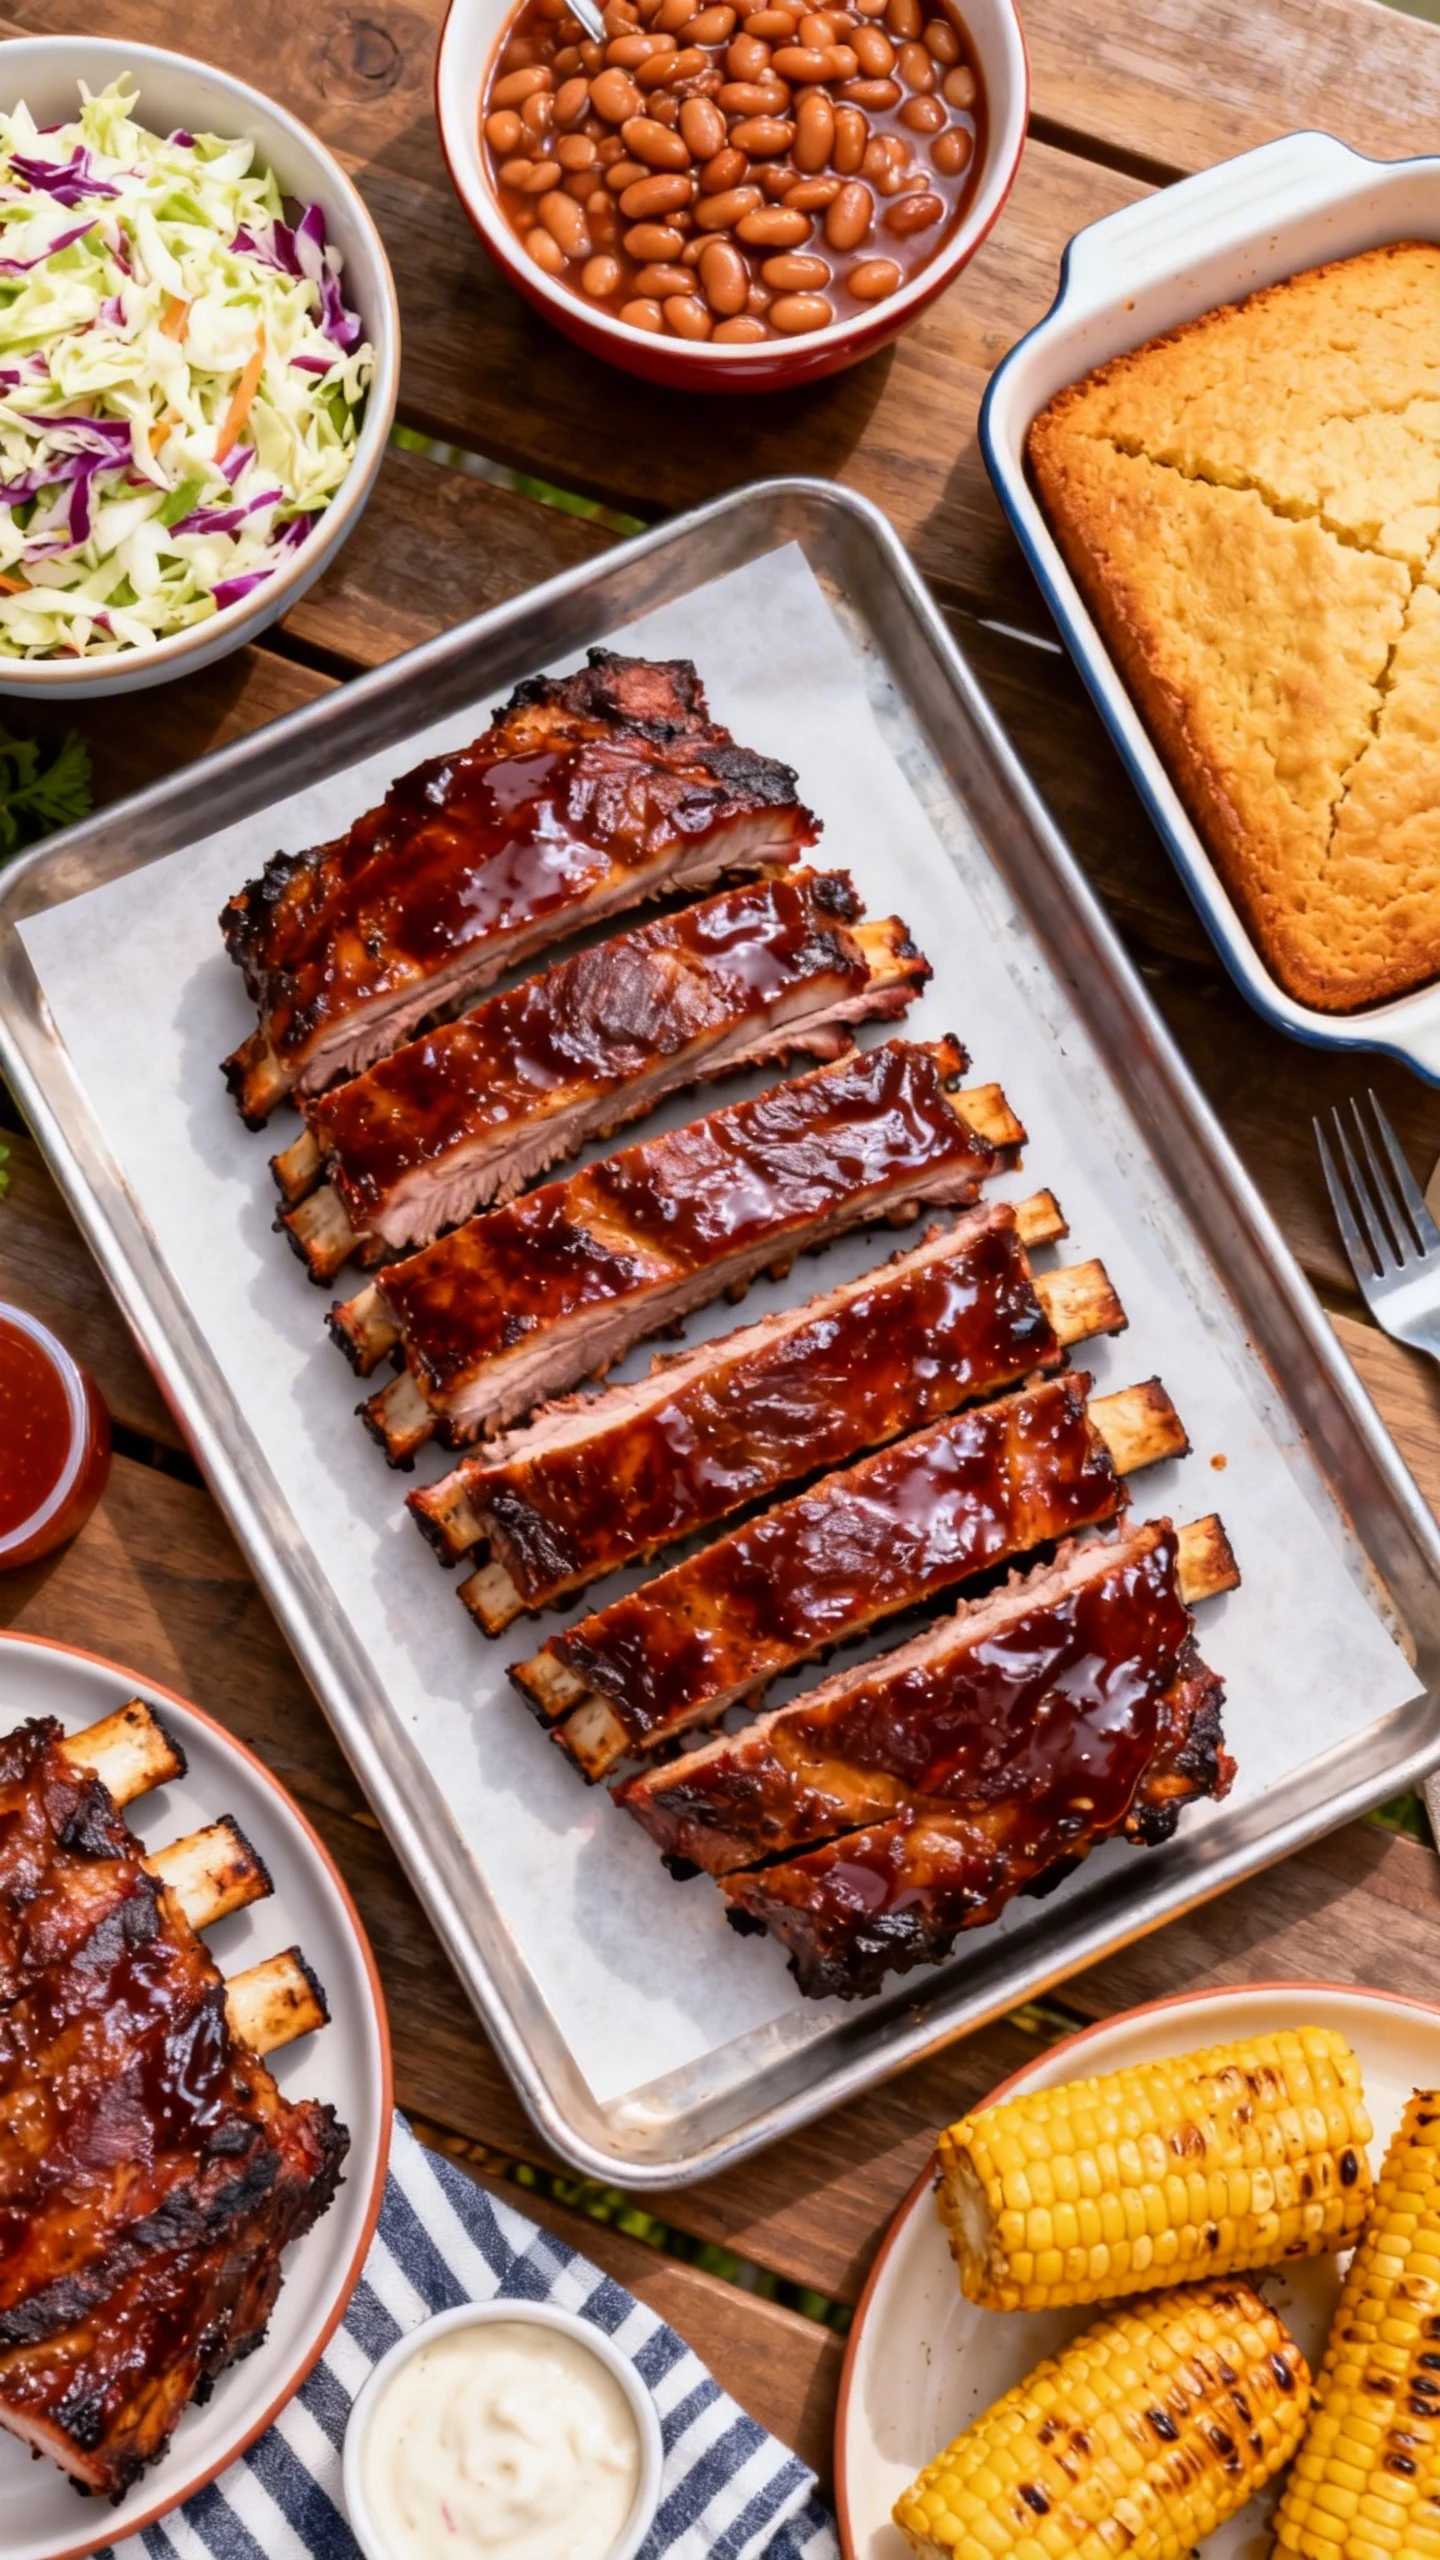
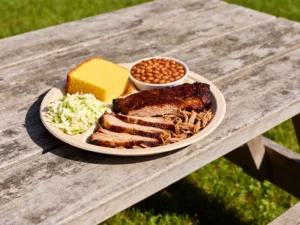
What sides go best with ribs?
Classic choices include coleslaw, baked beans, cornbread, potato salad, mac and cheese, and grilled corn. A crisp, acidic side helps balance the richness. That is why slaw shows up and never gets fired.
My Take
These ribs hit the sweet spot of being impressive without being complicated. They feel like a weekend flex, but the process is actually straightforward once you stop rushing it. That is the real secret here. Not magic rubs, not overpriced gadgets, just control and patience.
I also like that they scale well. Make them for a family dinner, and everyone feels spoiled. Make them for a party, and suddenly people treat you like you have some hidden grill sorcery.
If I had to give one piece of advice, it would be this: chase tenderness first, then glaze for style. Pretty ribs that eat badly are still bad ribs. But when the texture lands and the sauce sets just right, you get the kind of meal people remember, request, and absolutely pretend they could make better.