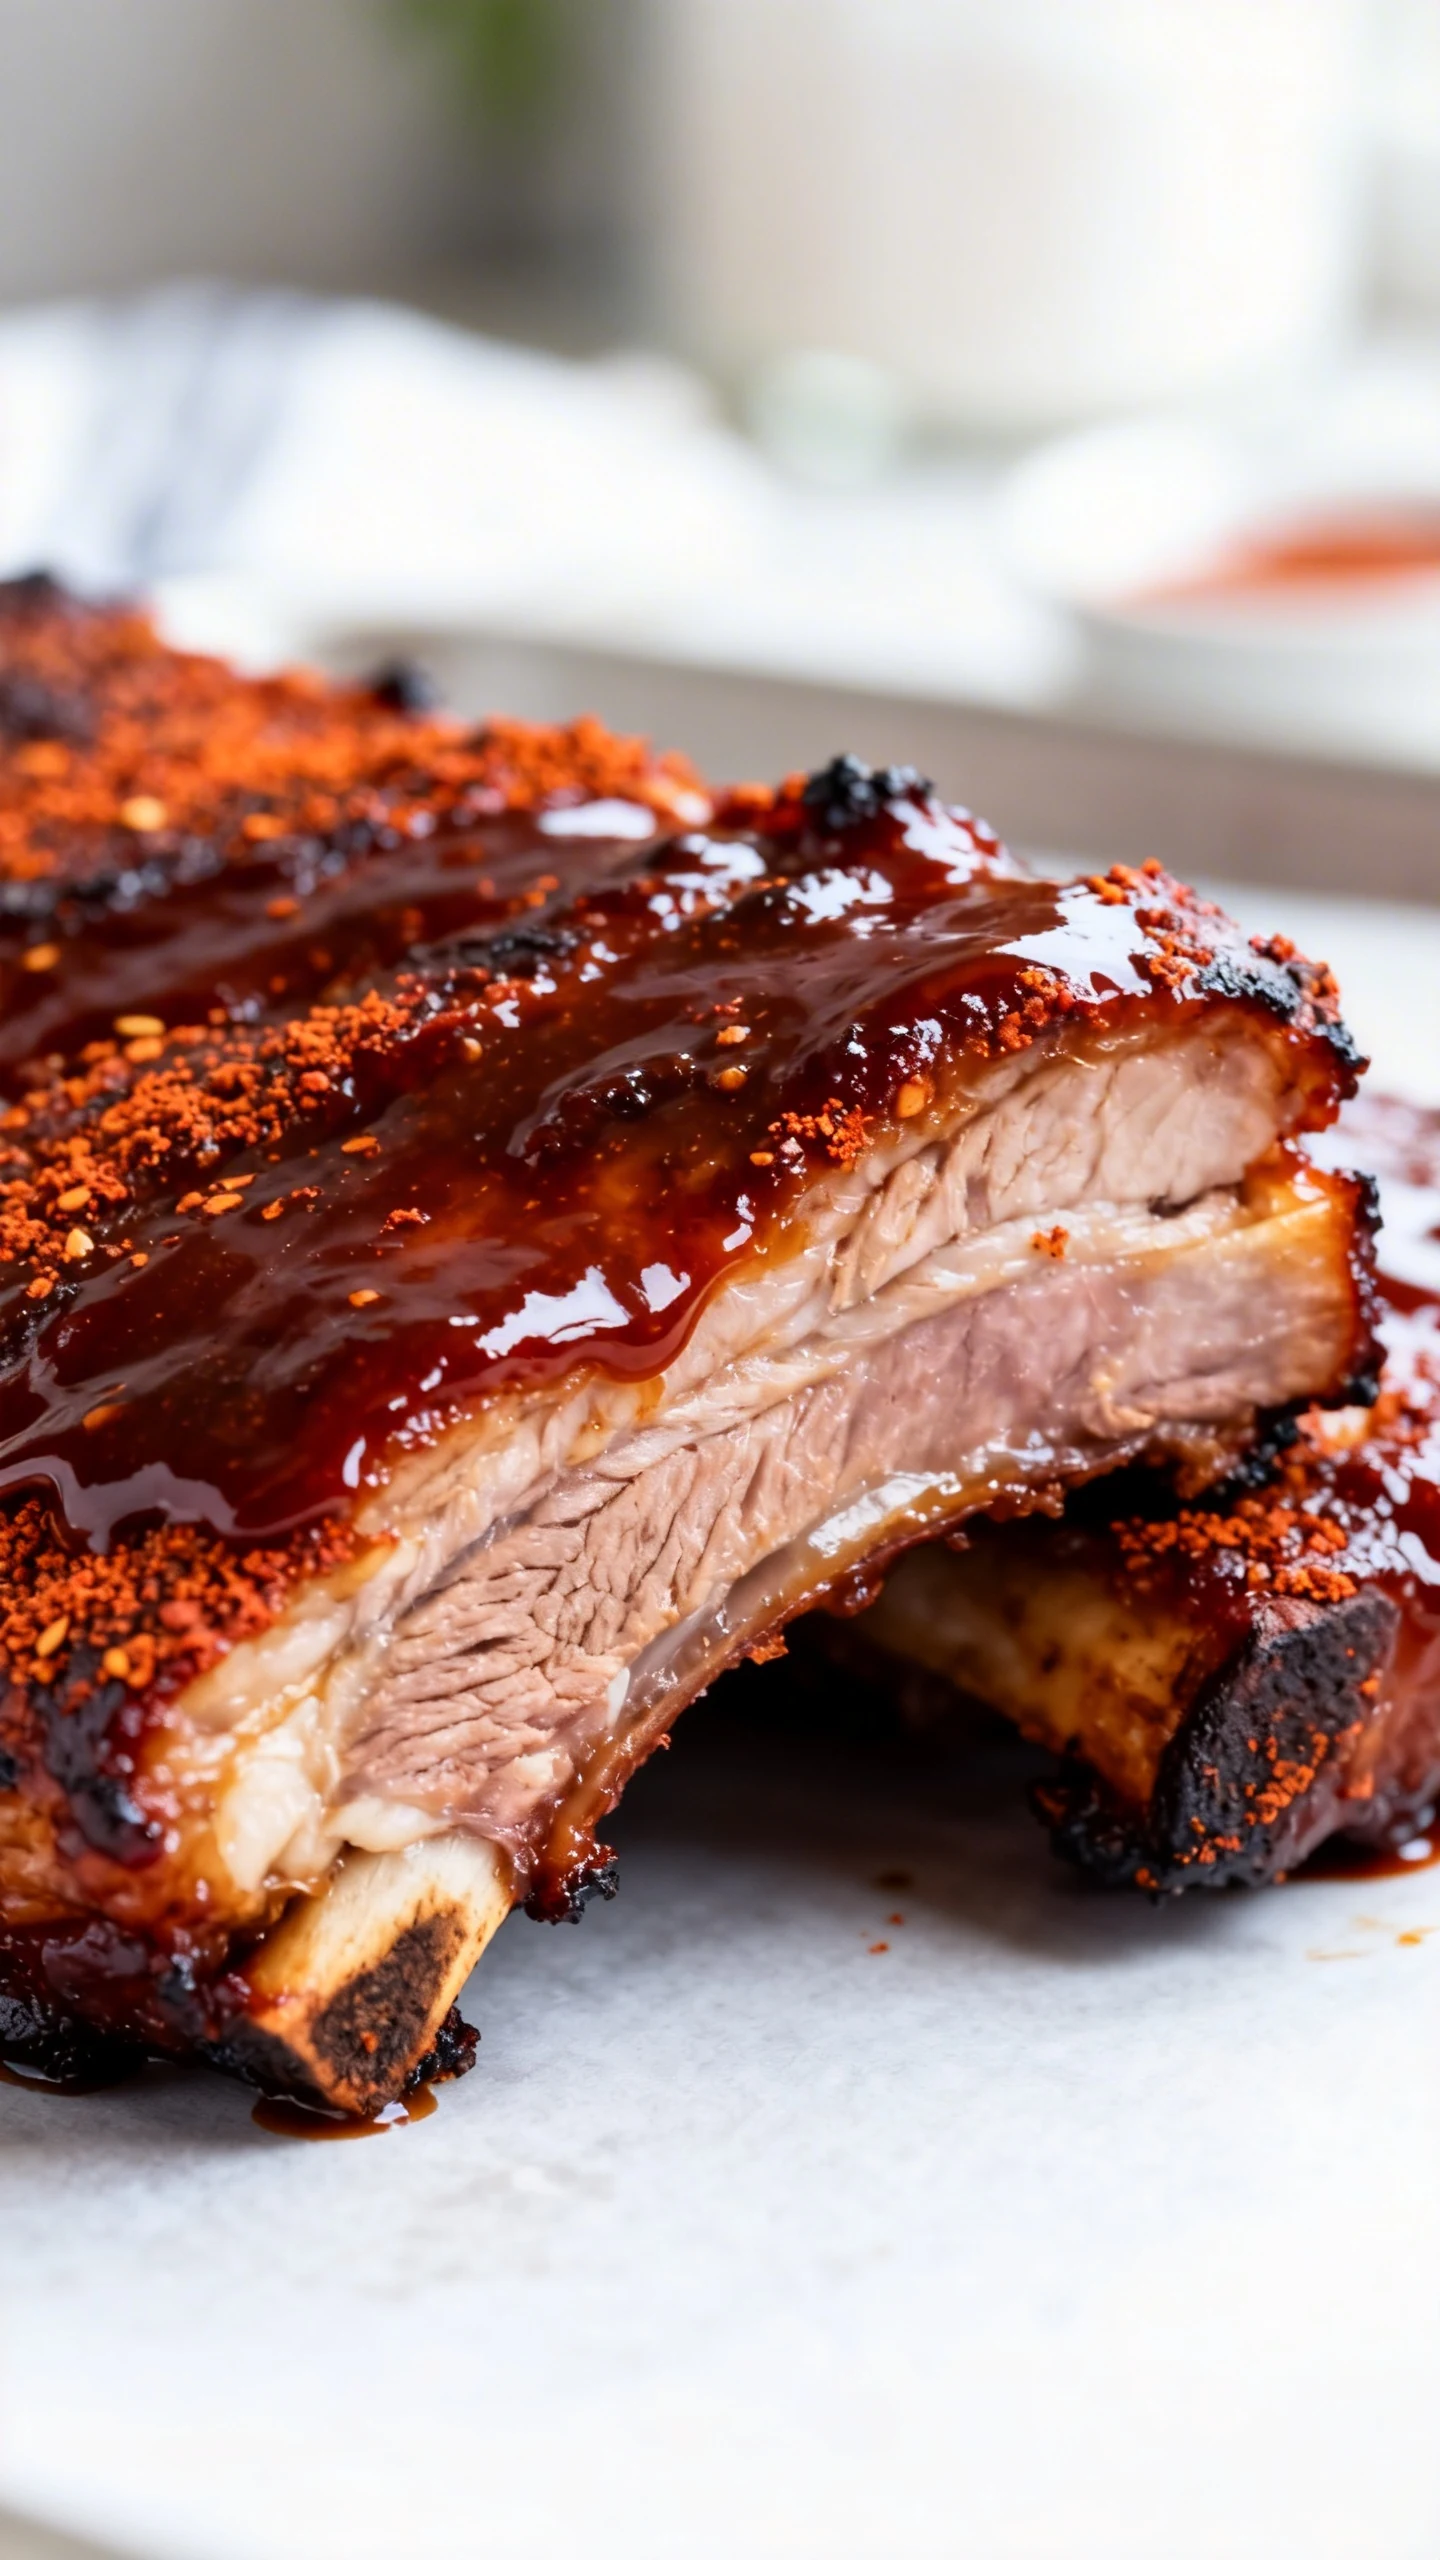
Make tender, saucy ribs with simple pantry ingredients, big flavor, and weeknight friendly oven timing.
You know that moment when you want barbecue so badly you can practically taste it, but you do not want to babysit a grill for hours? This recipe fixes that fast. You get sticky, tender, saucy ribs with a rich barbecue finish, all from your oven like the kitchen wizard you secretly are. The best part: no smoke drama, no fancy gear, and no standing outside pretending you enjoy weather.
Boneless ribs are one of the easiest ways to get that comfort food payoff without the usual hassle. They cook up juicy, soak in seasoning like champs, and turn glossy and caramelized under a final coat of sauce. If your goal is maximum flavor for minimum chaos, this is it. IMO, this is the kind of dinner that makes people think you tried harder than you actually did.
Why You’ll Love This Recipe
This recipe earns a permanent spot in the dinner rotation because it checks every box. It is easy enough for a weeknight, satisfying enough for a weekend craving, and flexible enough to match whatever barbecue sauce you love most.
- Big barbecue flavor without a grill: The oven does the heavy lifting while you stay inside where the snacks live.
- Tender and juicy texture: A low and steady bake keeps the meat moist instead of tough.
- Simple ingredients: Most of what you need probably already hangs out in your pantry.
- Family friendly: Sweet, smoky, savory, and easy to pair with classic sides.
- Great for meal prep: Make a batch once and enjoy leftovers that somehow taste even better.
- Customizable: Go spicy, extra smoky, sweeter, or lower sugar without wrecking the recipe.
What You’ll Need (Ingredients)
You do not need a mile long shopping list here. A few smart basics create deep flavor, and the barbecue sauce brings the glossy finish that makes everyone hover around the pan.
- 2 1/2 to 3 pounds boneless pork ribs: Country style boneless ribs work best for this recipe.
- 2 tablespoons olive oil: Helps the seasoning stick and supports browning.
- 1 cup barbecue sauce: Use your favorite store bought or homemade sauce.
- 2 tablespoons brown sugar: Adds sweetness and helps the surface caramelize.
- 1 tablespoon smoked paprika: Brings a subtle smoked flavor without an actual smoker.
- 1 teaspoon garlic powder: For savory depth.
- 1 teaspoon onion powder: Adds mellow all around flavor.
- 1 teaspoon kosher salt: Essential for balance.
- 1/2 teaspoon black pepper: Adds mild heat and contrast.
- 1/2 teaspoon chili powder: Optional, but great for warmth.
- 1/2 teaspoon mustard powder: Gives the rub a classic barbecue edge.
- 2 tablespoons apple cider vinegar: Brightens the sauce and cuts richness.
- 2 tablespoons water: Helps create steam in the pan during the first bake.
If you want to boost flavor even more, add a pinch of cayenne for heat or a teaspoon of liquid smoke for stronger backyard energy. Not required, but very welcome.
Instructions
This method keeps things simple: season, bake covered until tender, sauce, then finish uncovered until sticky and gorgeous. No mystery. No nonsense. Just good dinner.
-
Preheat the oven. Heat your oven to 300°F. This lower temperature gives the ribs time to soften and stay juicy instead of turning chewy and rude.
-
Prepare the pan. Lightly grease a baking dish or rimmed sheet pan with olive oil. Choose something large enough to hold the ribs in a single layer so they cook evenly.
-
Mix the dry seasoning. In a small bowl, combine the brown sugar, smoked paprika, garlic powder, onion powder, salt, black pepper, chili powder, and mustard powder. Stir well so every bite gets the full flavor mix.
-
Season the ribs. Pat the ribs dry with paper towels. Rub them with olive oil, then coat all sides with the seasoning blend. Press the spices onto the meat so they stay where they belong.
-
Add moisture to the pan. Place the ribs in the baking dish and pour the water and apple cider vinegar around the edges. Do not wash the seasoning off the top. We are building flavor, not starting over.
-
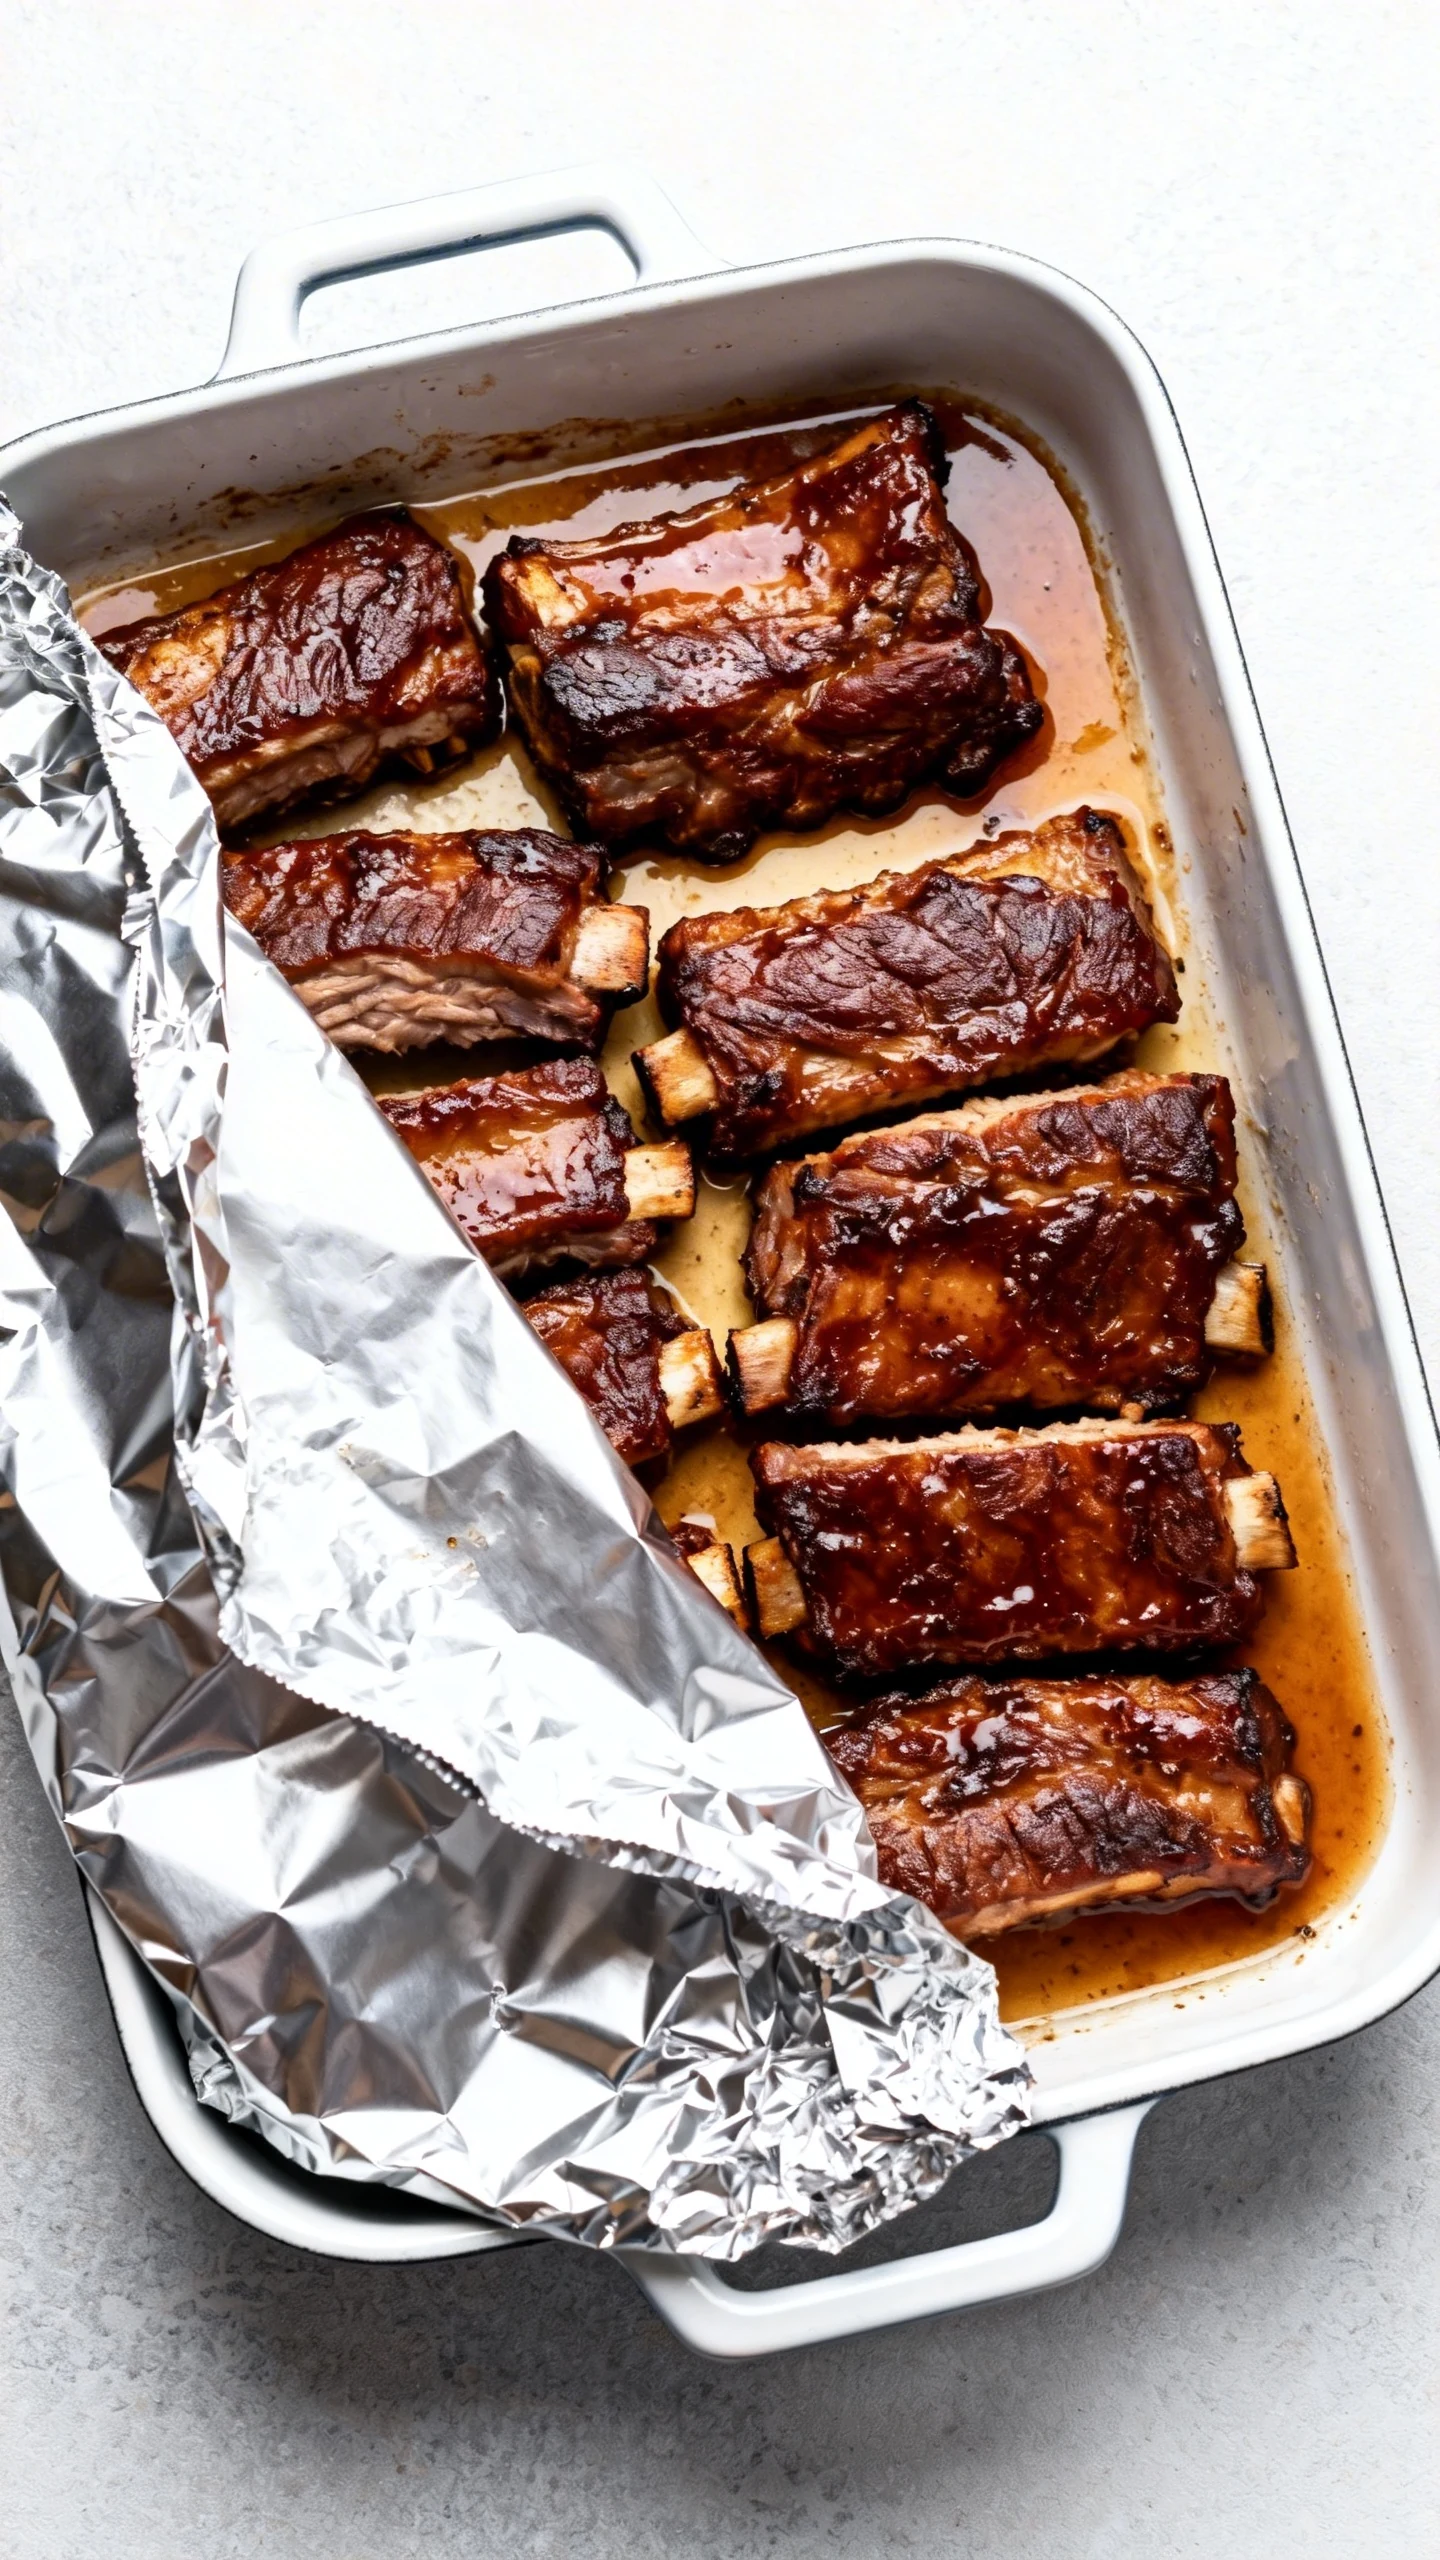
Cover and bake. Cover the dish tightly with foil and bake for 2 to 2 1/2 hours. The ribs should feel tender when you pierce them with a fork. If they still fight back, give them a little more time.
-
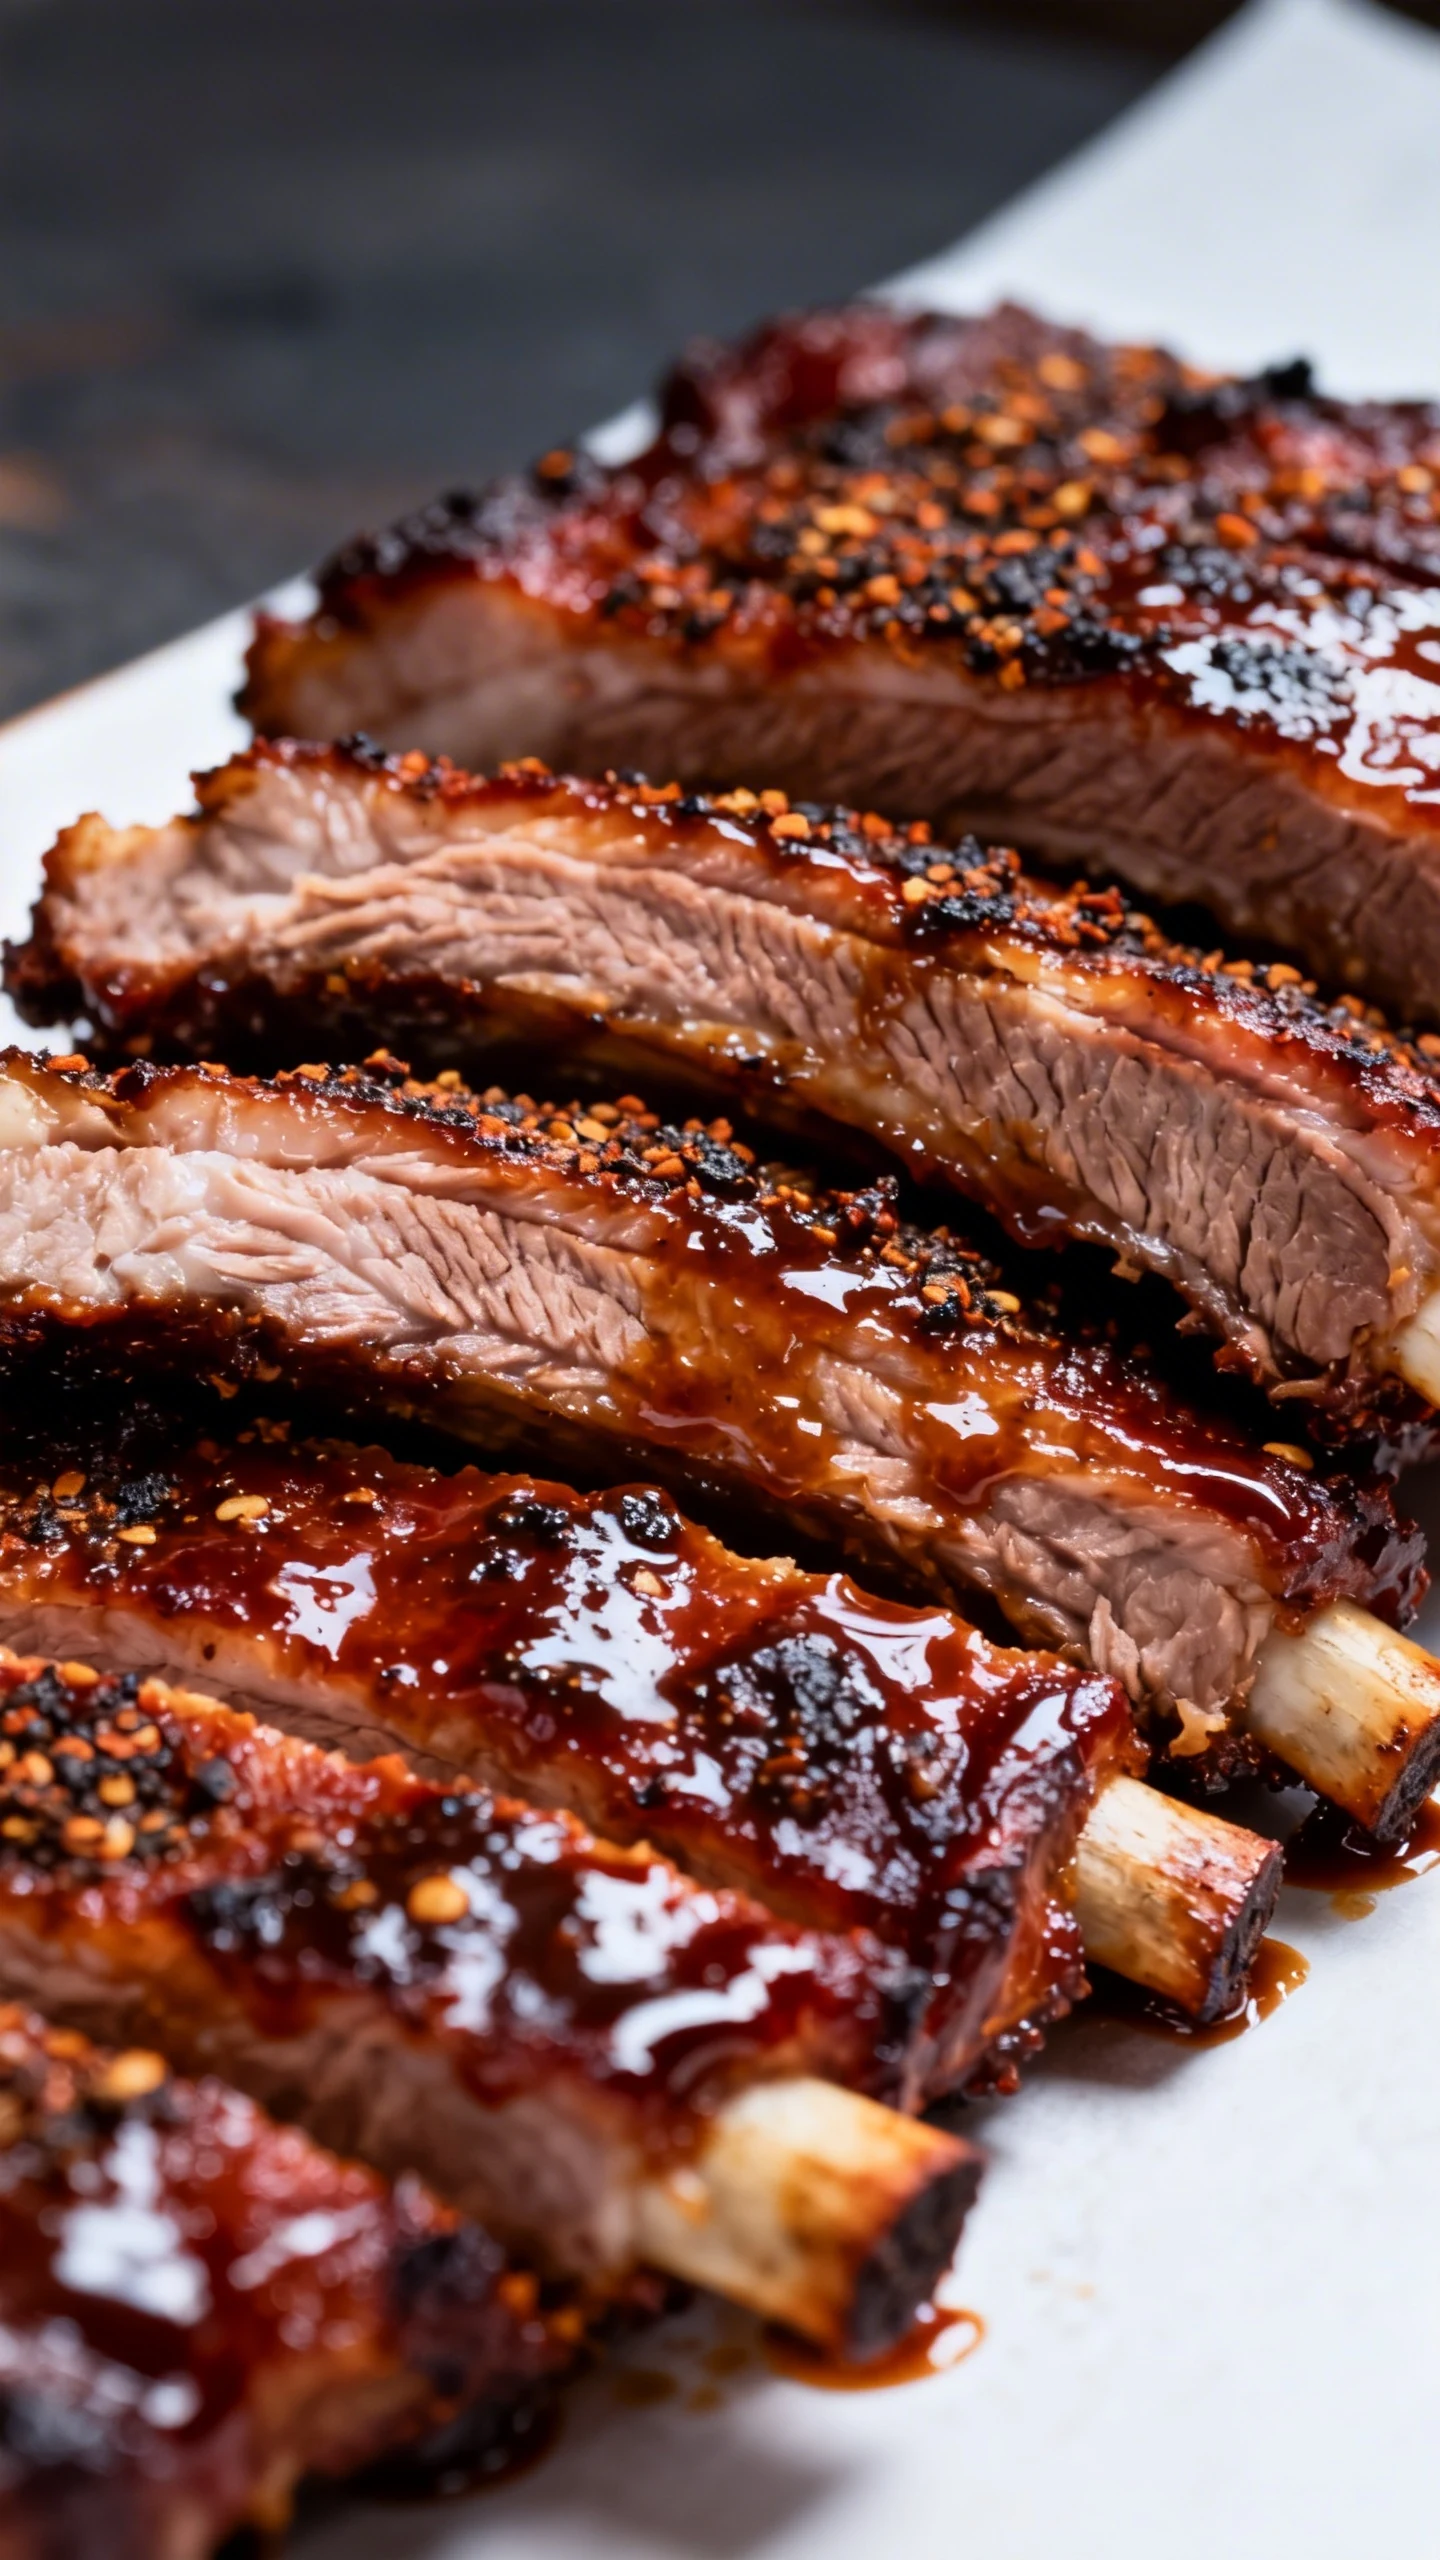
Sauce the ribs. Remove the foil carefully. Brush a generous layer of barbecue sauce over each piece. Be generous here. Nobody ever praised a dry rib for its restraint.
-
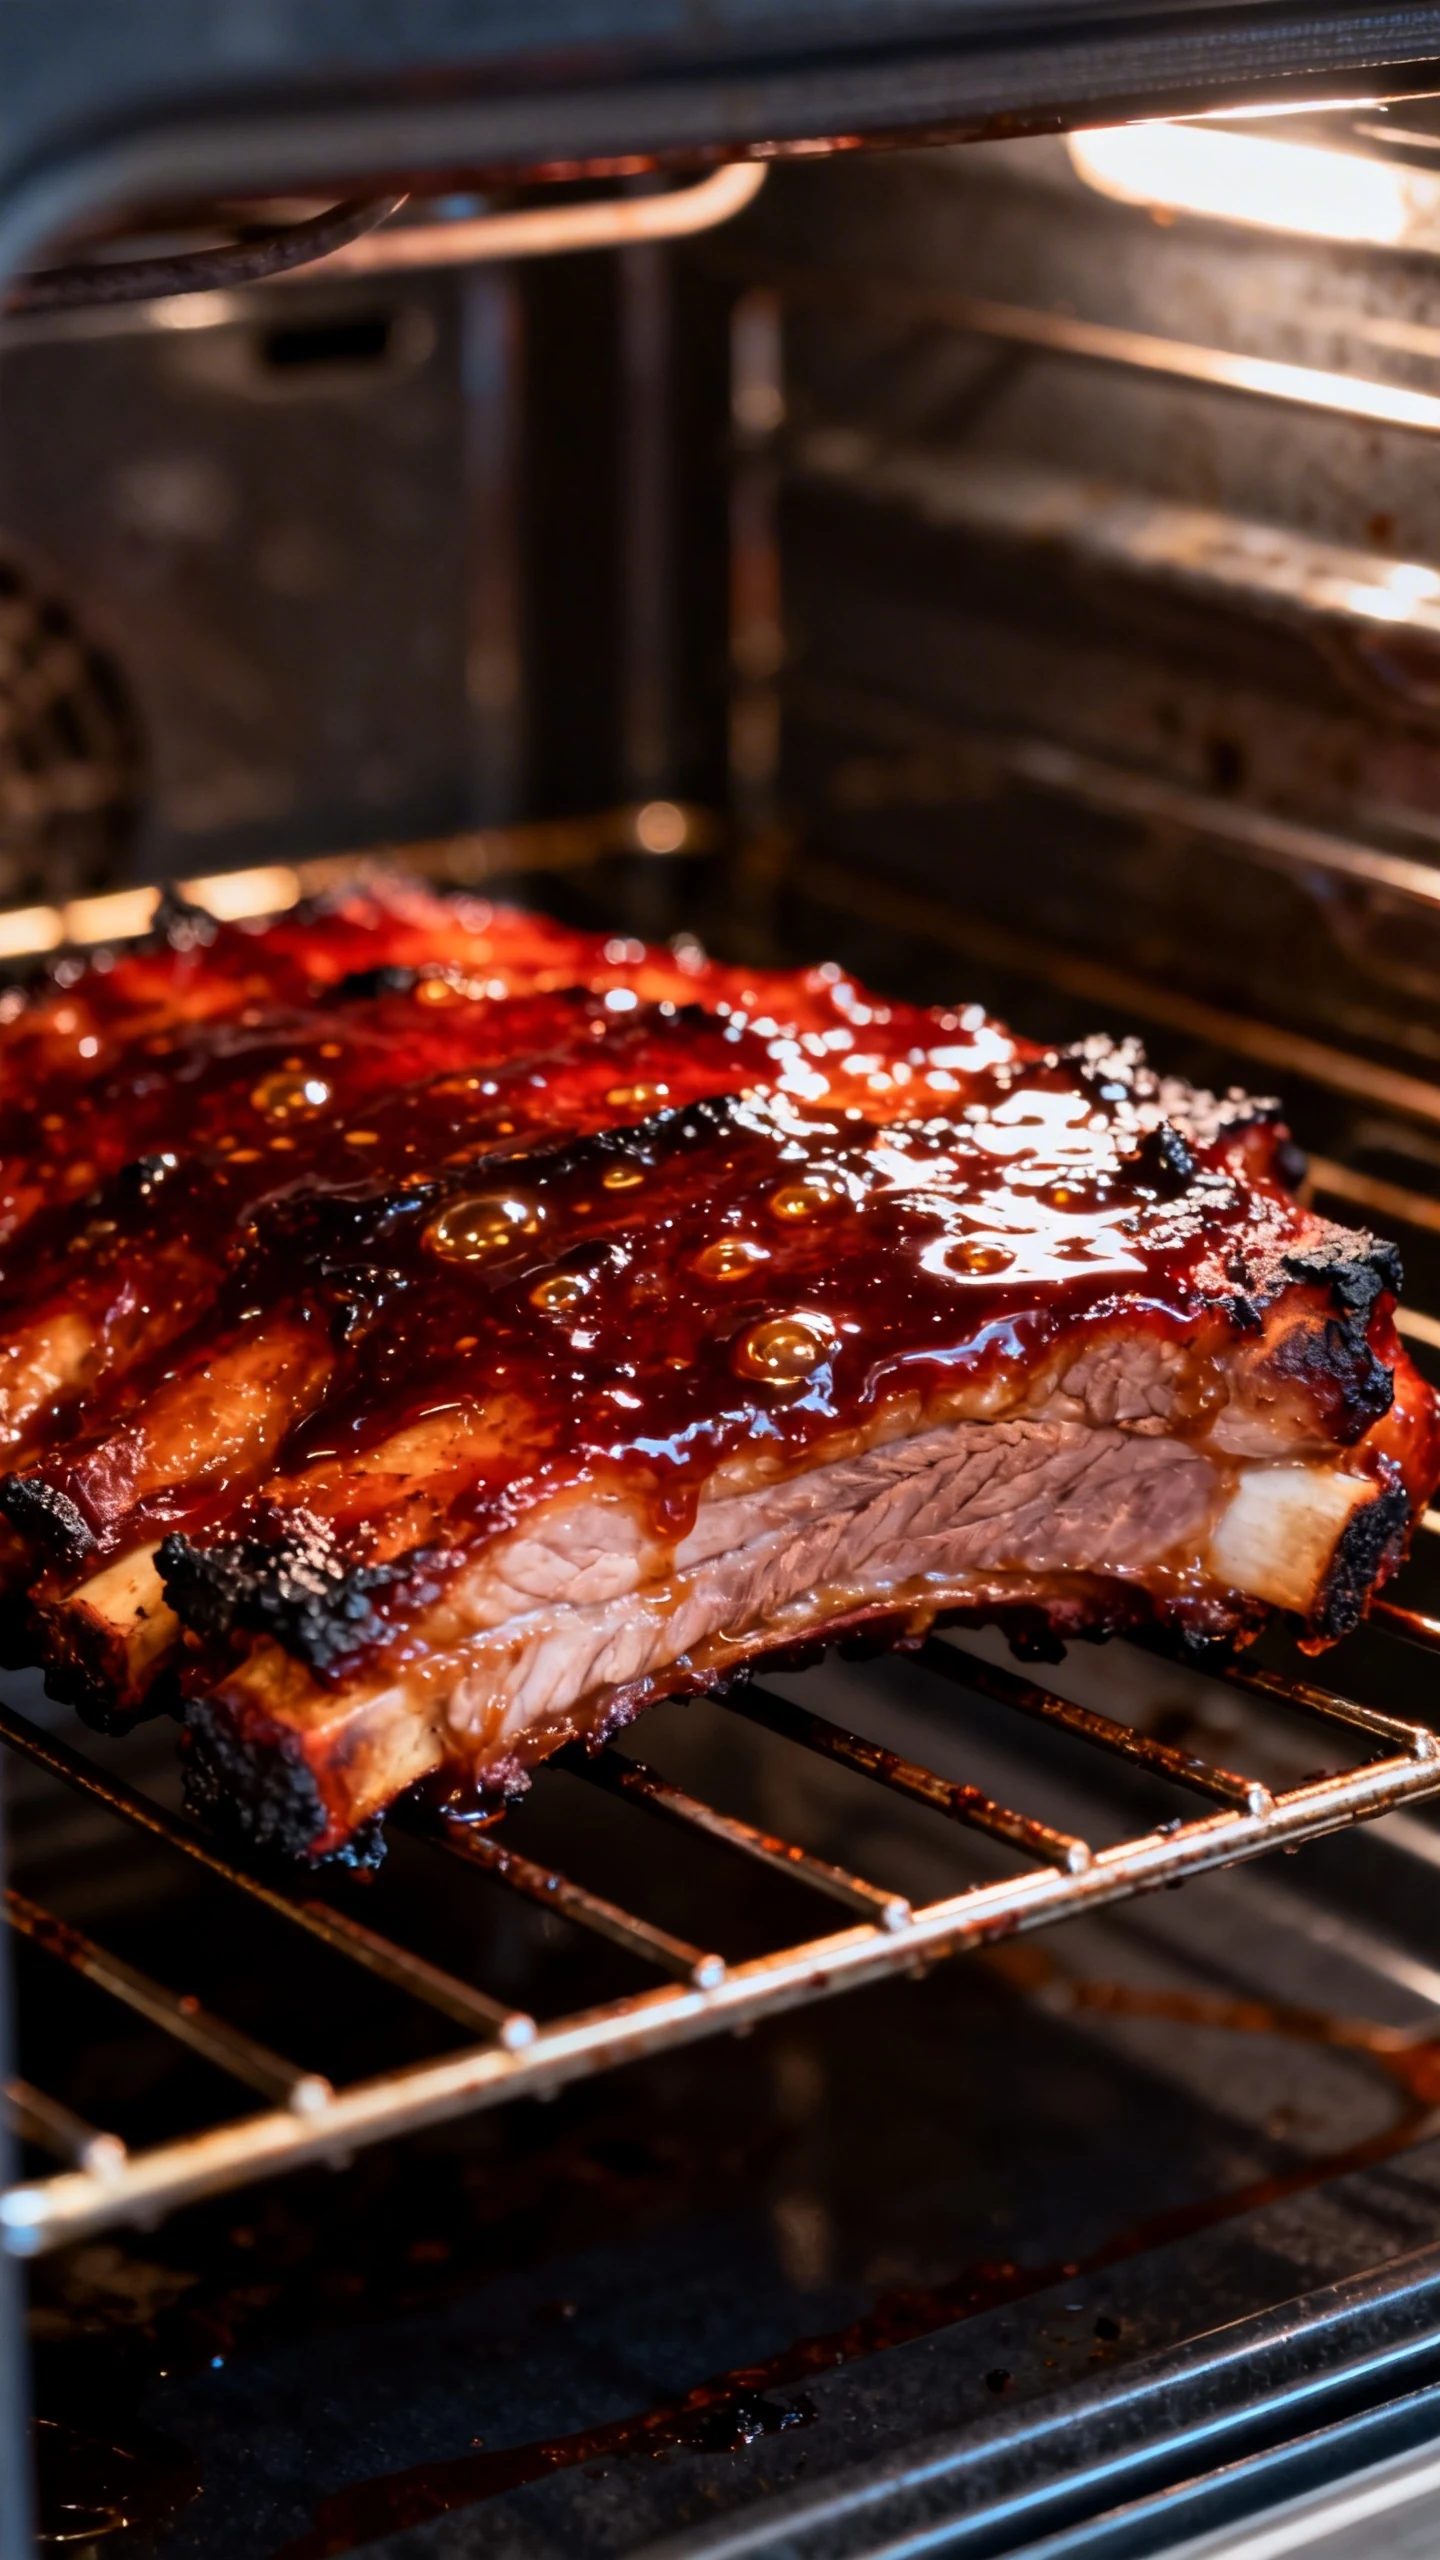
Finish uncovered. Return the pan to the oven uncovered for 20 to 30 minutes at 400°F. This step thickens the sauce, deepens the color, and gives you that sticky finish everyone wants.
-
Optional broil for extra caramelization. If you want darker edges, broil the ribs for 2 to 4 minutes at the end. Watch them closely because barbecue sauce goes from glossy to burnt in what feels like one rude second.
-
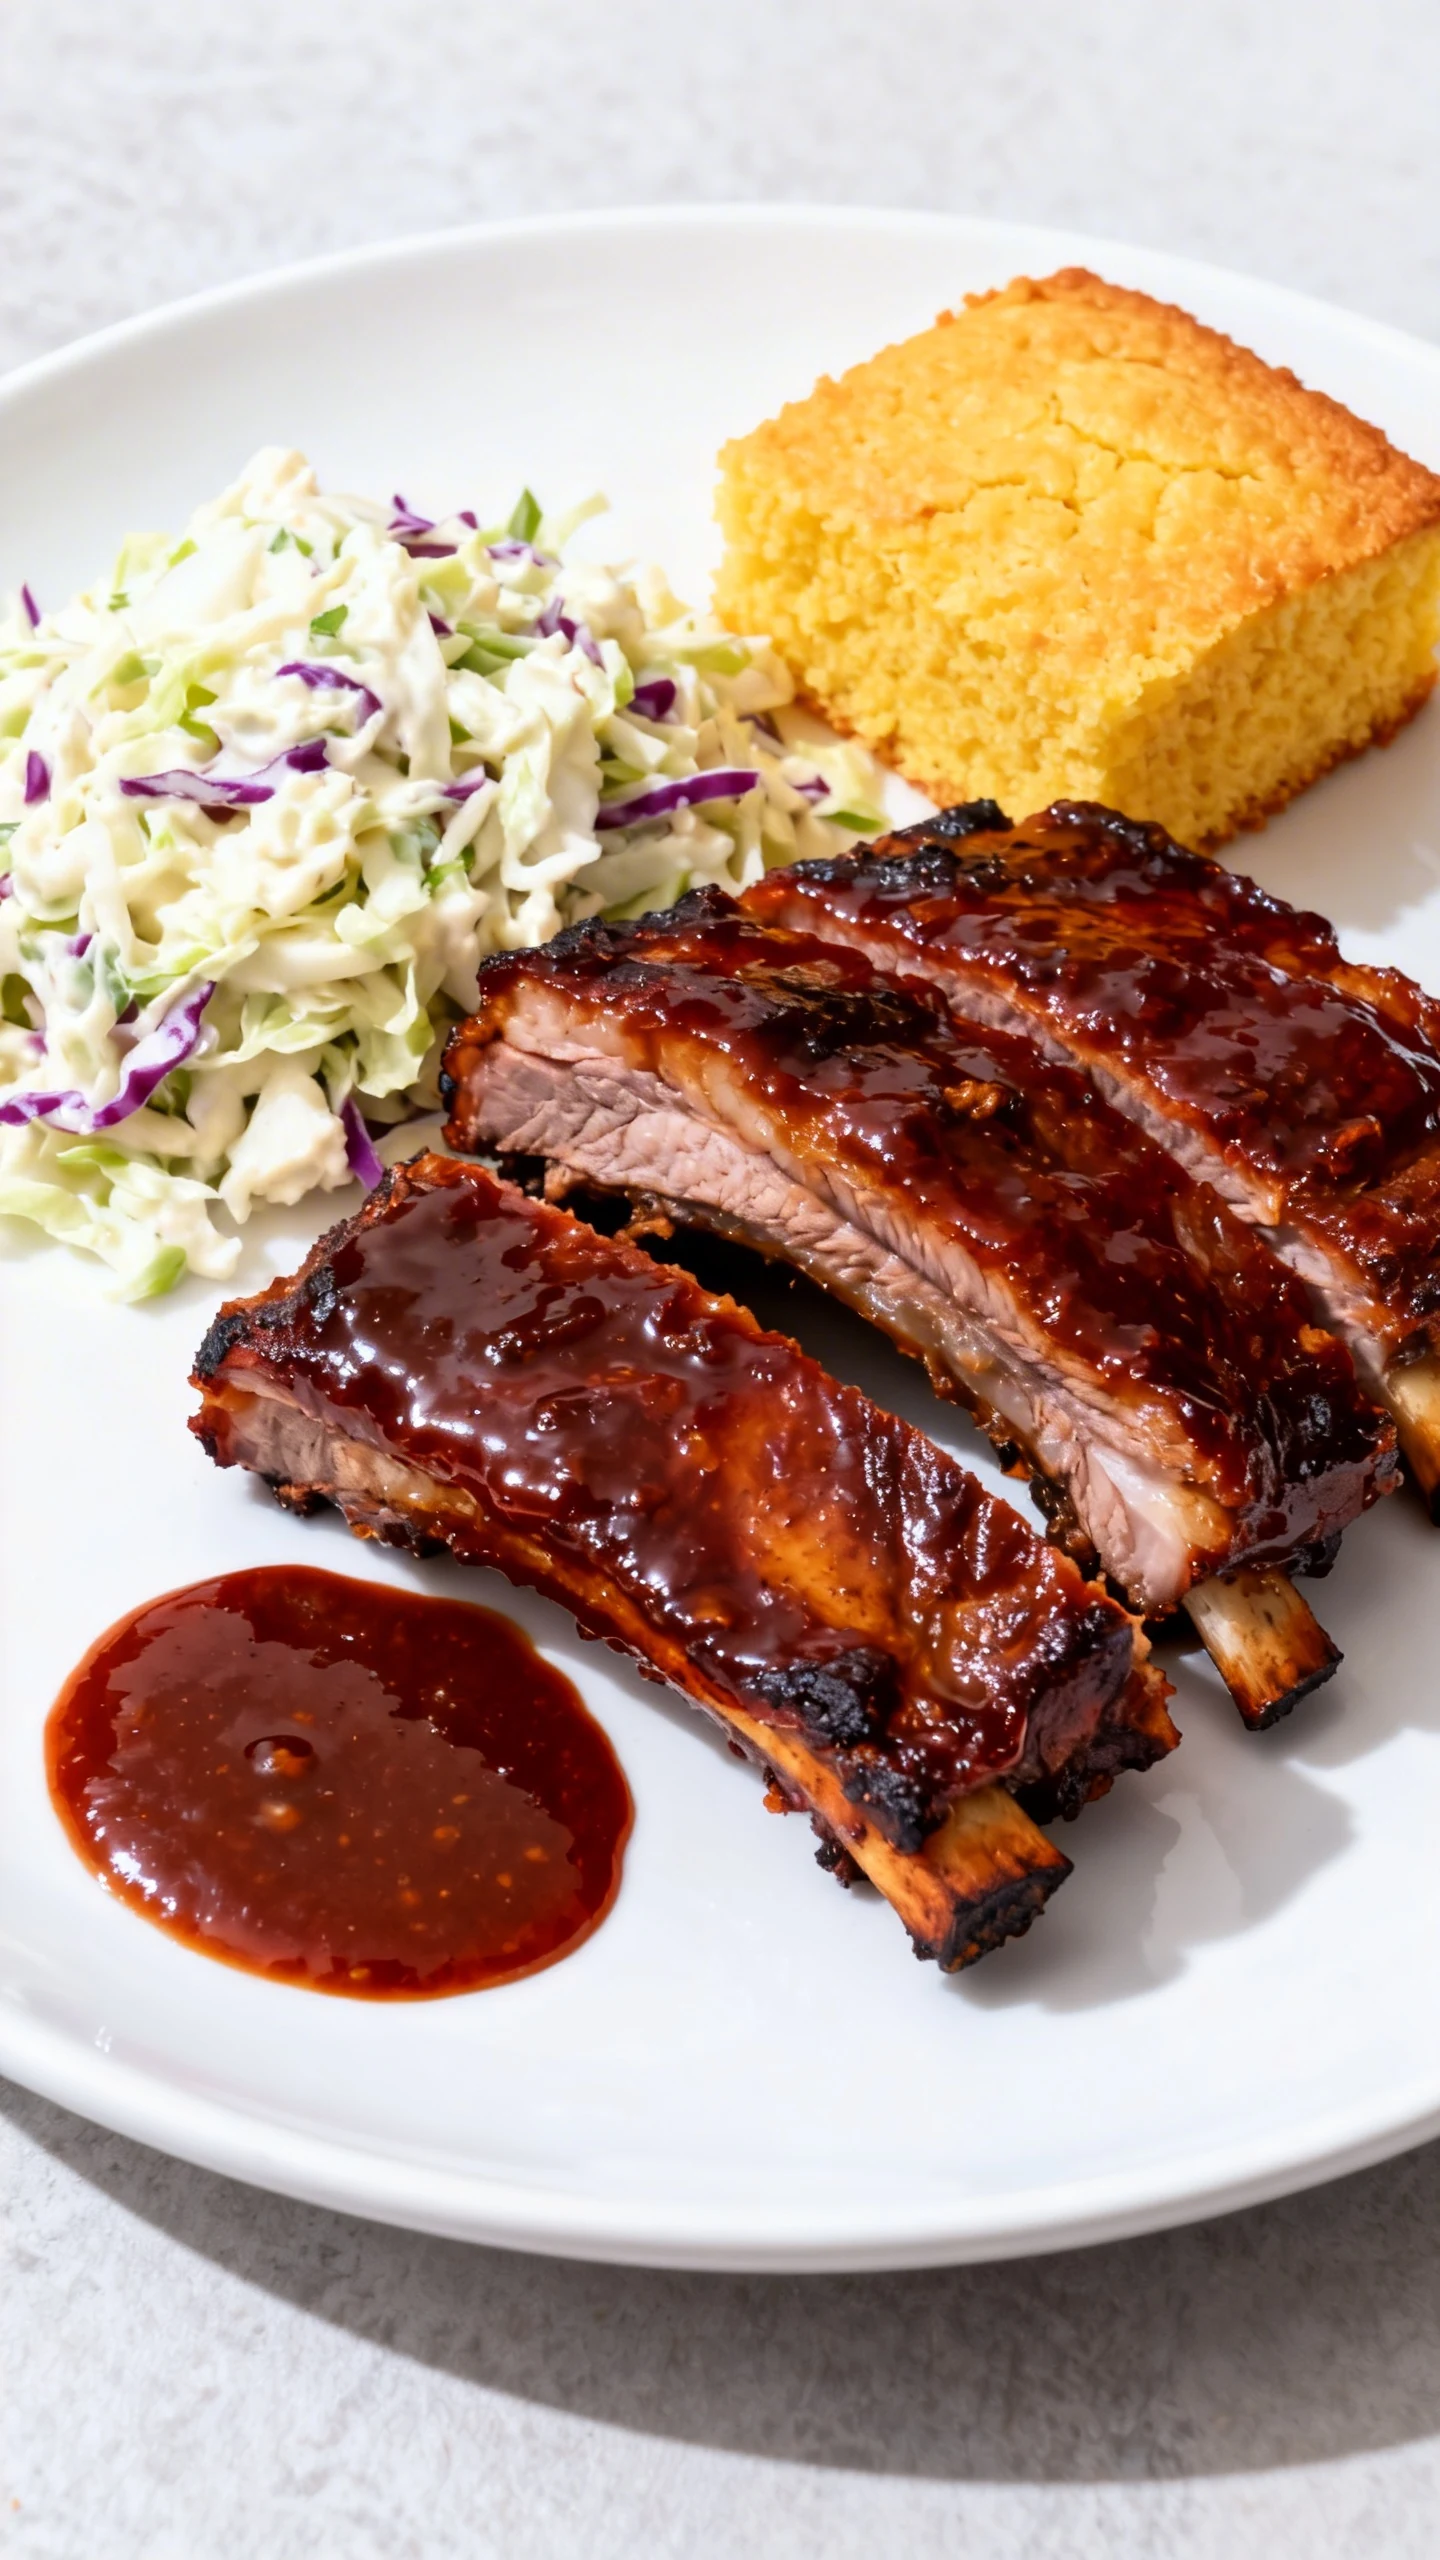
Rest and serve. Let the ribs rest for 5 to 10 minutes before serving. This helps the juices settle so the meat stays moist instead of flooding the plate.
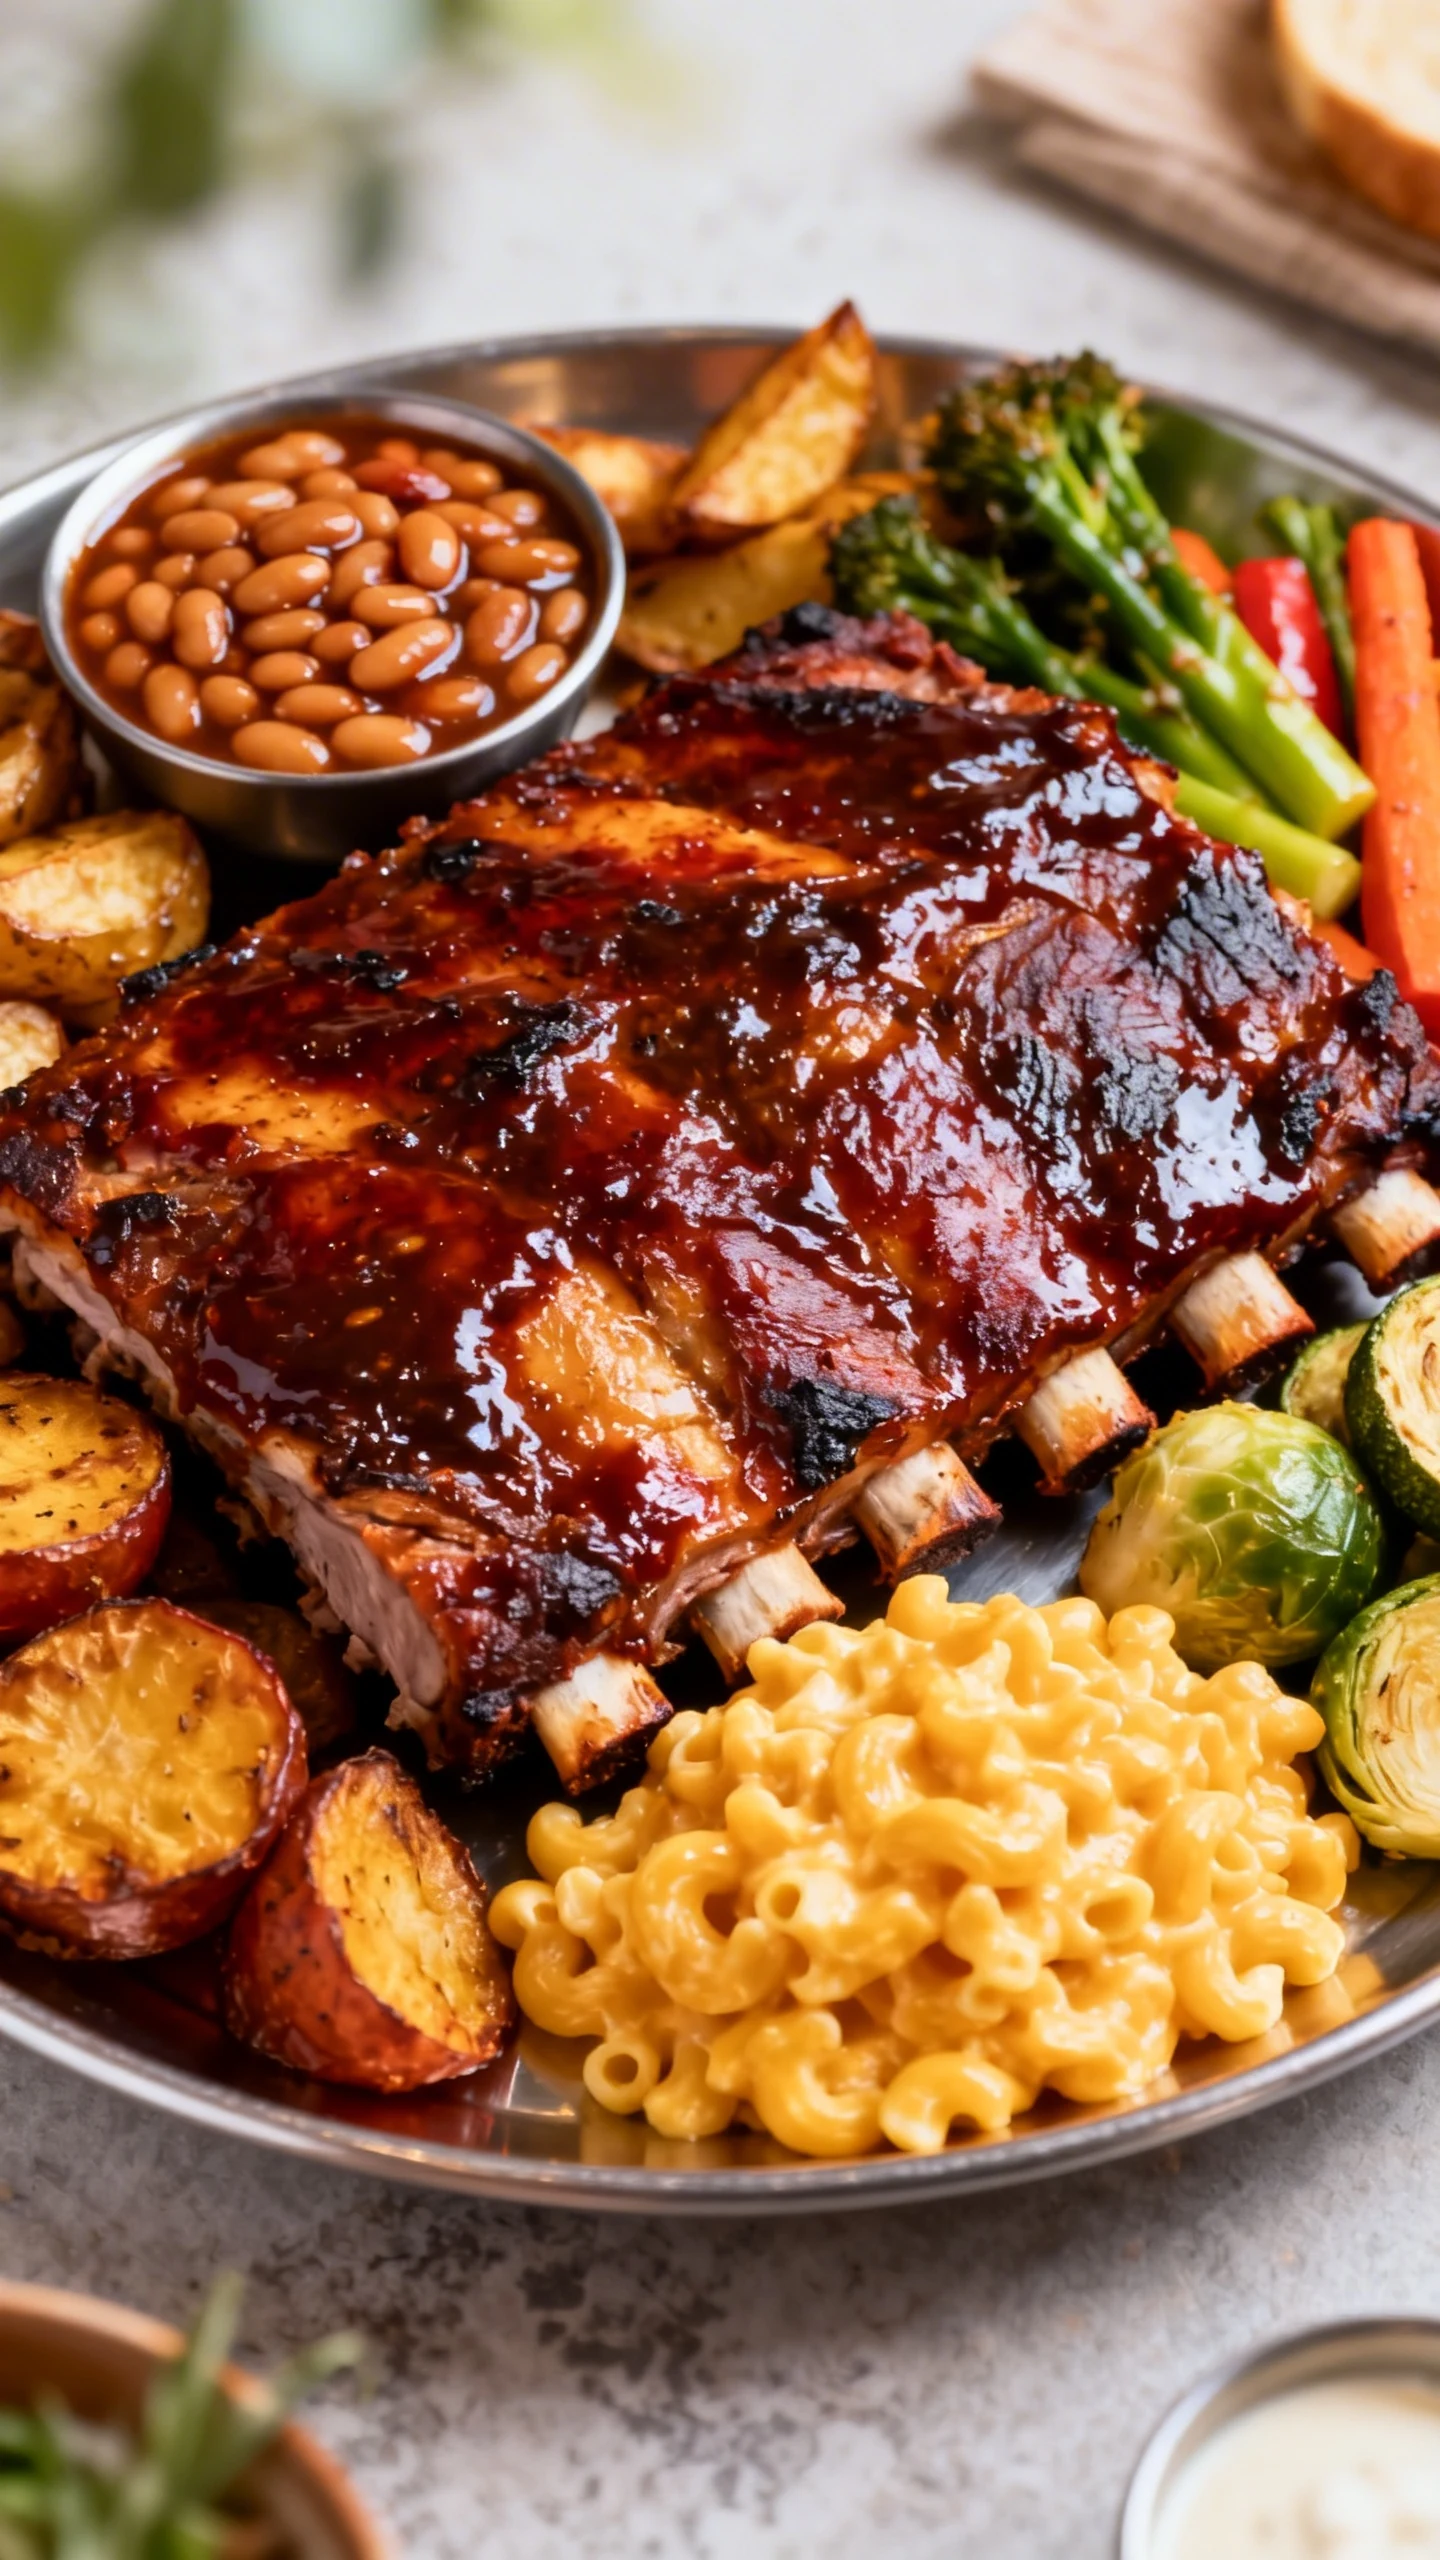
Serve these ribs with coleslaw, cornbread, baked beans, mashed potatoes, roasted vegetables, or mac and cheese. FYI, extra sauce on the side is never a bad idea.
Storage Instructions
These ribs store beautifully, which is great news if you like cooking once and eating well twice. Let them cool slightly before packing them up, but do not leave them out too long.
- Refrigerator: Store leftover ribs in an airtight container for up to 4 days.
- Freezer: Freeze in a sealed freezer safe container or bag for up to 3 months.
- To reheat in the oven: Place the ribs in a covered baking dish with a spoonful of water or extra sauce. Warm at 300°F until heated through.
- To reheat in the microwave: Use short intervals and cover loosely to prevent the meat from drying out.
If you freeze them, thaw overnight in the refrigerator before reheating. They come back best with a little extra sauce, because sauce solves most problems.
Benefits of This Recipe
This is not just tasty. It is practical, forgiving, and almost suspiciously easy for how satisfying the final result feels. That matters on nights when your energy level sits somewhere between zero and absolutely not.
- Budget friendly: Boneless country style ribs often cost less than restaurant barbecue for a whole family.
- No special equipment: You only need an oven, a pan, and basic kitchen tools.
- Hands off cooking: Most of the time belongs to the oven, not to you hovering dramatically.
- Reliable results: The covered bake creates a tender texture with less guesswork.
- Easy to scale: Double the recipe for a crowd or cut it in half for a smaller dinner.
- Kid and adult approved: Sweet smoky flavors usually win over even picky eaters.
Avoid These Mistakes
A few small mistakes can block your path to tender, sticky greatness. Luckily, they are easy to avoid once you know what to watch for.
- Using too high a temperature from the start: High heat too early can toughen the meat before it softens. Start low, then finish high.
- Skipping the foil cover: Covering traps moisture and helps the ribs cook gently. Without it, they can dry out fast.
- Not seasoning enough: Boneless ribs need a good rub to bring flavor into every bite. Bland barbecue is just sad meat with confidence issues.
- Adding sauce too early: Sauce can burn during a long bake because of its sugar content. Save it for the final stage.
- Crowding the pan: If the ribs overlap too much, they steam unevenly and do not caramelize well later.
- Skipping the rest time: Cutting in right away lets juices run out. Give the meat a few minutes to settle.
Variations You Can Try
One of the best things about this recipe is how easy it is to tweak. Change the sauce, swap the spices, or adjust the heat level depending on who is coming to dinner.
- Spicy version: Add cayenne, crushed red pepper, or a hot barbecue sauce for extra kick.
- Honey barbecue style: Mix a tablespoon or two of honey into the sauce for a sweeter glaze.
- Smokier flavor: Add a small amount of liquid smoke to the sauce or rub.
- Garlic lovers version: Increase garlic powder or add minced garlic to the sauce before brushing it on.
- Tangy twist: Use more apple cider vinegar or a mustard based barbecue sauce.
- Lower sugar option: Choose a reduced sugar sauce and cut back on the brown sugar in the rub.
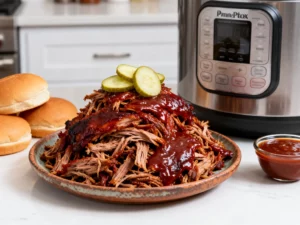
You can also shred the finished ribs and pile them onto buns, baked potatoes, rice bowls, or tacos. Suddenly leftovers look very exciting. Funny how that works.
FAQ
What kind of boneless ribs should I use?
Country style boneless pork ribs work best. They are meaty, tender when baked low and slow, and easy to find in most grocery stores. Despite the name, they are usually cut from the shoulder area rather than actual rib bones.
How do I know when the ribs are done?
The ribs should feel fork tender after the covered bake. If you want to check with a thermometer, aim for at least 190°F to 200°F for a softer texture. That range helps break down connective tissue so the meat tastes rich and tender.
Can I make these ahead of time?
Yes. Bake the ribs until tender, cool them, and refrigerate. When you are ready to serve, brush with sauce and reheat uncovered in the oven until hot and caramelized.
Can I use beef instead of pork?
You can, but the cooking time and texture may vary depending on the cut. Beef boneless short ribs can work well, though they may need more time to become tender. Keep an eye on them and cook until they soften fully.
What barbecue sauce tastes best here?
Use any sauce you already love. Sweet and smoky sauces create a classic finish, while spicy or vinegar forward sauces give the ribs a sharper edge. Homemade works too if you have it, but store bought absolutely gets the job done.
Can I make this recipe less sweet?
Definitely. Reduce or skip the brown sugar in the rub and choose a less sweet barbecue sauce. You can boost flavor with extra smoked paprika, garlic, mustard powder, or black pepper instead.
Do I need to marinate the ribs first?
No. The dry rub and slow oven bake already create plenty of flavor. If you have extra time, you can season the ribs a few hours ahead, but the recipe still works beautifully without that step.
Can I finish these on the grill?
Yes. Bake them until tender in the oven first, then move them to a hot grill for a few minutes after saucing. This adds char and smoke while keeping the process easy and reliable.
Wrapping Up
If you want a dinner that feels like a weekend reward but fits into real life, this recipe delivers. These ribs come out tender, rich, sticky, and deeply satisfying without turning your kitchen into a stress festival. You get all the comfort of barbecue with a method that actually behaves.
Keep this one in your back pocket for family dinners, game days, lazy Sundays, or any night when takeout sounds boring. Once you see how simple the process is, you will make it again and again. And honestly, when dinner tastes this good, repetition feels less like routine and more like a solid life choice.
