Make smoky, juicy, crowd winning ribs with simple steps, bold flavor, and tender results without babysitting the grill all day.
Great ribs make people hover near the grill like they suddenly developed a hobby. One bite in, and the whole backyard goes quiet except for that little nod people do when food hits hard. That is the goal here. You do not need competition level gear, a meat science degree, or a cape. You just need smart seasoning, steady heat, and the patience to not torch dinner because you got cocky.
These ribs bring big flavor, sticky edges, and that perfect chew that says you know what you are doing. They look impressive, but the process stays simple enough for a normal weekend. IMO, that is the sweet spot. Fancy enough to brag about, easy enough to repeat.
What Makes This Recipe Awesome
This recipe wins because it balances smoke, spice, sweetness, and texture without turning into an all day stress festival. You get ribs that taste deeply seasoned all the way through, not just on the surface. The grill gives you that charred, smoky finish that the oven cannot fake, no matter how motivational your kitchen playlist gets.
It also uses a practical method: low heat first, sauce later, and enough resting time to keep the meat juicy. That means fewer flare ups, less burnt sugar, and a better final bite. You want ribs that bend and tear cleanly, not ribs that fight back like old leather. This method gets you there.
Another reason this recipe stands out is flexibility. Use baby back ribs if you want them a little leaner and quicker, or go with St. Louis style if you want meatier ribs with rich flavor. Either way, the technique works. That is what makes it backyard gold.
Ingredients
Here is everything you need to make a full rack or two of unforgettable ribs.
- 2 racks pork ribs, baby back or St. Louis style
- 2 tablespoons yellow mustard or oil, for binding the rub
- 1 cup barbecue sauce, plus more for serving
- Apple juice or apple cider vinegar, for moisture while grilling
For the dry rub
- 1/4 cup brown sugar
- 2 tablespoons paprika
- 1 tablespoon smoked paprika
- 1 tablespoon kosher salt
- 2 teaspoons black pepper
- 2 teaspoons garlic powder
- 2 teaspoons onion powder
- 1 teaspoon chili powder
- 1 teaspoon cumin
- 1/2 teaspoon cayenne pepper, optional
- 1 teaspoon dry mustard, optional
Optional grilling extras
- Wood chips such as apple, hickory, or cherry
- Aluminum foil for wrapping during part of the cook
- Butter and honey for extra richness in the wrap phase
How to Make It – Instructions
-
Prep the ribs. Remove the membrane from the back of each rack if it is still attached. Slide a butter knife under one corner, grab it with a paper towel, and pull. This step matters because the membrane turns chewy, and nobody gathers around the grill asking for more chewiness.
-
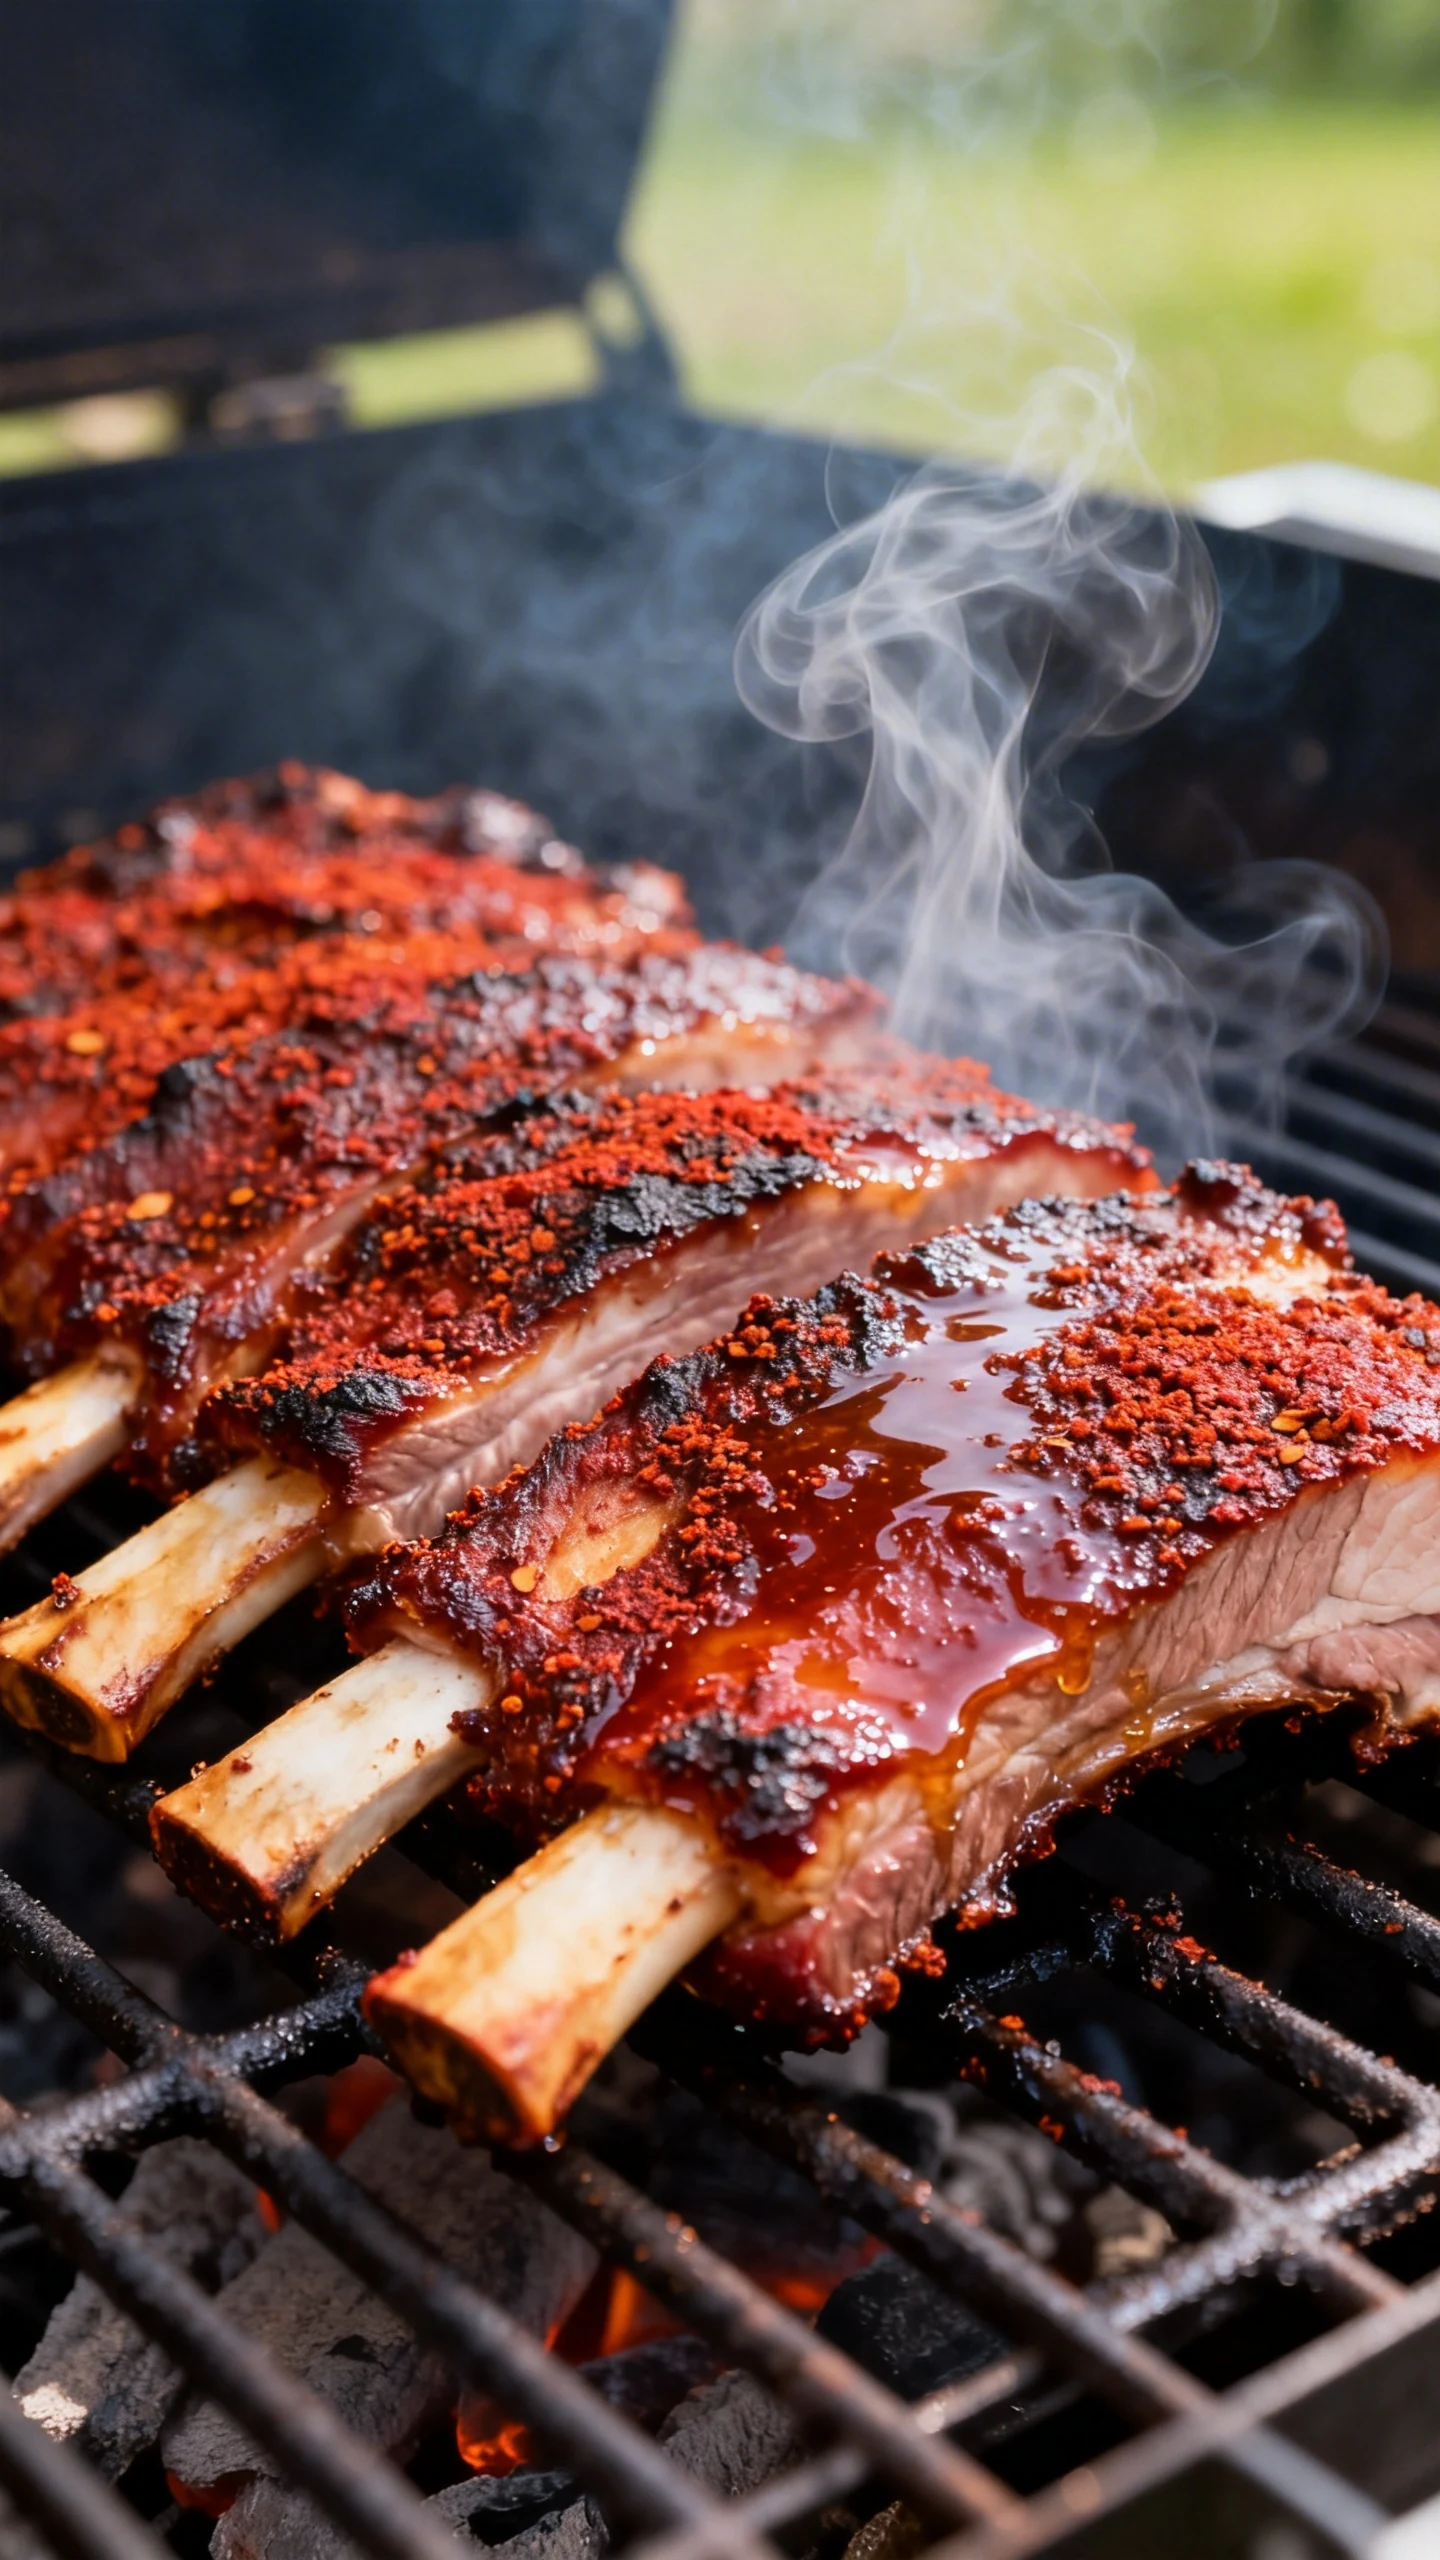
Season generously. Pat the ribs dry, then coat lightly with mustard or oil. Mix the dry rub ingredients in a bowl and cover both sides of the ribs well. Let them sit for at least 30 minutes, or refrigerate them for a few hours if you want deeper flavor.
-
Set up the grill for indirect heat. Preheat your grill to about 250 to 275 degrees Fahrenheit. On a gas grill, turn on one side and leave the other off. On a charcoal grill, bank the coals to one side. Add wood chips if you want extra smoke, but do not overdo it unless you enjoy your dinner tasting like a campfire sweatshirt.
-
Start low and slow. Place the ribs bone side down on the cooler side of the grill. Close the lid and cook for about 2 hours, maintaining steady temperature. Spritz lightly with apple juice or a vinegar and water mix every 30 to 45 minutes if the surface looks dry.
-
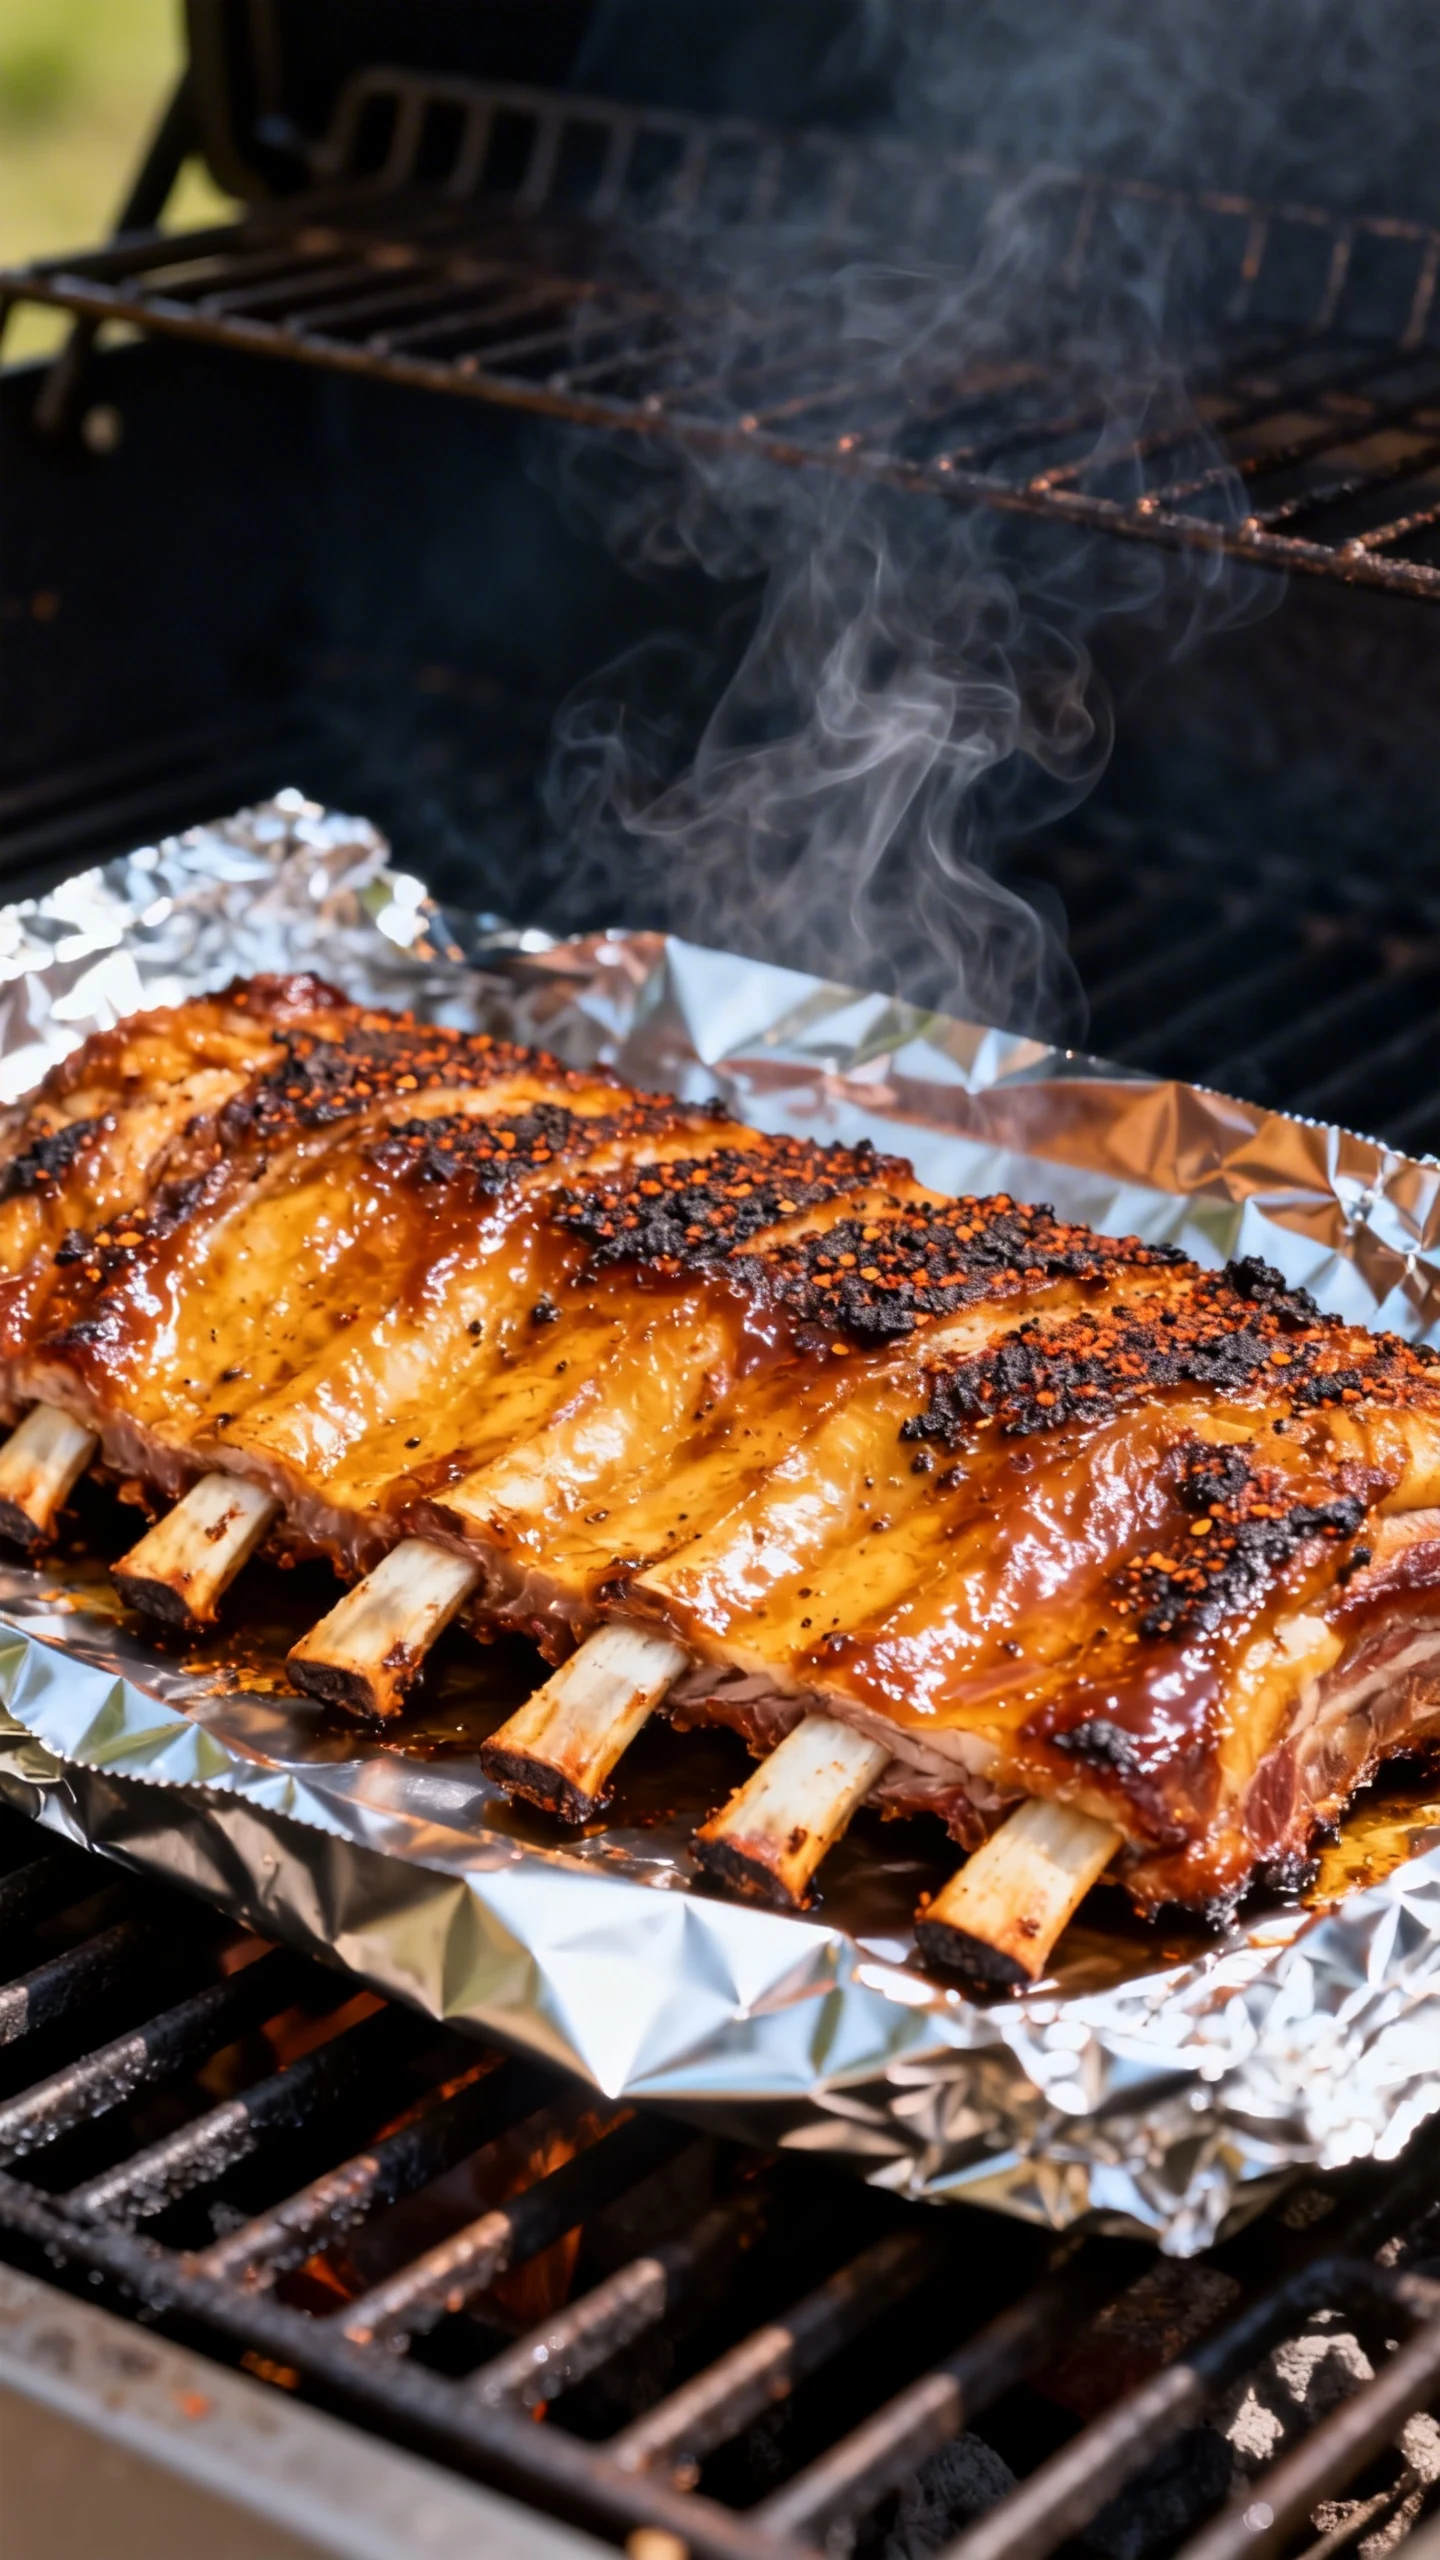
Wrap if you want extra tenderness. After the first stage, you can wrap each rack in foil with a small splash of apple juice. Some people add butter and honey here for a sweeter finish. Return the wrapped ribs to indirect heat for 45 minutes to 1 hour. This step speeds up tenderness and helps lock in moisture.
-
Unwrap and firm up the bark. Carefully remove the ribs from the foil and place them back on the grill. Let the exterior tighten for about 20 to 30 minutes. The meat should look rich and glossy, with some pullback from the bones.
-
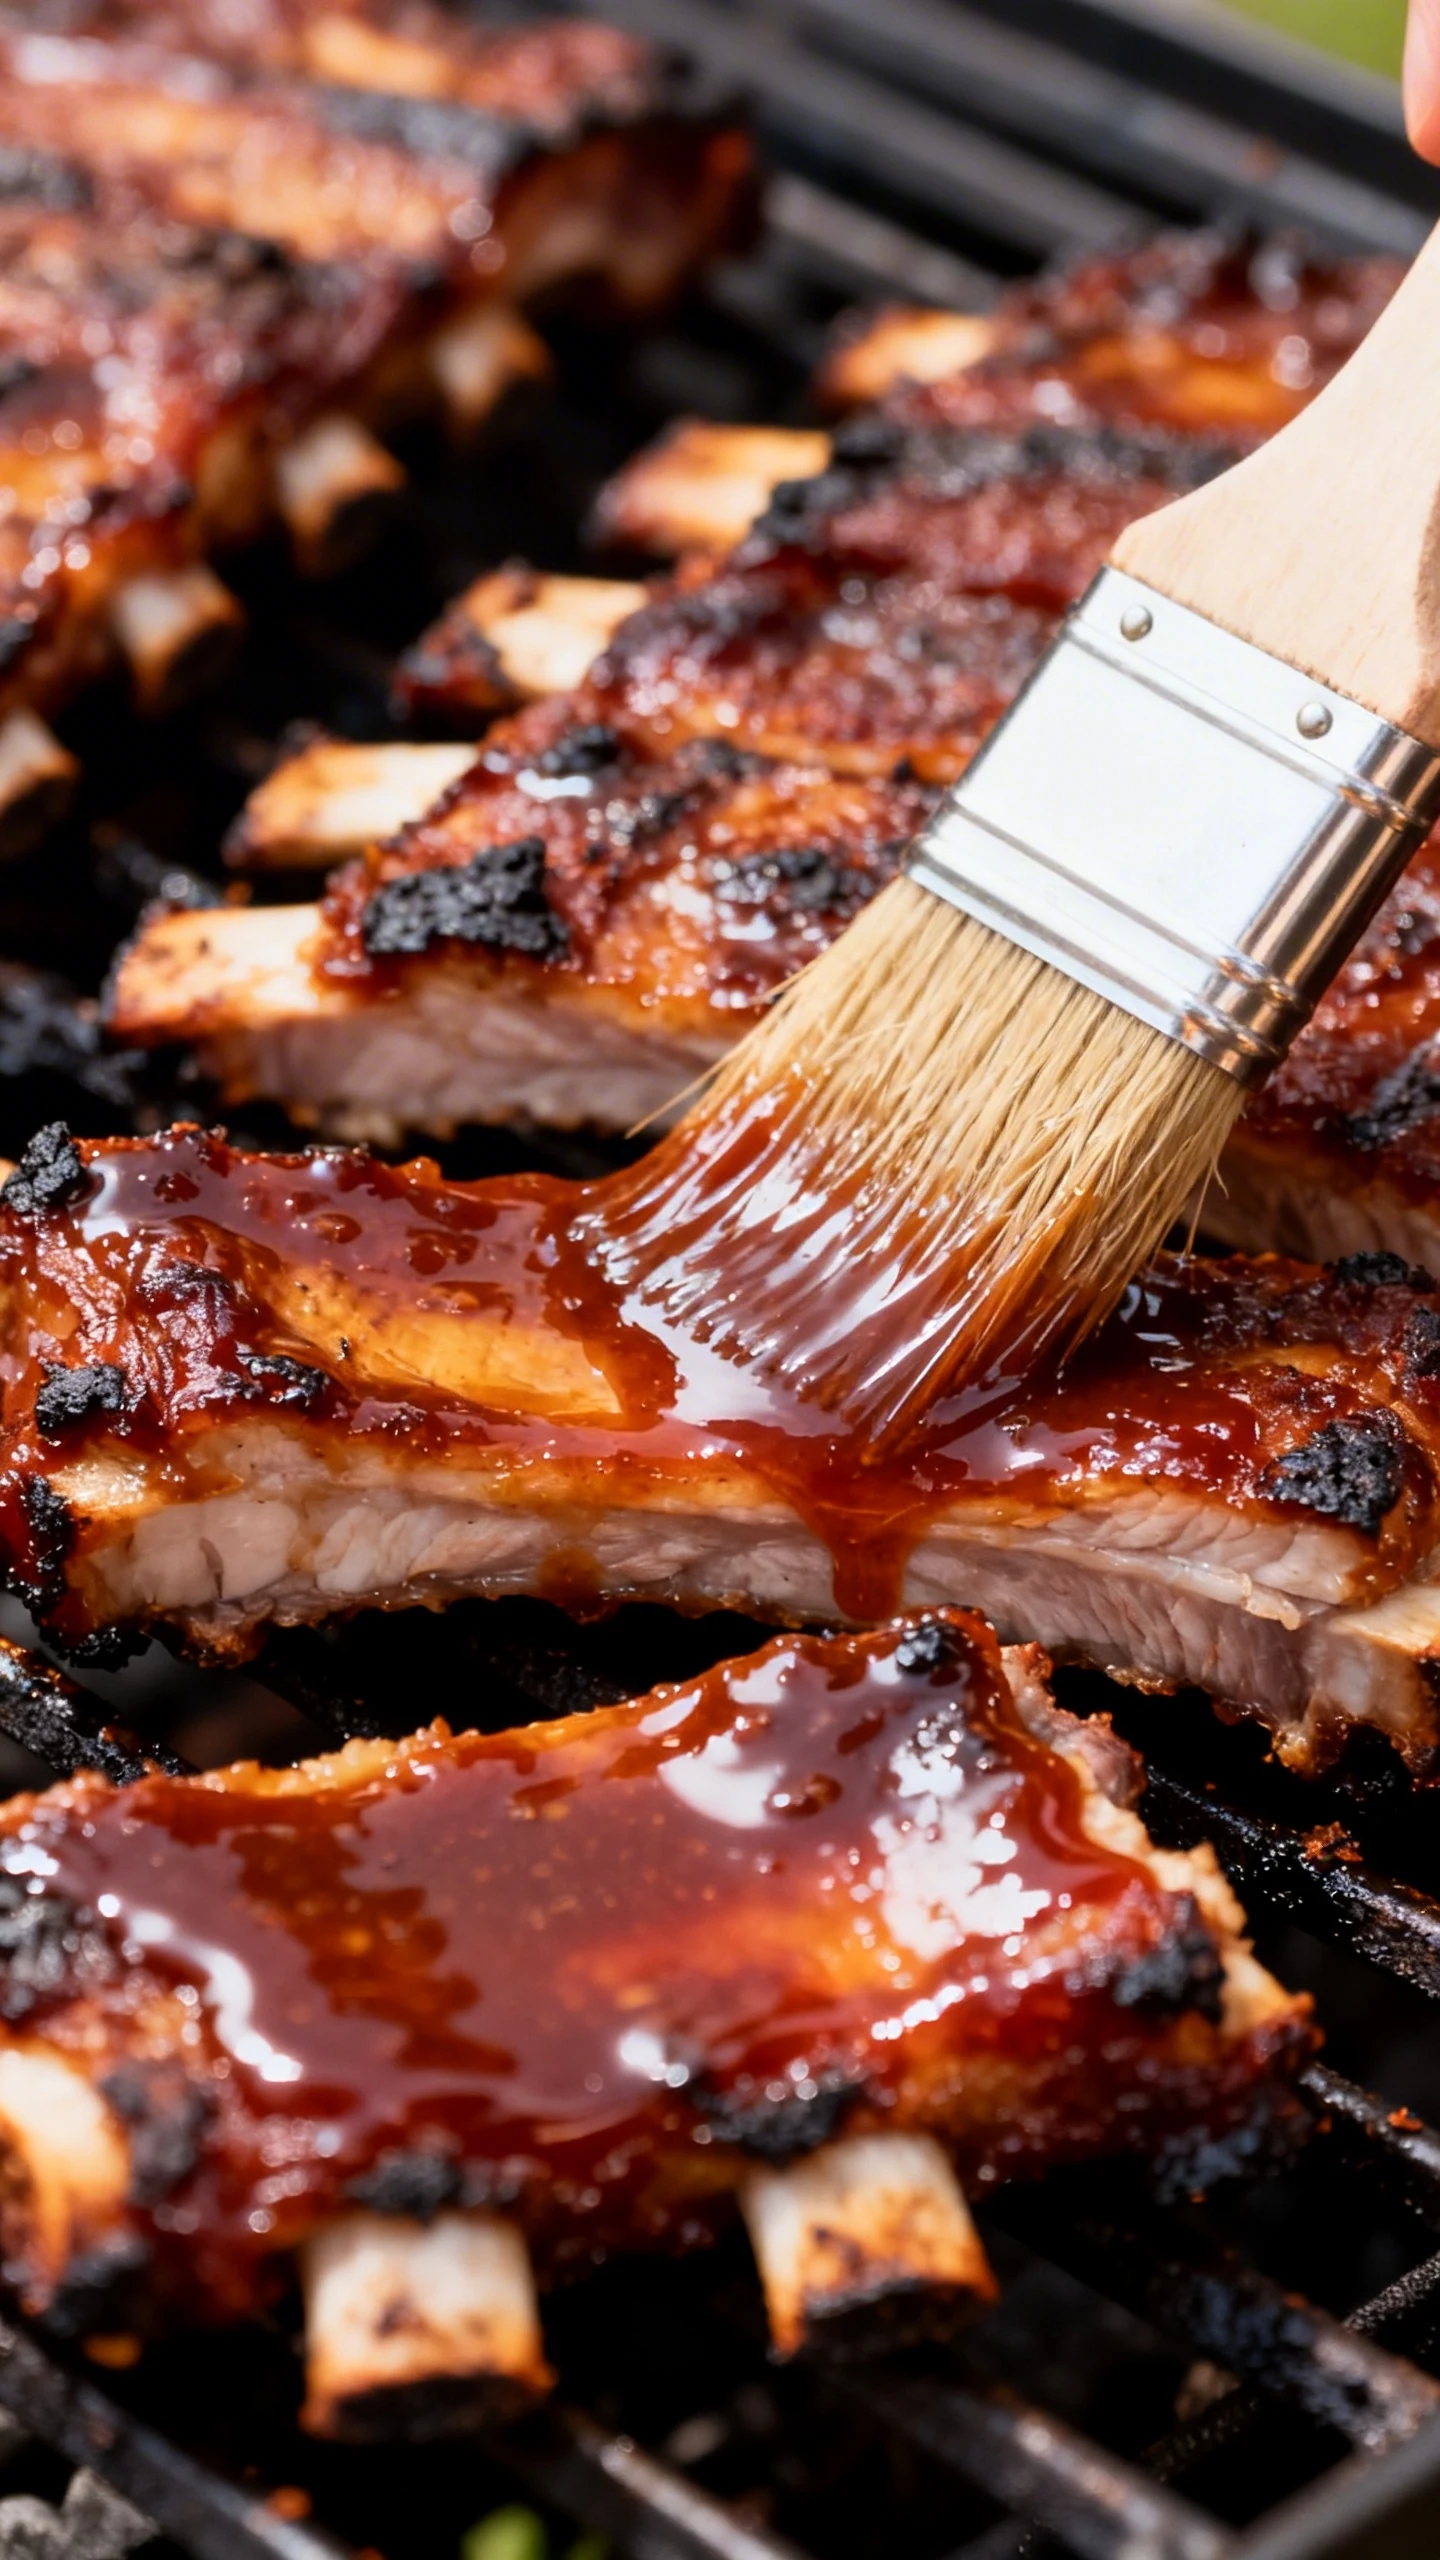
Sauce near the end. Brush on barbecue sauce during the last 15 to 20 minutes of grilling. Add one thin layer, let it set, then add another if you like them sticky. Sauce too early and the sugars burn. Then you are not making ribs. You are making regret.
-
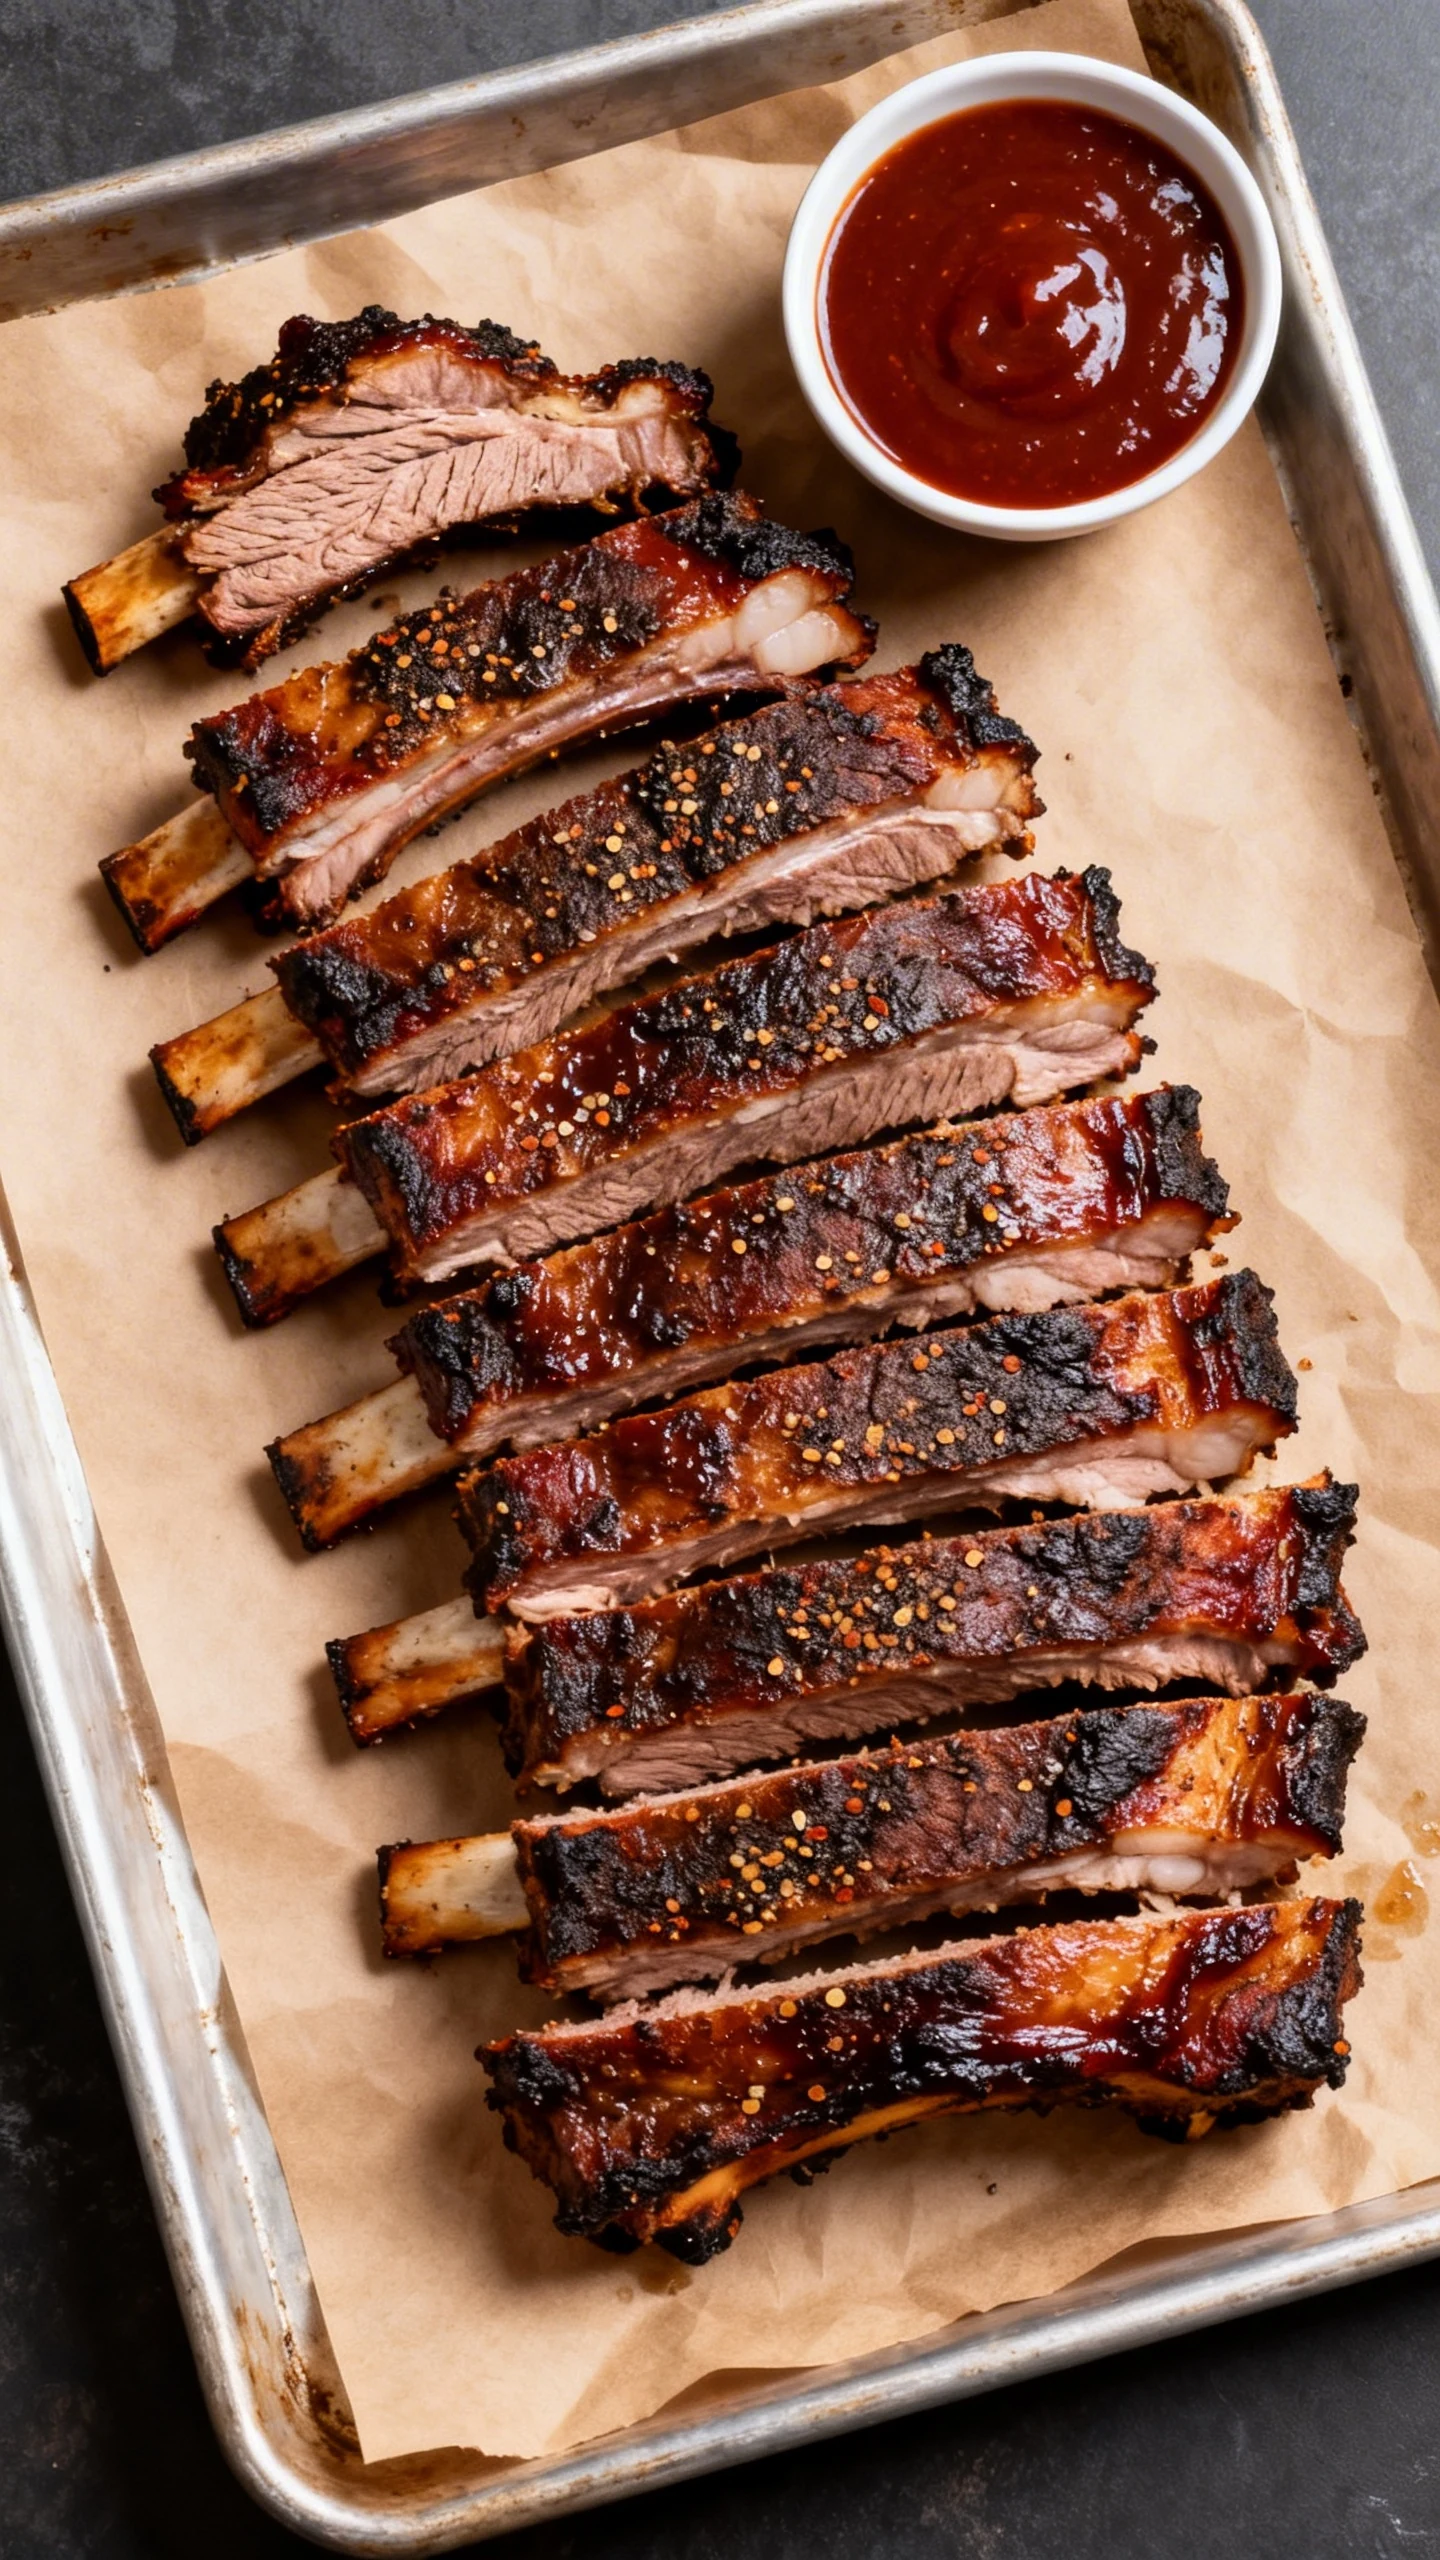
Check for doneness. The ribs should bend easily when lifted from one end, and a toothpick should slide into the meat with little resistance. If you use a thermometer, aim for roughly 195 to 203 degrees Fahrenheit in the thickest parts. Tender matters more than chasing a perfect number.
-
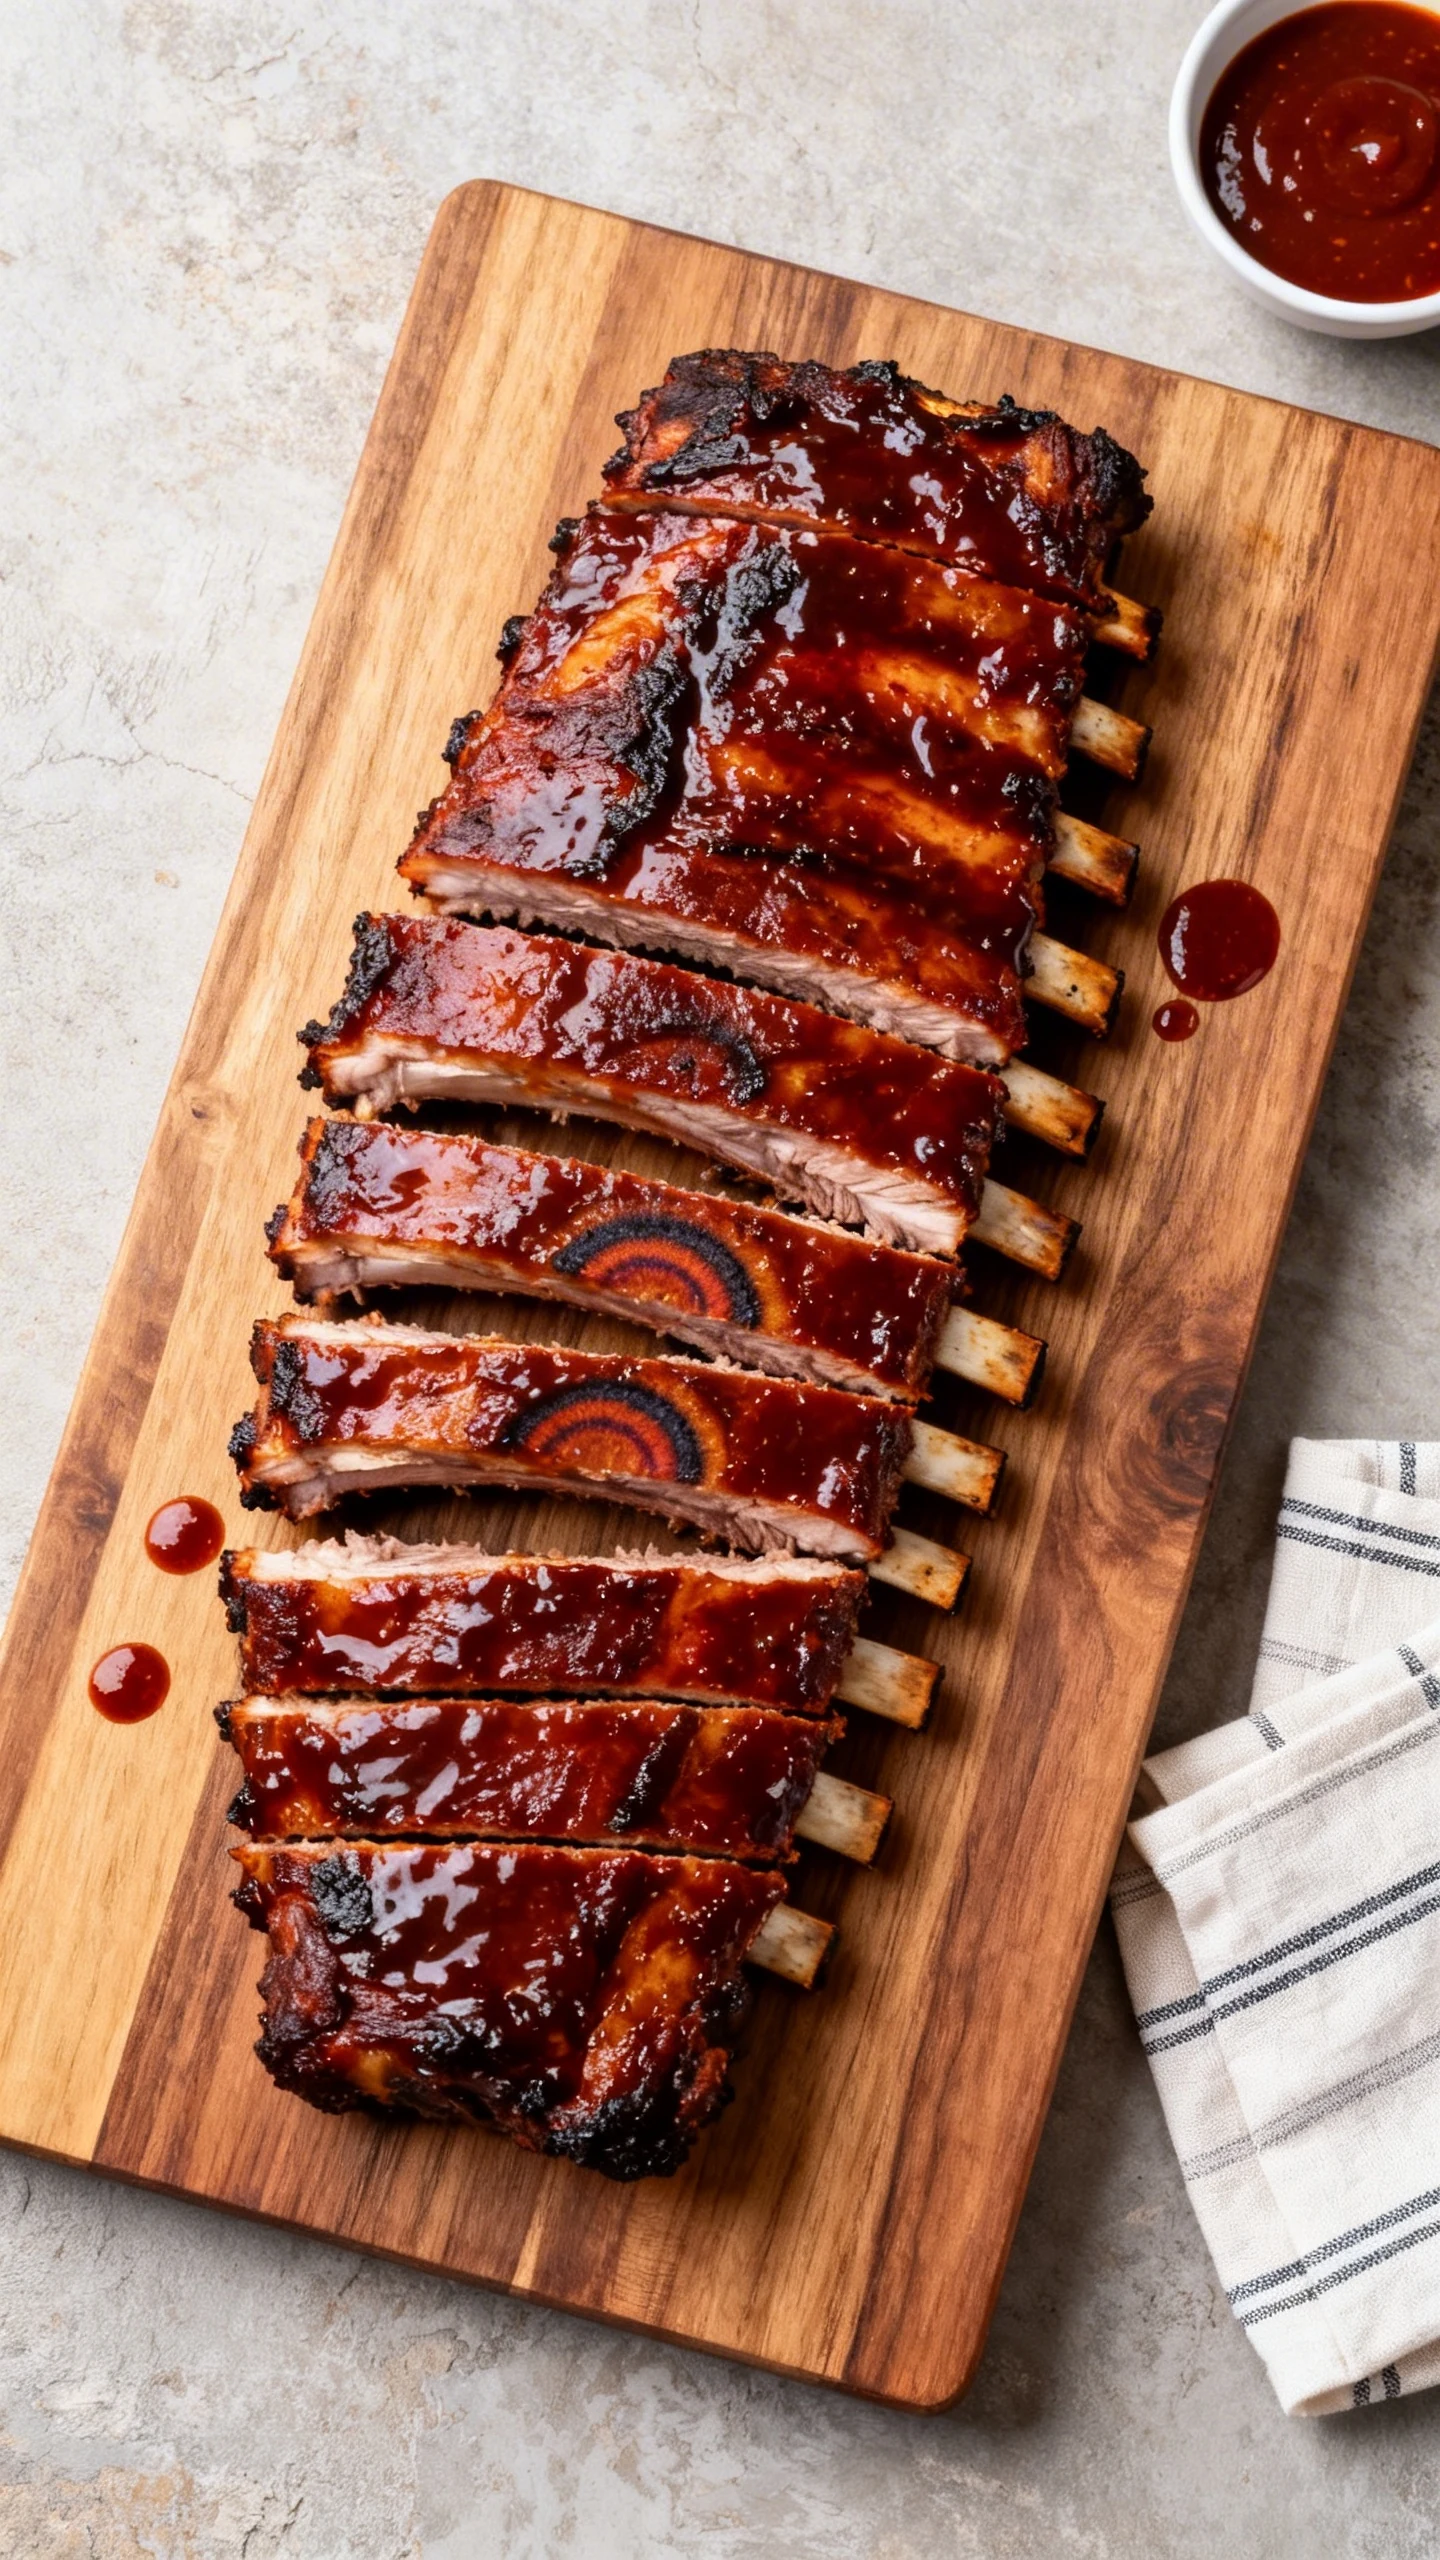
Rest and slice. Let the ribs rest for 10 to 15 minutes before slicing. This helps the juices settle so they stay in the meat instead of running all over your cutting board like they are trying to escape. Slice between the bones and serve warm.
Keeping It Fresh
Store leftover ribs in an airtight container in the refrigerator for up to 4 days. If possible, keep extra sauce separate so the bark does not turn soft overnight. They will still taste great either way, but texture matters.
To reheat, wrap the ribs in foil with a small splash of apple juice or water and warm them in a 300 degree Fahrenheit oven until heated through. You can also reheat them on the grill over low indirect heat. Microwave reheating works in an emergency, FYI, but it can toughen the meat and make the sauce weirdly sticky.
For longer storage, freeze the ribs tightly wrapped for up to 2 months. Thaw them in the refrigerator overnight before reheating. This makes them a solid make ahead option for parties, game days, or nights when cooking sounds deeply offensive.
What’s Great About This
Flavor leads the list. The rub builds a savory sweet crust, the smoke adds depth, and the sauce brings that glossy finish everyone expects from great ribs. Every layer has a job, and unlike some recipes online, none of them feel random.
Texture is another huge win. These ribs turn tender without completely falling apart. You want that slight tug that feels satisfying, not meat mush sliding off the bone like it gave up on life.
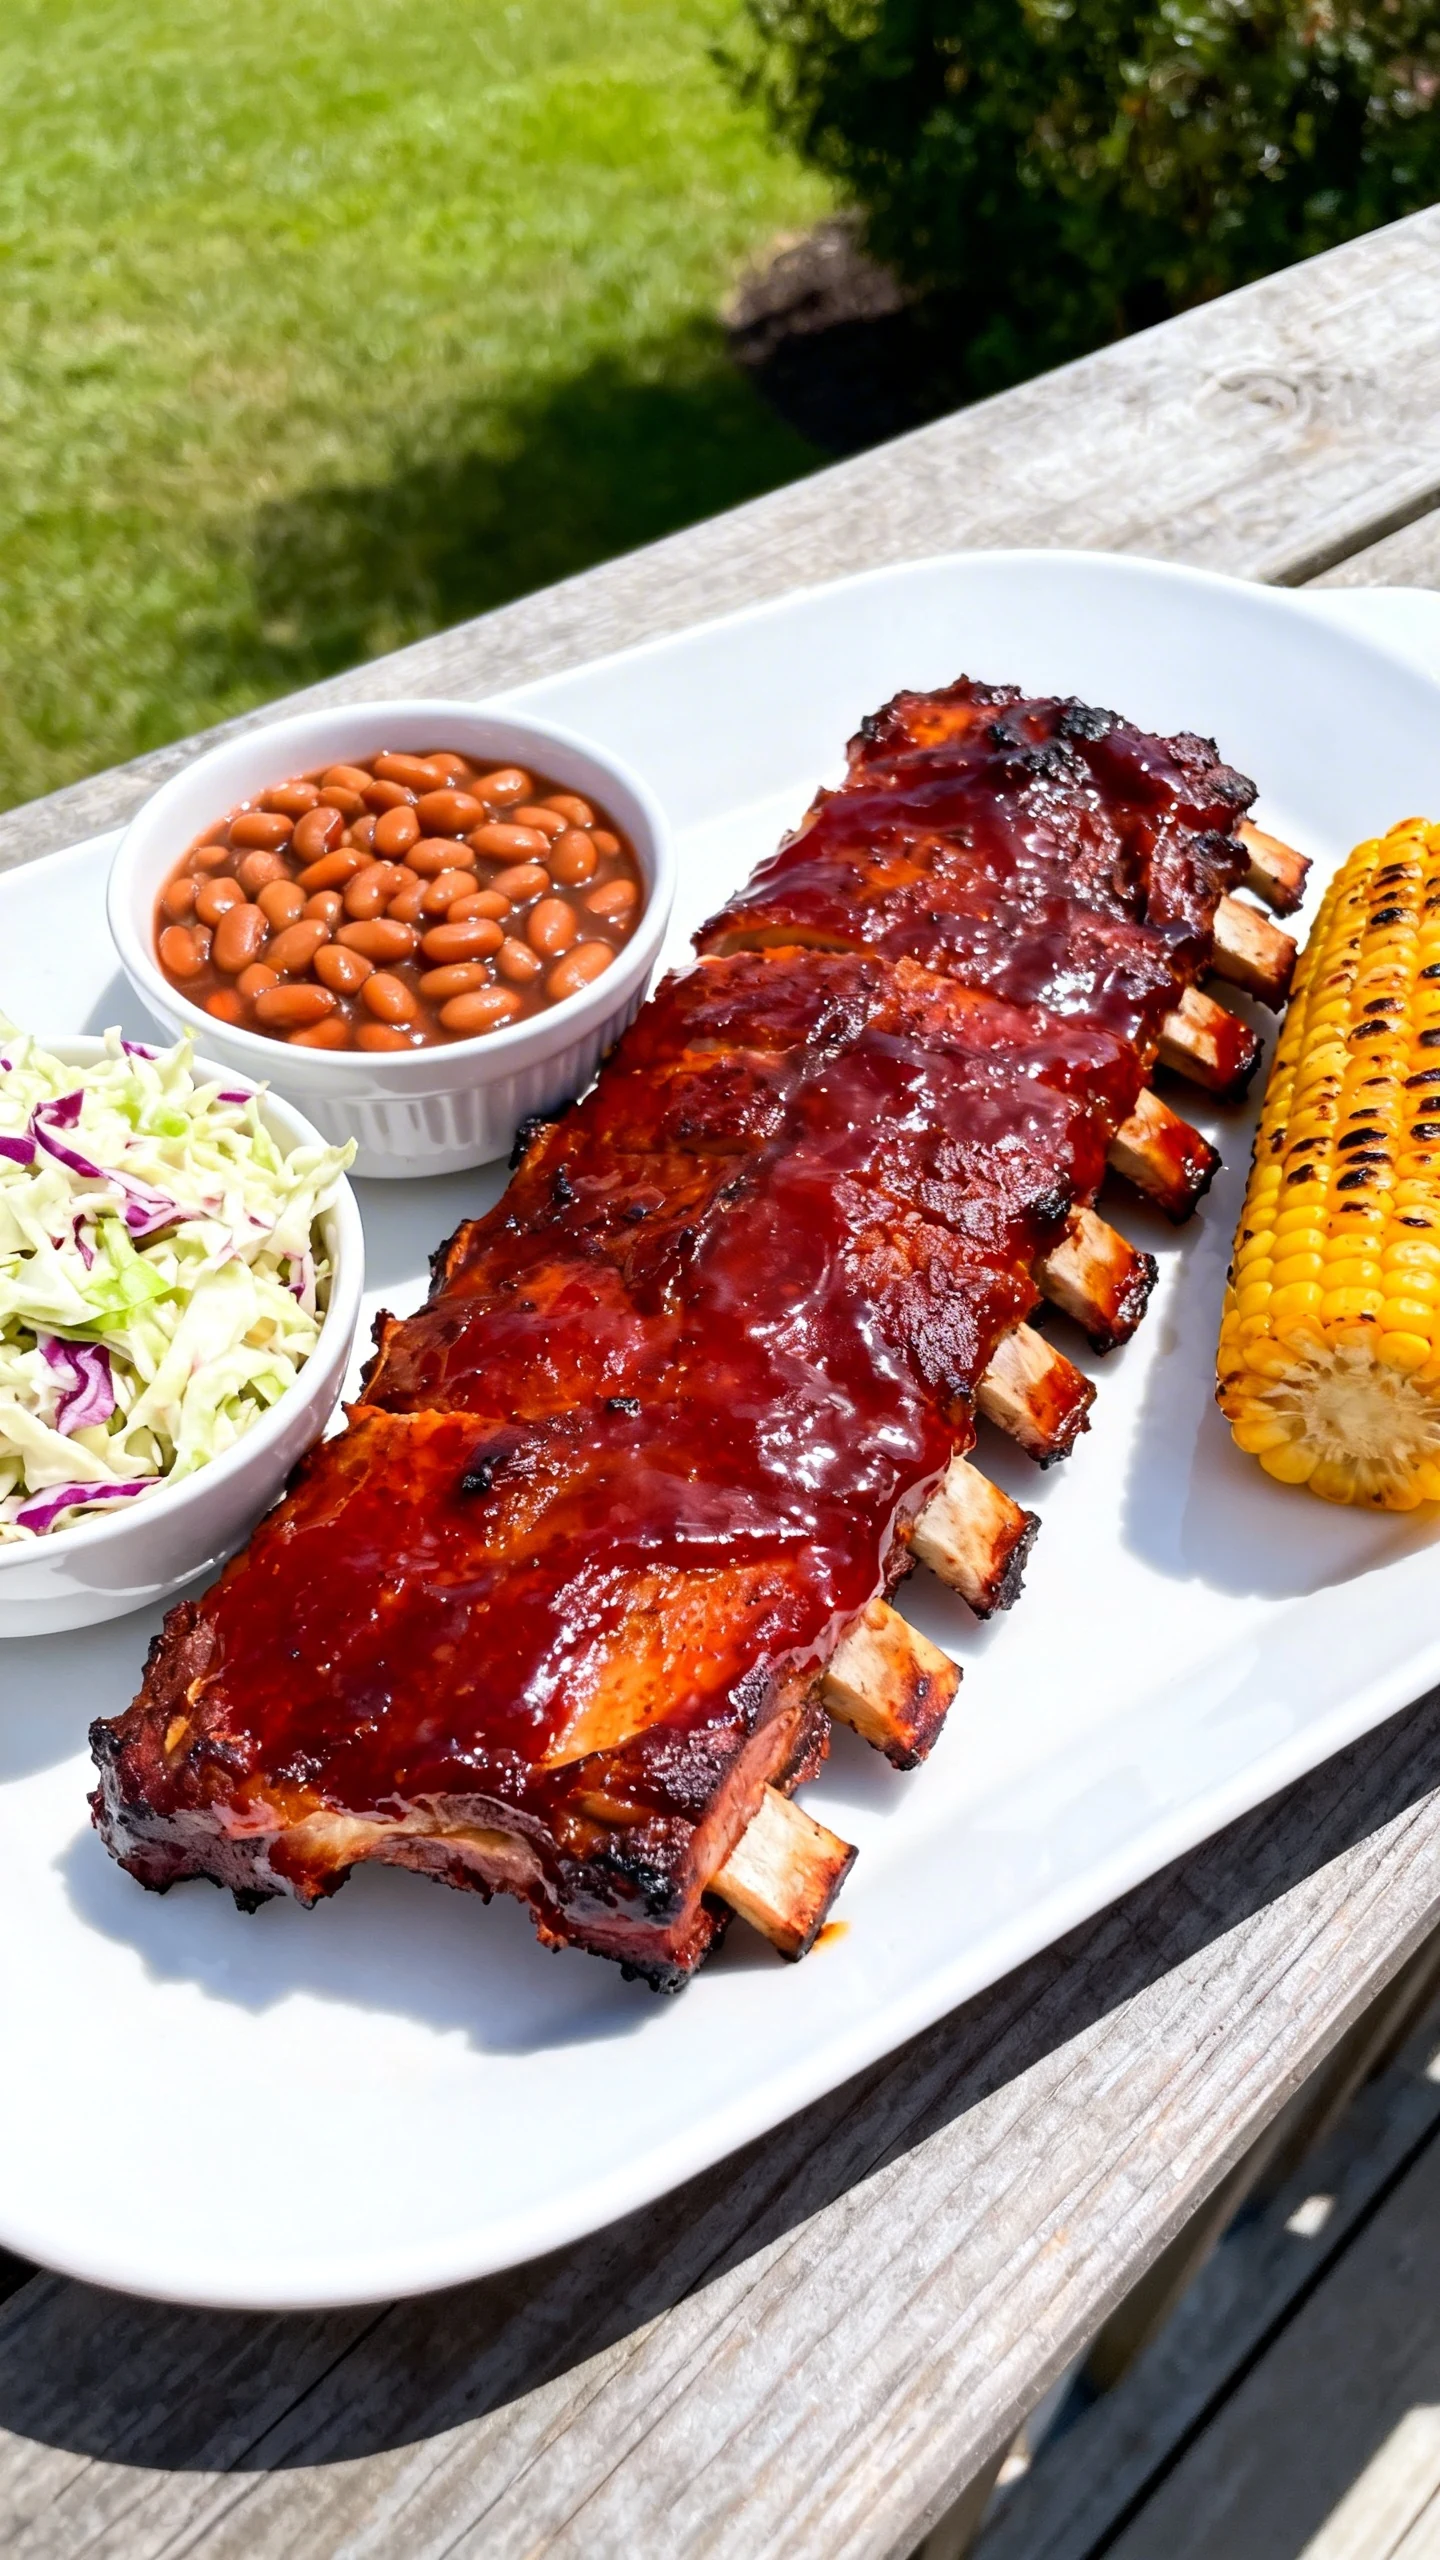
Versatility also makes this recipe strong. You can make them sweeter, smokier, spicier, or even skip the sauce for a dry finish. Pair them with slaw, baked beans, grilled corn, potato salad, or a stack of napkins if you are keeping priorities straight.
Backyard appeal may be the best part. Ribs look dramatic on a platter, smell amazing while they cook, and make any meal feel like an event. They turn an ordinary cookout into the meal people text about later.
Pitfalls to Watch Out For
The biggest mistake is cooking over direct high heat for too long. Ribs need time, not chaos. If the flames kiss them nonstop, the outside burns before the inside gets tender.
Another common issue is under seasoning. Ribs carry plenty of meat, fat, and surface area, so they need a generous hand with the rub. A timid sprinkle will not cut it. This is barbecue, not a whisper.
Saucing too early causes trouble too. Most barbecue sauces contain sugar, and sugar burns fast. Add sauce only near the end so it thickens and shines instead of turning dark and bitter.
Finally, do not skip the rest. Slicing immediately after grilling sends juices everywhere except into your mouth where they belong. Give the ribs a few minutes, then cut. Your patience gets rewarded.
Variations You Can Try
If you like heat, increase the cayenne in the rub or add hot sauce to the barbecue sauce. A chipotle based sauce also works beautifully here. It adds smoke, sweetness, and just enough kick to keep things interesting.
For a sweeter profile, add more brown sugar to the rub and use a honey barbecue sauce. You can also brush the wrapped ribs with a little honey and butter before sealing the foil. That combo creates a rich, glossy finish people tend to remember.
If you prefer a Carolina inspired direction, use a vinegar based sauce instead of a thick tomato based one. The tang cuts through the richness of the pork and tastes especially good in hot weather. It feels lighter while still packing plenty of flavor.
You can also switch up the wood. Apple gives a mild fruity smoke, hickory delivers stronger classic barbecue flavor, and cherry adds a subtle sweetness with beautiful color. Try different combinations until you find your favorite. Yes, this is the kind of harmless obsession worth having.
FAQ
How long do ribs take on the grill?
Most racks take about 3 to 4 hours at 250 to 275 degrees Fahrenheit using indirect heat. Baby back ribs often cook a bit faster than St. Louis style ribs. Time helps, but tenderness should always make the final call.
Should I boil ribs before grilling?
No. Boiling pulls flavor from the meat and can leave the texture bland and watery. Grilling low and slow gives you better taste, better texture, and far fewer reasons to apologize at dinner.
Do I have to wrap the ribs in foil?
No, but wrapping helps speed up tenderness and protects moisture. If you want a firmer bark, skip the wrap and cook them unwrapped the whole time over indirect heat. Both methods work, so choose based on your texture preference.
What is the best temperature for grilling ribs?
A grill temperature between 250 and 275 degrees Fahrenheit works best for most rib recipes. That range gives the collagen time to break down without burning the exterior. Low and steady wins this race.
How do I know when the ribs are done?
Look for meat pullback on the bones, an easy bend when lifting the rack, and a toothpick that slides in with little resistance. If you use a thermometer, aim for the upper 190s to low 200s Fahrenheit. Still, tenderness matters more than the exact number.
Can I make these ribs ahead of time?
Yes. You can grill them until nearly done, then cool and refrigerate them. Reheat gently on the grill or in the oven, then sauce at the end. This works great for parties when you want less chaos and more pretending you totally planned everything perfectly.
What sides go best with grilled ribs?
Classic sides include coleslaw, baked beans, cornbread, mac and cheese, grilled corn, and potato salad. Pick something fresh, something creamy, and something starchy, and you are set. Ribs like company.
In Conclusion
Great ribs do not happen by accident. They happen when you season boldly, grill with control, and sauce with timing. Follow this method and you will get tender, smoky, sticky ribs that make people suddenly very interested in your grilling schedule.
Whether you are feeding family, showing off at a cookout, or just craving a tray of serious comfort food, this recipe delivers. It is approachable, flexible, and wildly satisfying. Once you nail it, store bought ribs will feel a little embarrassing. As they should.
