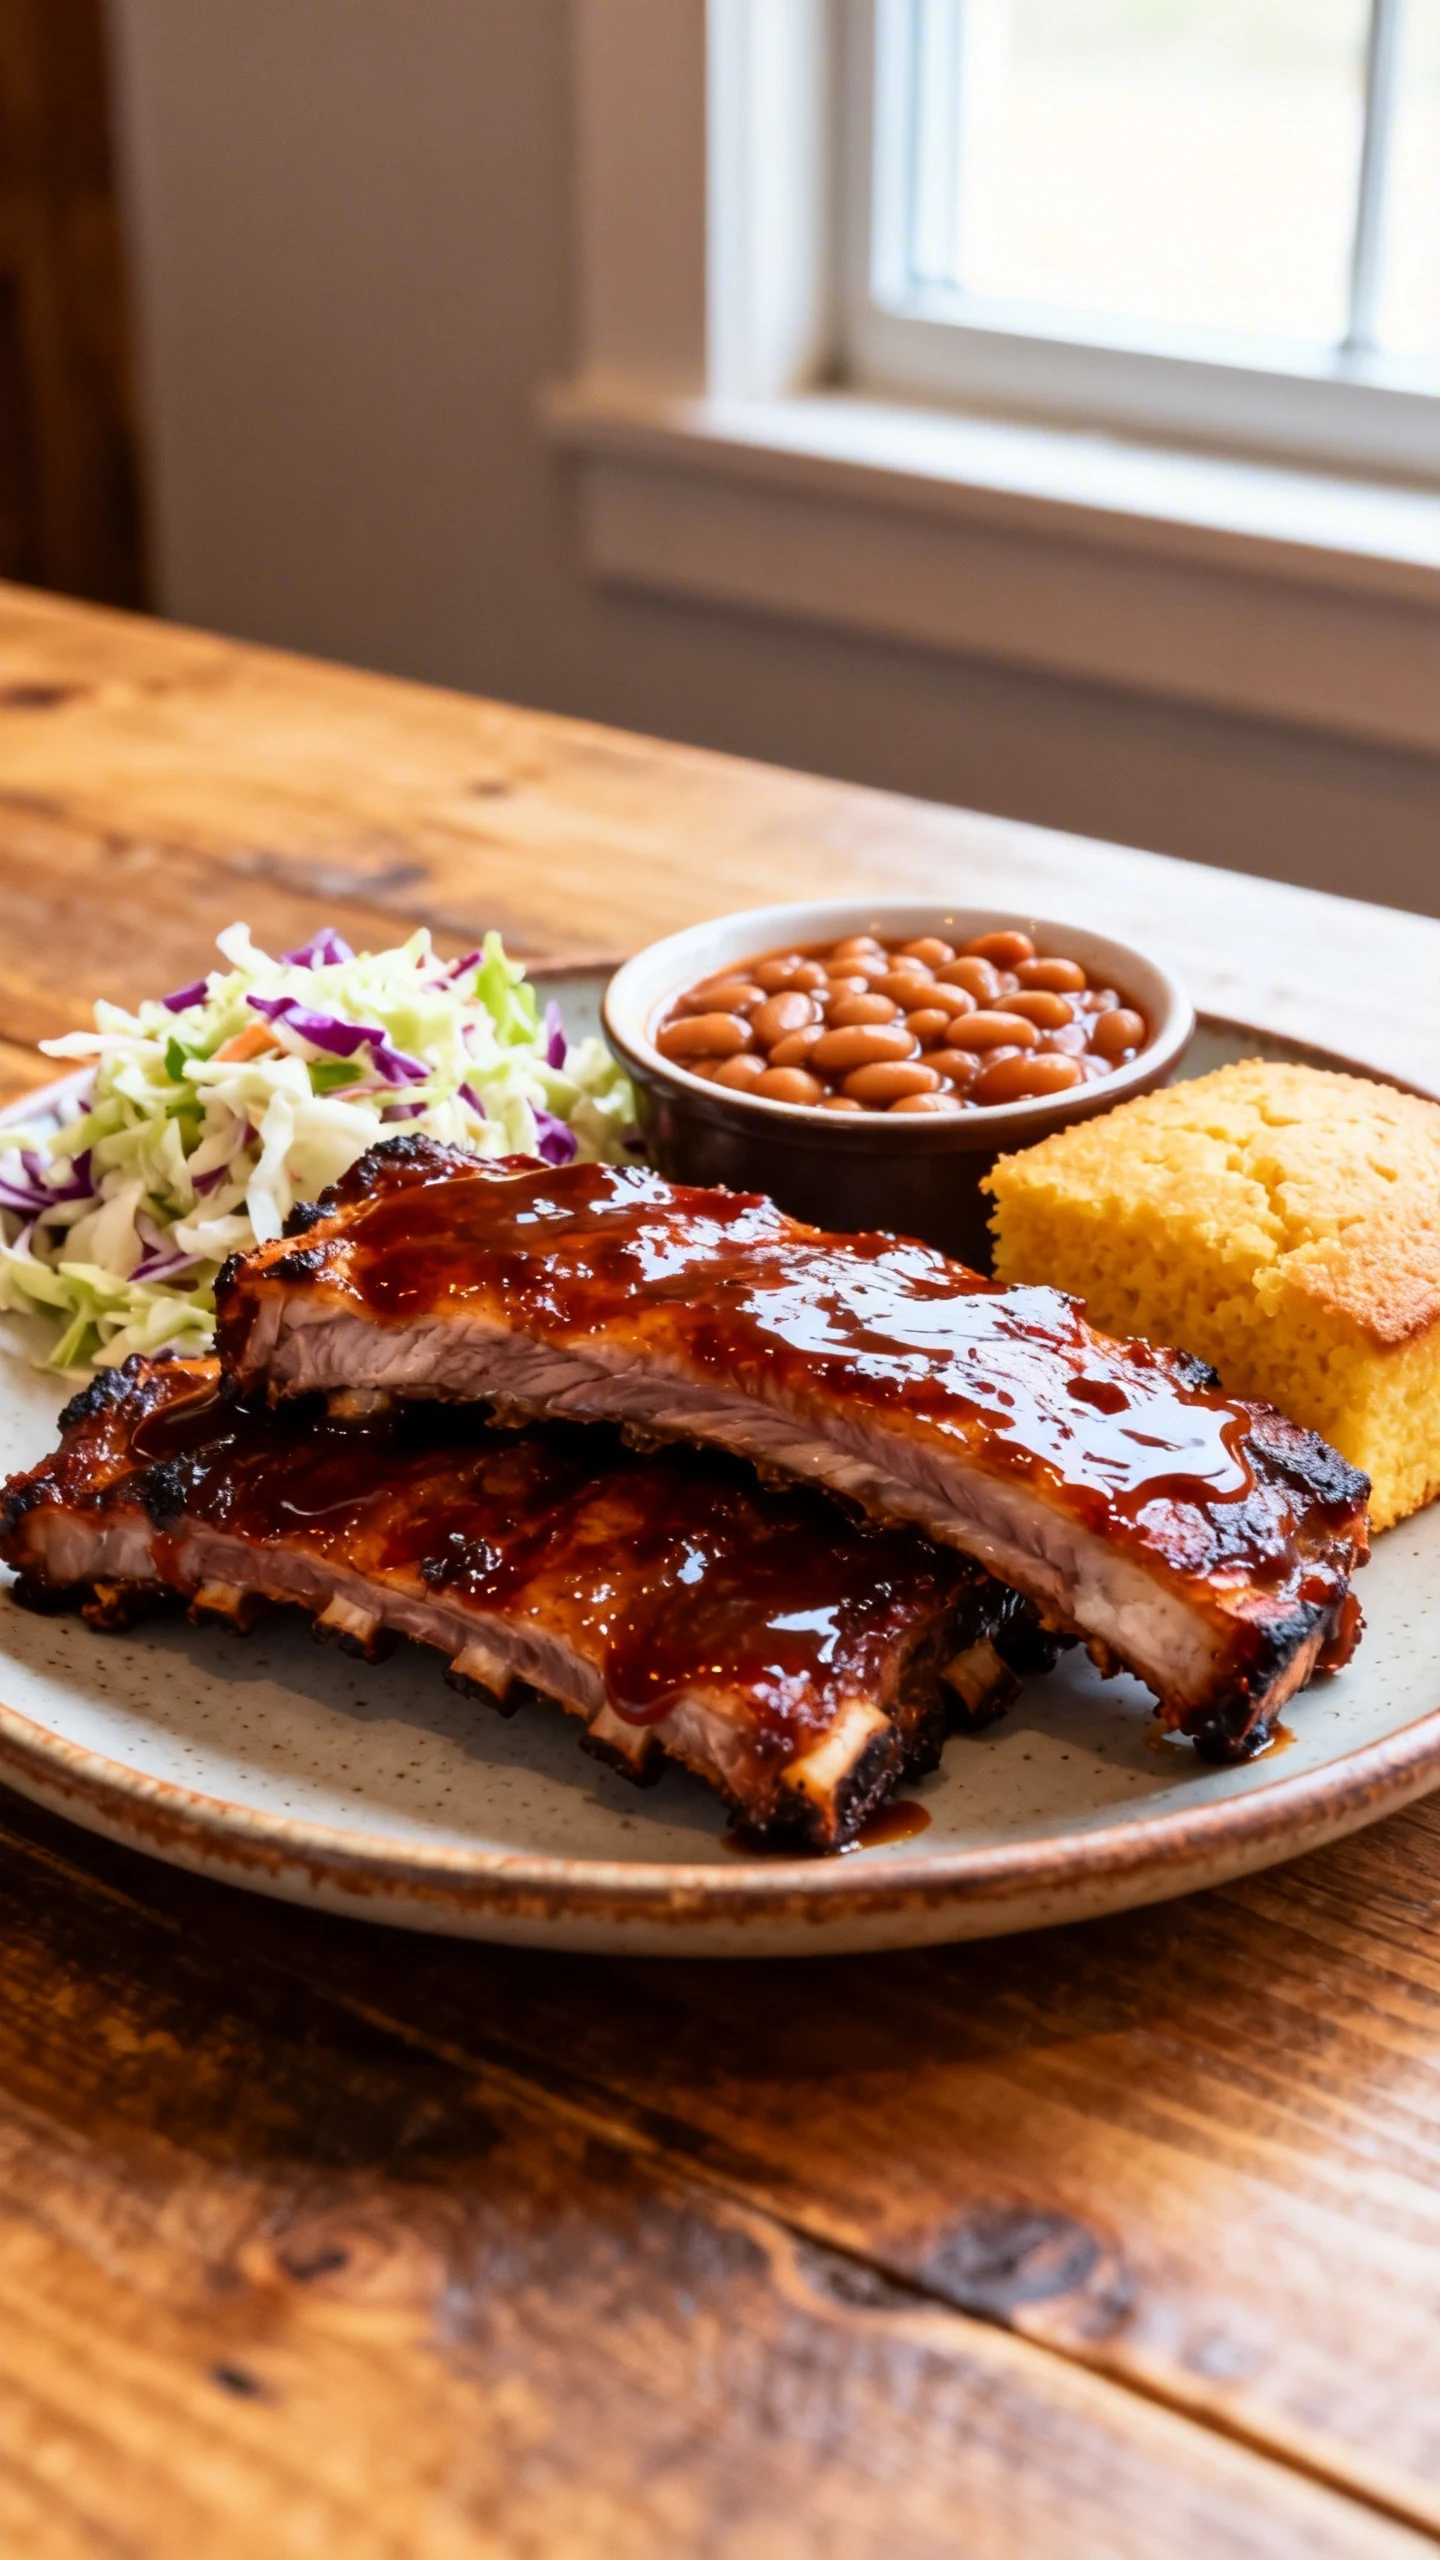
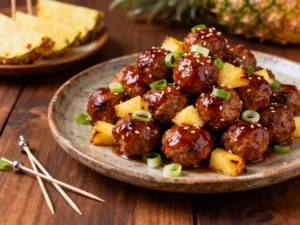
Make tender, sticky, crowd pleasing ribs for game day or weekends with simple steps, bold flavor, and no grill stress.
You do not need a smoker, a backyard, or a weather app that says “good luck.” You need ribs, an oven, and a plan that actually works. This recipe gives you juicy meat, a deep barbecue flavor, and that glossy, sticky finish people chase at restaurants. The best part? You stay in control the whole time, instead of babysitting a grill like it owes you money.
These ribs come out tender without turning into mush, saucy without becoming soup, and bold without needing a spice cabinet the size of a small bookstore. The method is simple: season hard, bake low, sauce late, and finish hot. That one sequence changes everything. Once you try it, “oven ribs” stops sounding like a backup plan and starts sounding like the move.
What Makes This Recipe So Good
The magic starts with low and slow heat. Baking the ribs at a gentle temperature gives the fat time to render and the connective tissue time to soften. That means tender bites with structure, not meat that slides off the bone like overcooked pot roast pretending to be ribs.
The second win comes from the seasoning. A simple dry rub builds a crusty, savory base with sweetness, smoke, and a little heat. Then the sauce goes on near the end, so it caramelizes instead of burning into a sad, sugary tragedy.
This method also works for real life. No smoker. No charcoal. No standing outside in weird weather trying to look heroic. IMO, that convenience alone makes this recipe elite.
You also get consistency. Ovens hold a stable temperature better than many backyard setups, which means fewer surprises and better results every time. If you want dependable ribs with maximum payoff, this is your lane.
Ingredients
You only need a handful of ingredients to build deep flavor. Keep it classic, or tweak the heat and sweetness to fit your style.
- 2 racks pork ribs, baby back or St. Louis style
- 2 tablespoons yellow mustard, optional binder
- 1/4 cup brown sugar
- 2 tablespoons smoked paprika
- 1 tablespoon kosher salt
- 2 teaspoons black pepper
- 2 teaspoons garlic powder
- 2 teaspoons onion powder
- 1 teaspoon chili powder
- 1/2 teaspoon cayenne pepper, optional
- 1 teaspoon dry mustard
- 1 cup barbecue sauce, your favorite brand or homemade
- 2 tablespoons apple cider vinegar
- 2 tablespoons honey, optional for extra gloss
- Aluminum foil
If you like a more savory profile, reduce the brown sugar slightly. If you want that sweet sticky finish, keep the honey in play. Both routes work, so you are not trapped by one barbecue philosophy.
Instructions
Follow these steps in order and the ribs will reward you. Skip around and, well, let us not create character building moments in the kitchen.
-
Prep the ribs. Heat your oven to 300°F. Remove the membrane from the back of the ribs by sliding a butter knife under one corner, grabbing it with a paper towel, and pulling it off. This step helps the seasoning stick and keeps the texture from turning chewy.
-
Pat them dry. Use paper towels to dry both sides well. Dry surfaces take seasoning better and help form a better crust. Moisture is great in a spa, not on raw ribs.
-
Mix the dry rub. In a bowl, combine brown sugar, smoked paprika, salt, black pepper, garlic powder, onion powder, chili powder, cayenne, and dry mustard. Stir until evenly blended. You want every bite to taste intentional, not random.
-
Season aggressively. If using mustard, rub a thin layer over both sides of the ribs. Sprinkle the dry rub generously all over, then press it in with your hands. Do not be shy here; ribs are thick and can handle bold flavor.
-
Wrap for tenderness. Place each rack meat side up on a large sheet of foil. Wrap tightly to lock in moisture, then set the packets on a baking sheet. Tight wrapping helps the ribs steam gently while they bake.
-
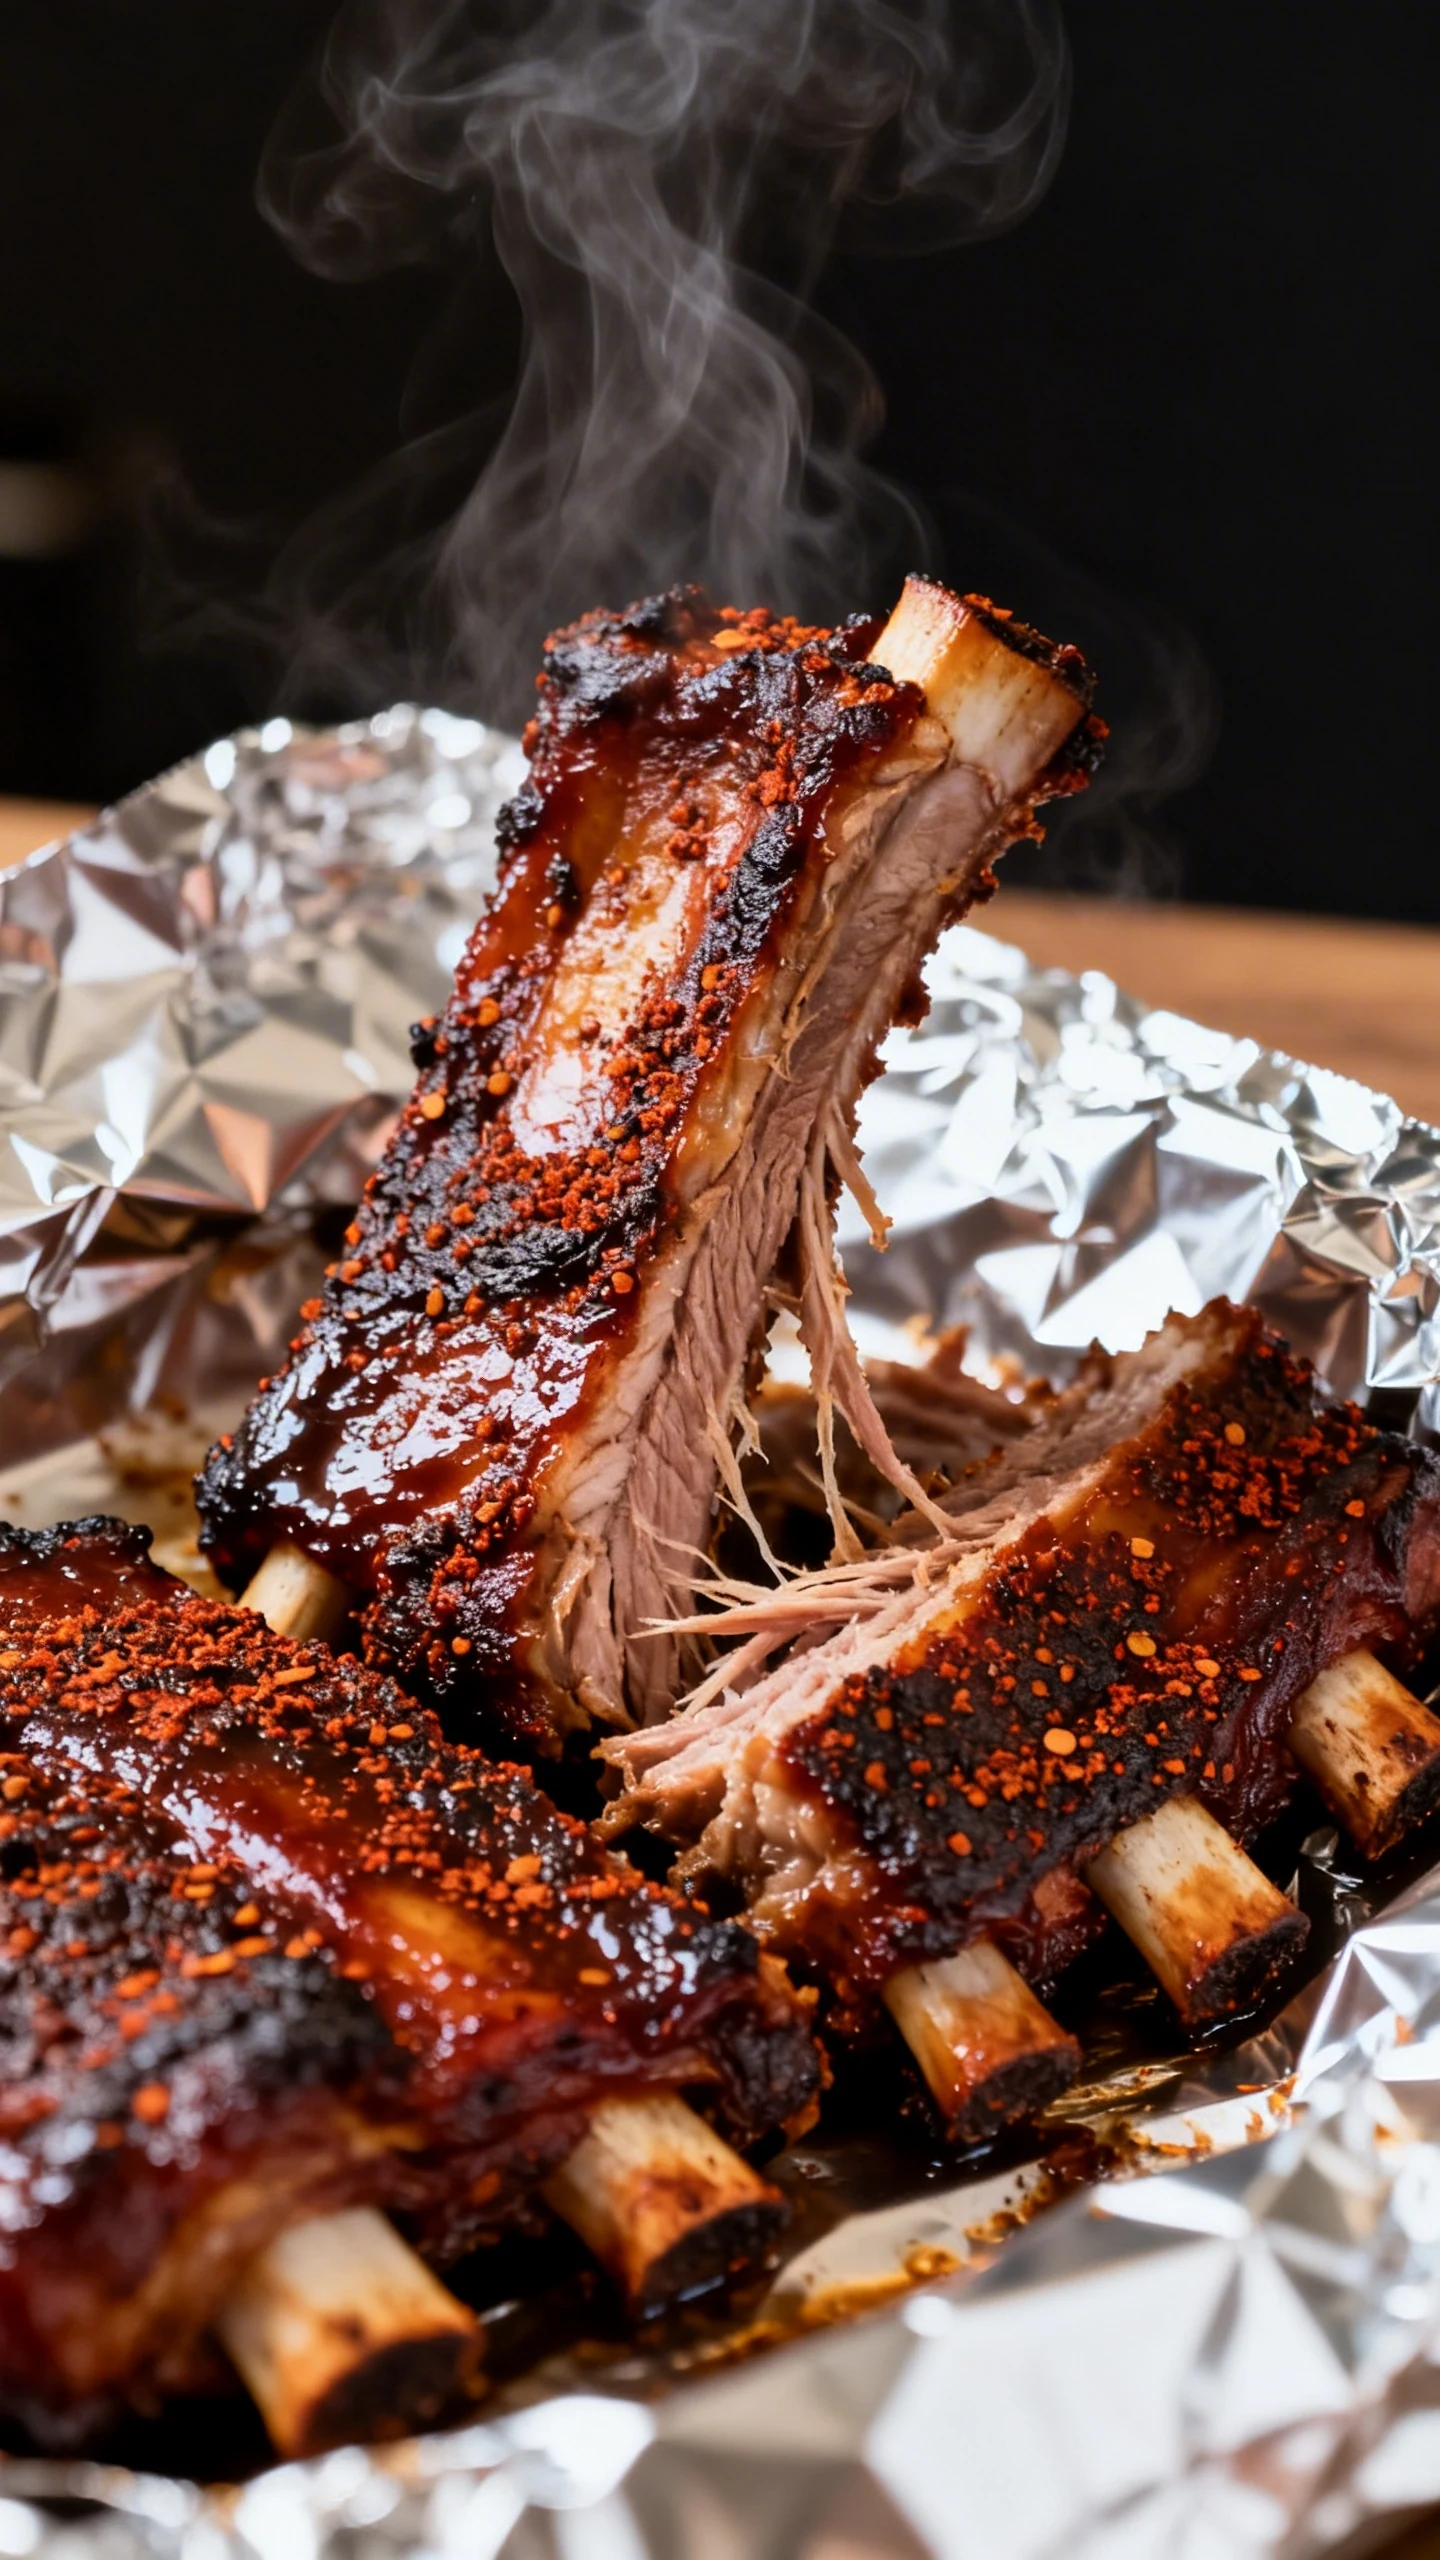
Bake low and slow. Bake baby back ribs for about 2 1/2 hours, or St. Louis ribs for 3 to 3 1/2 hours. The ribs should bend easily when lifted with tongs, and the meat should pull back from the bones. That is your cue, not a random timer alone.
-
Make the glaze. While the ribs bake, stir together the barbecue sauce, apple cider vinegar, and honey if using. The vinegar balances sweetness and wakes the sauce up. Store bought sauce gets a serious upgrade from this tiny move.
-
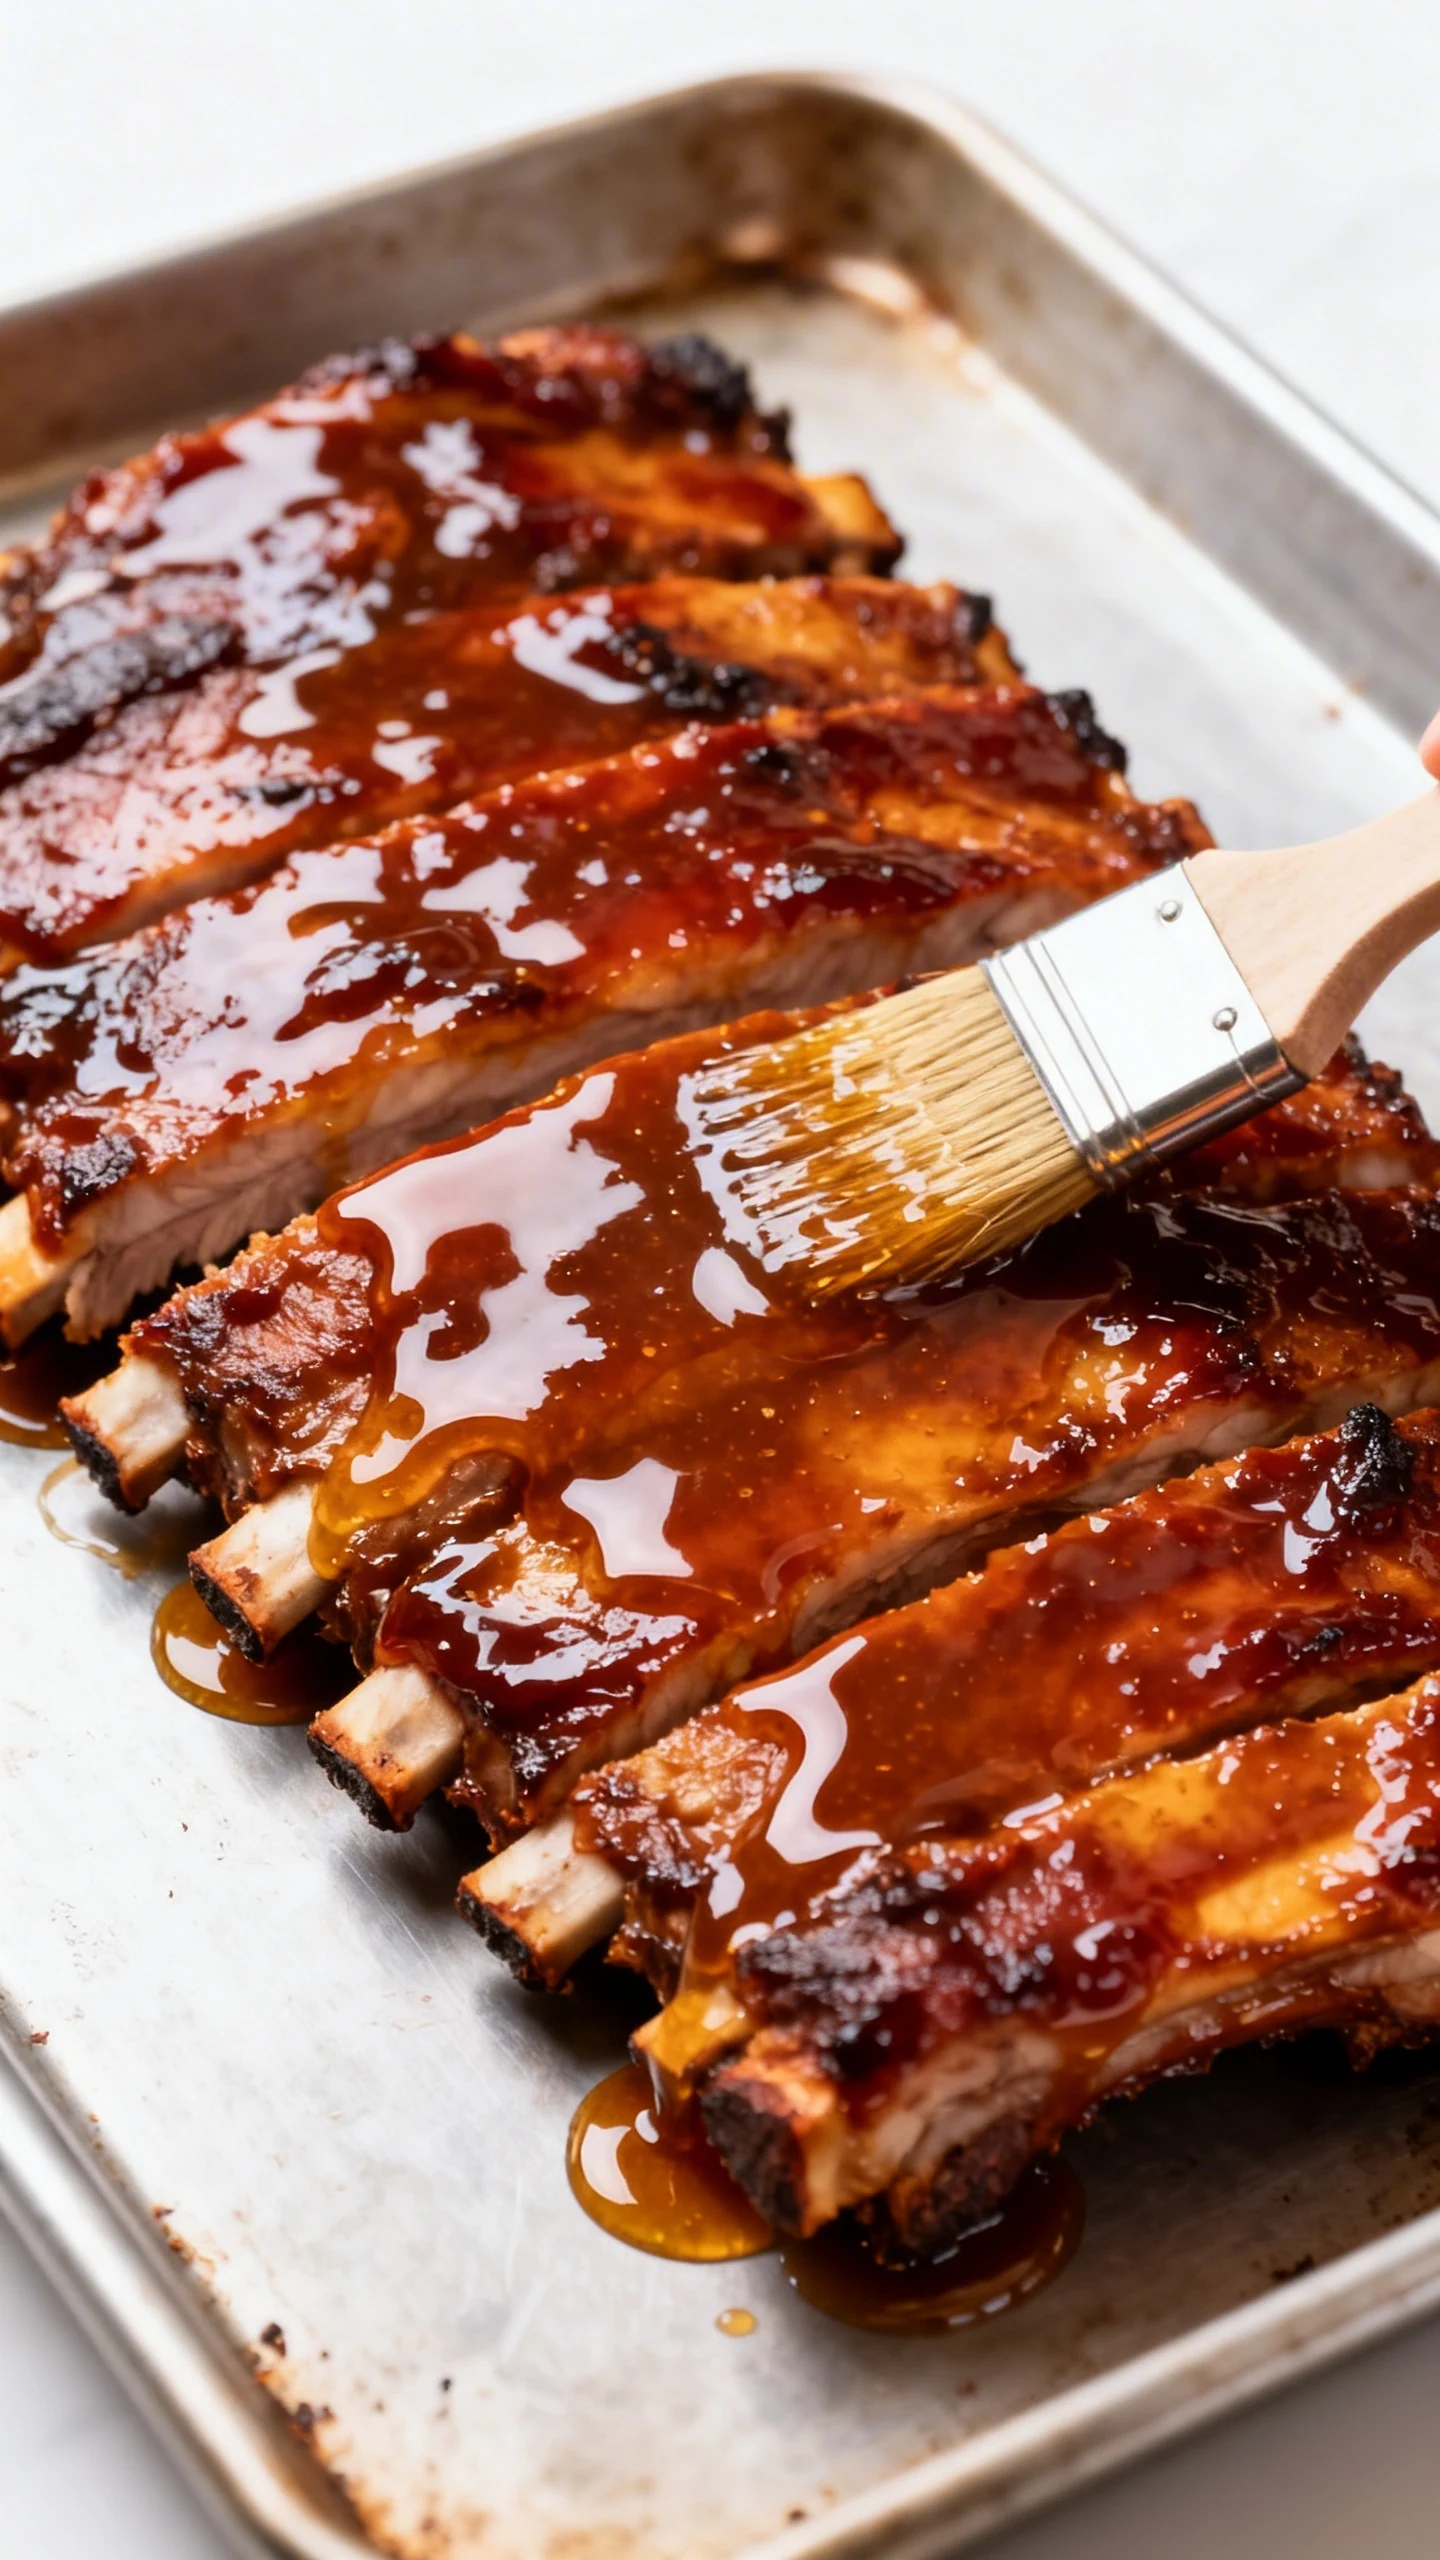
Unwrap and sauce. Carefully open the foil packets because the steam is hot and not interested in your comfort. Transfer the ribs to the baking sheet, brush with a layer of sauce, and keep some extra for later. A light first layer caramelizes better than drowning the ribs all at once.
-
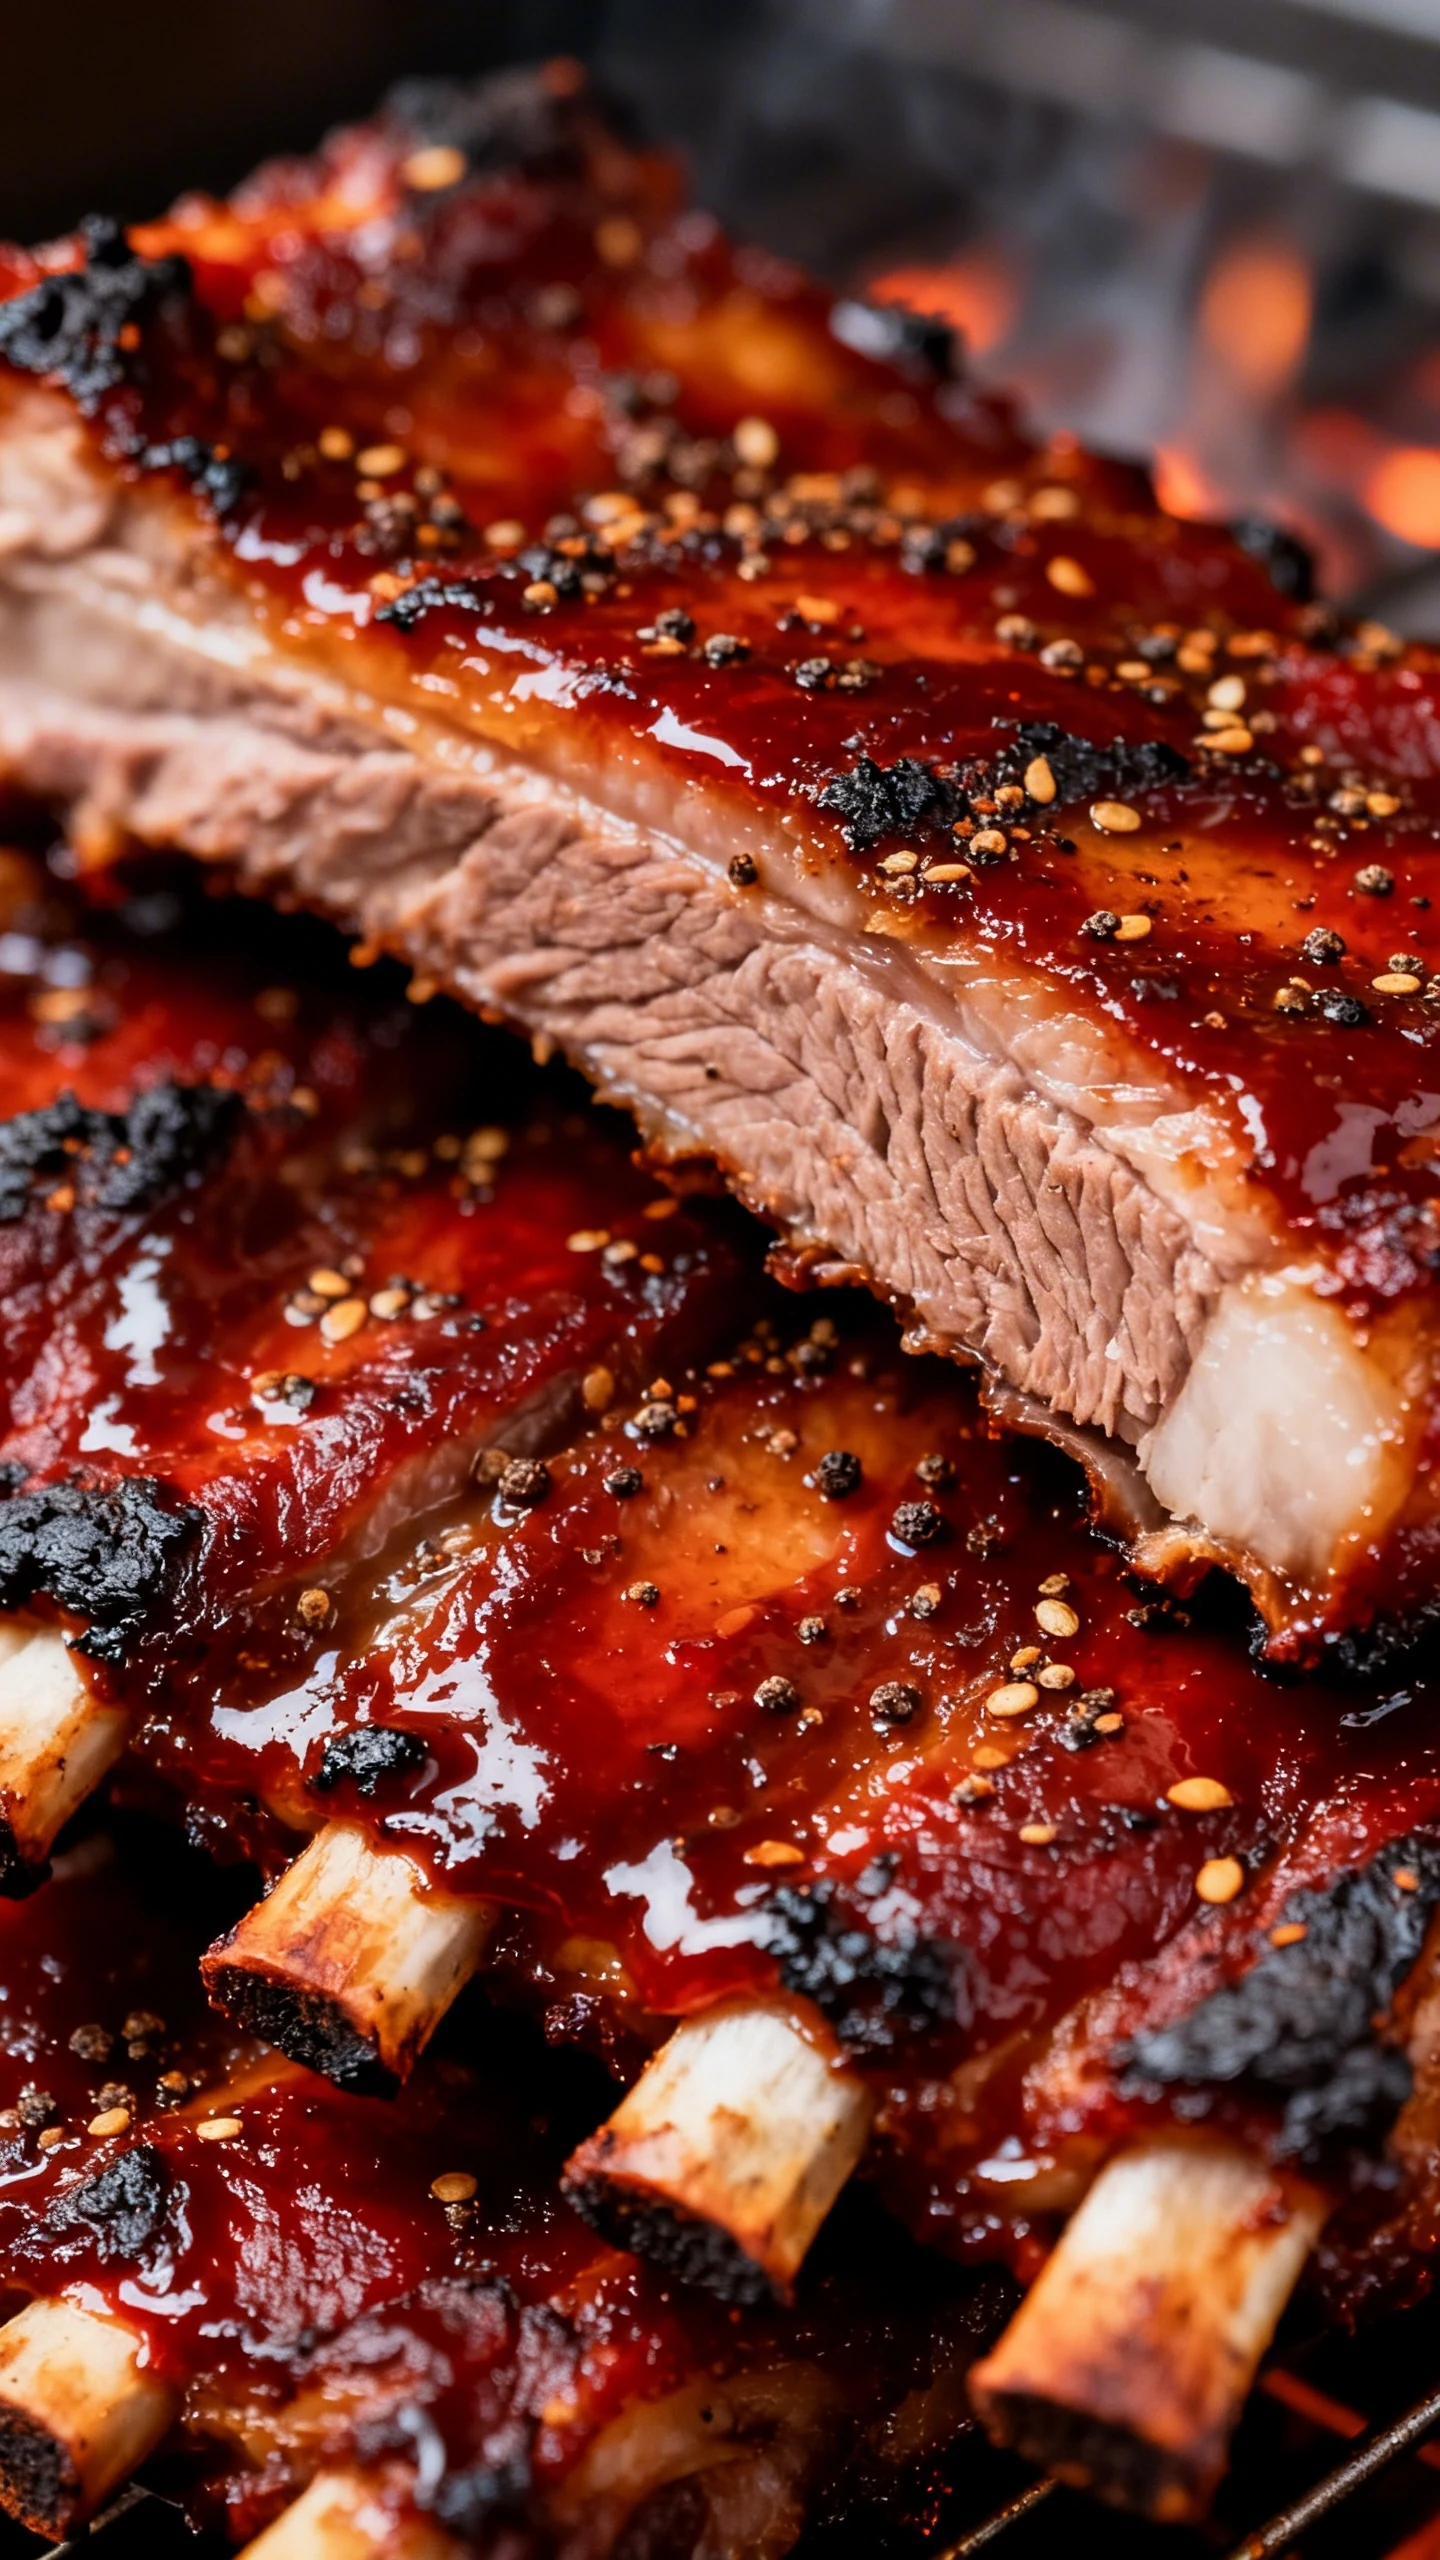
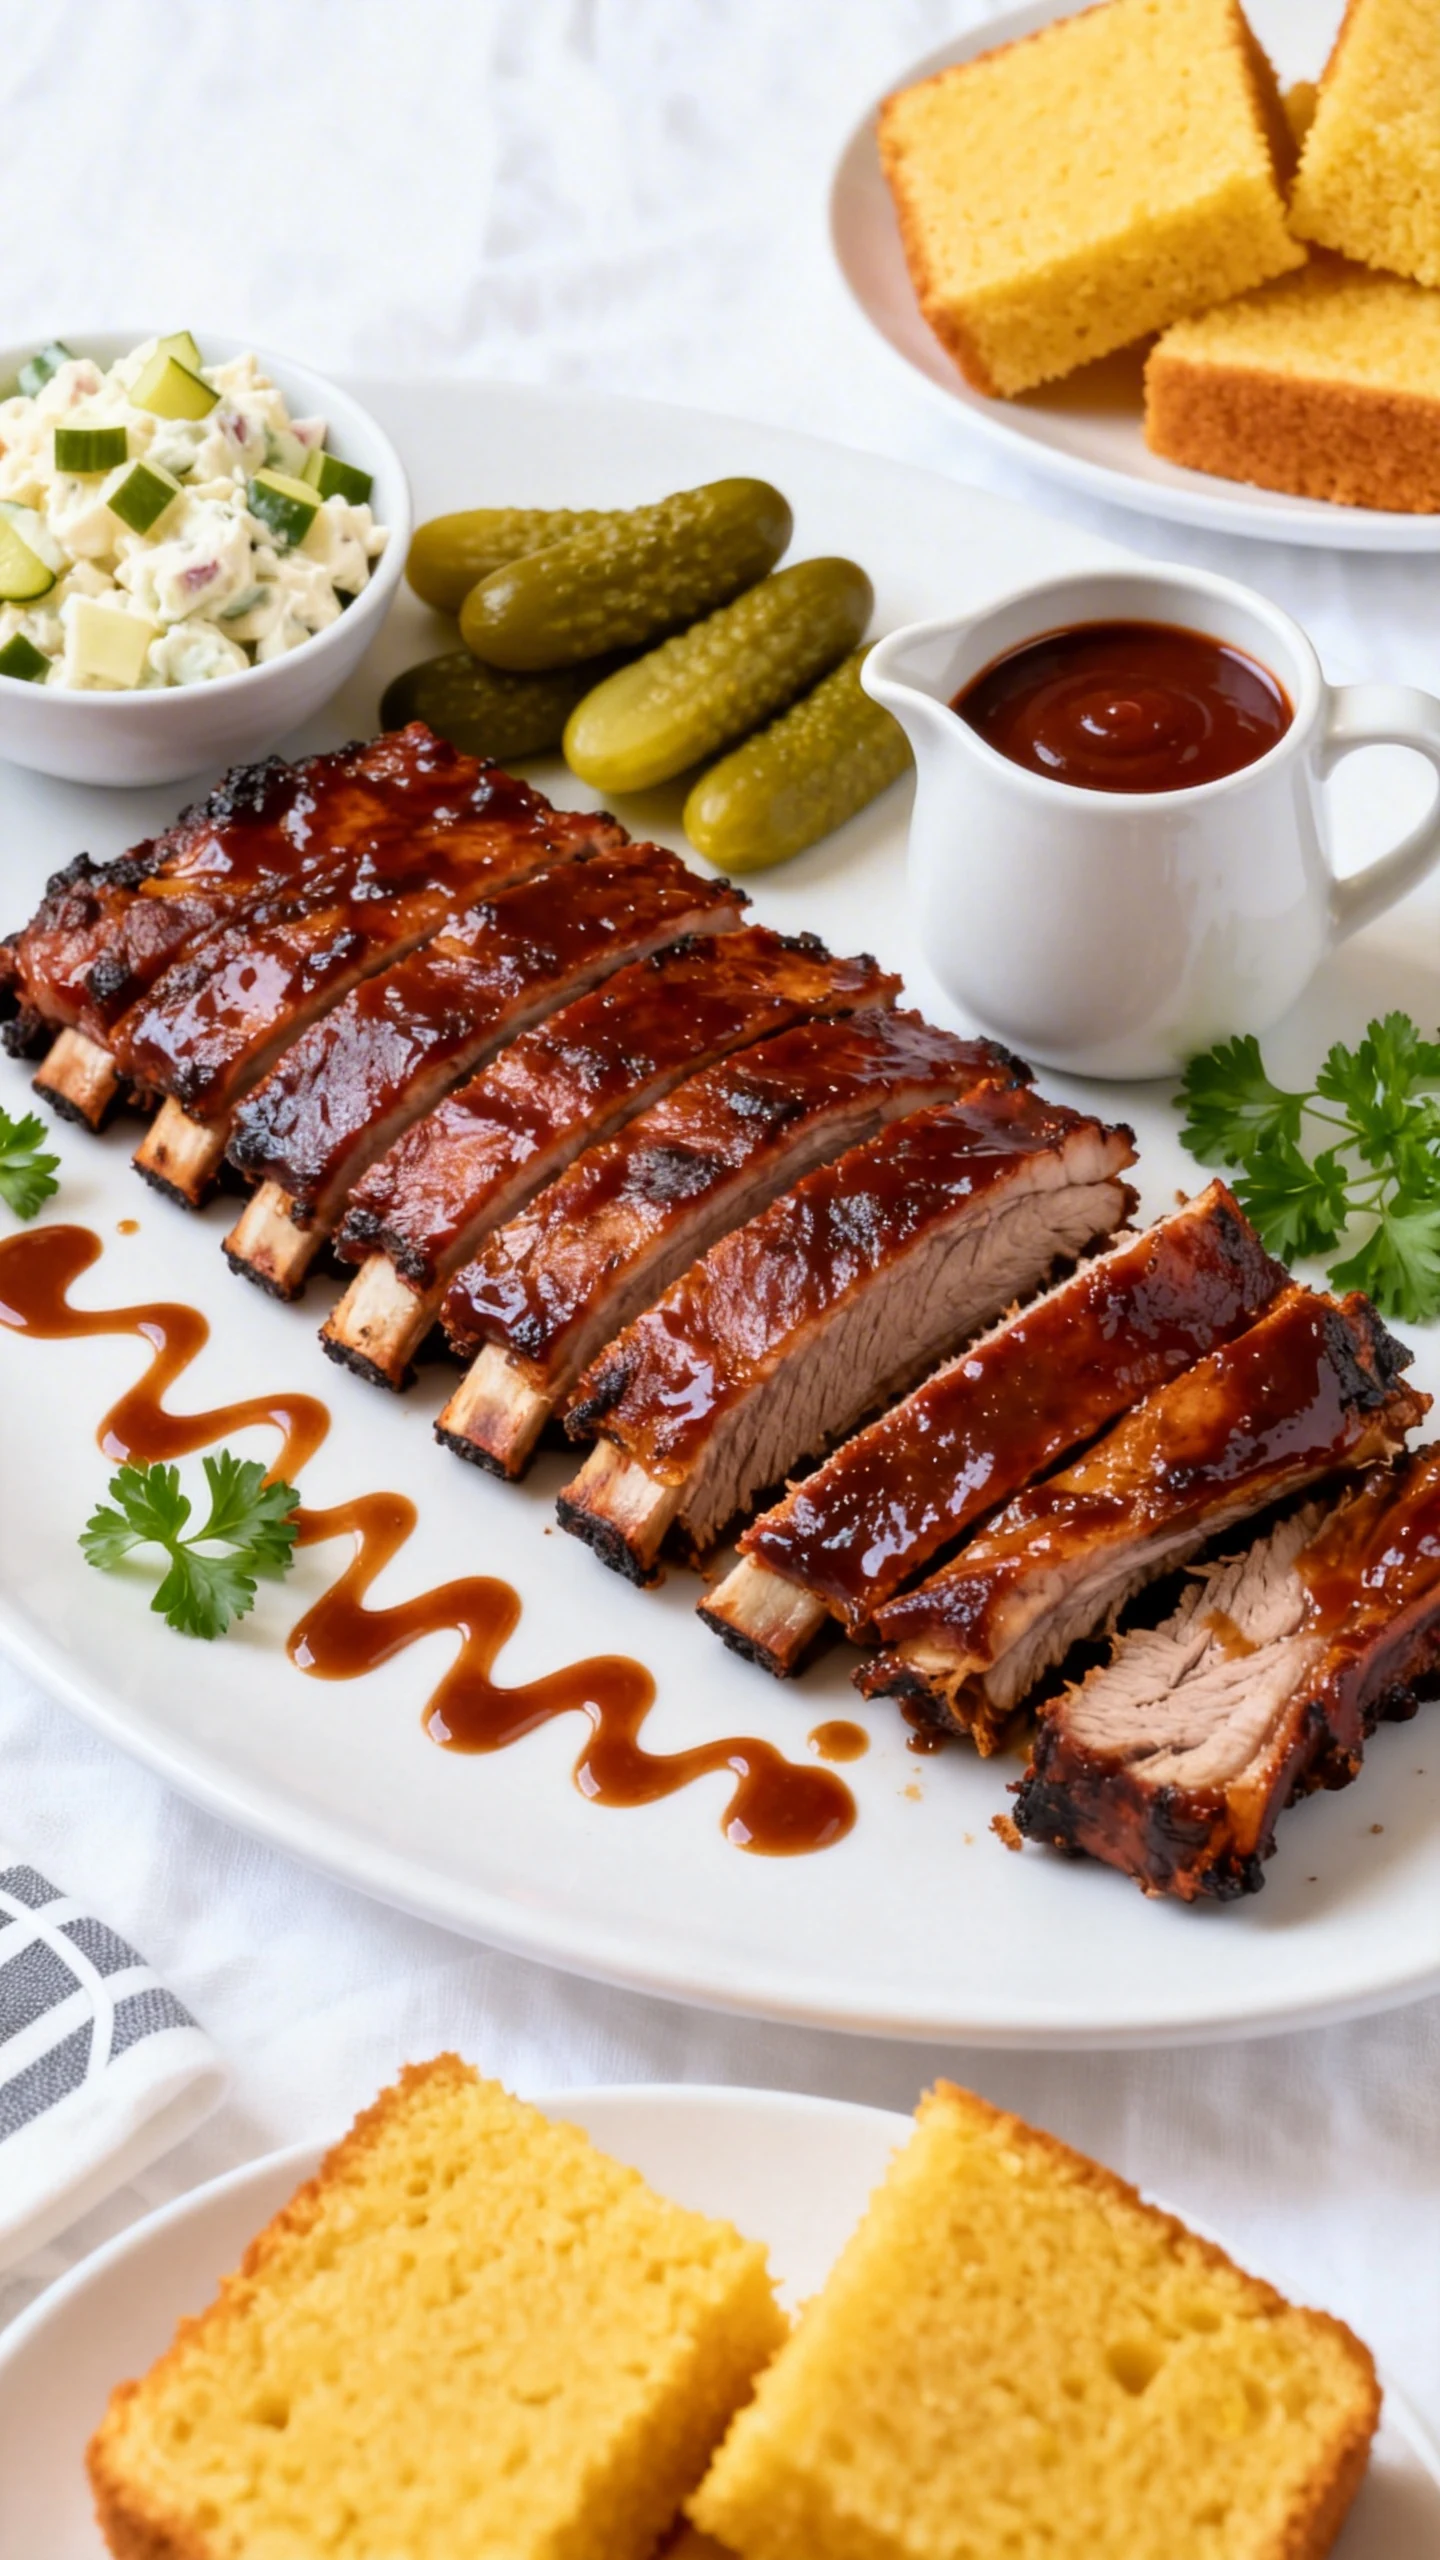
Finish hot. Raise the oven temperature to 425°F. Return the ribs to the oven uncovered for 10 to 15 minutes, until the sauce turns glossy and sticky. For extra char, broil for 2 to 3 minutes, but watch closely because sugar burns fast.
-
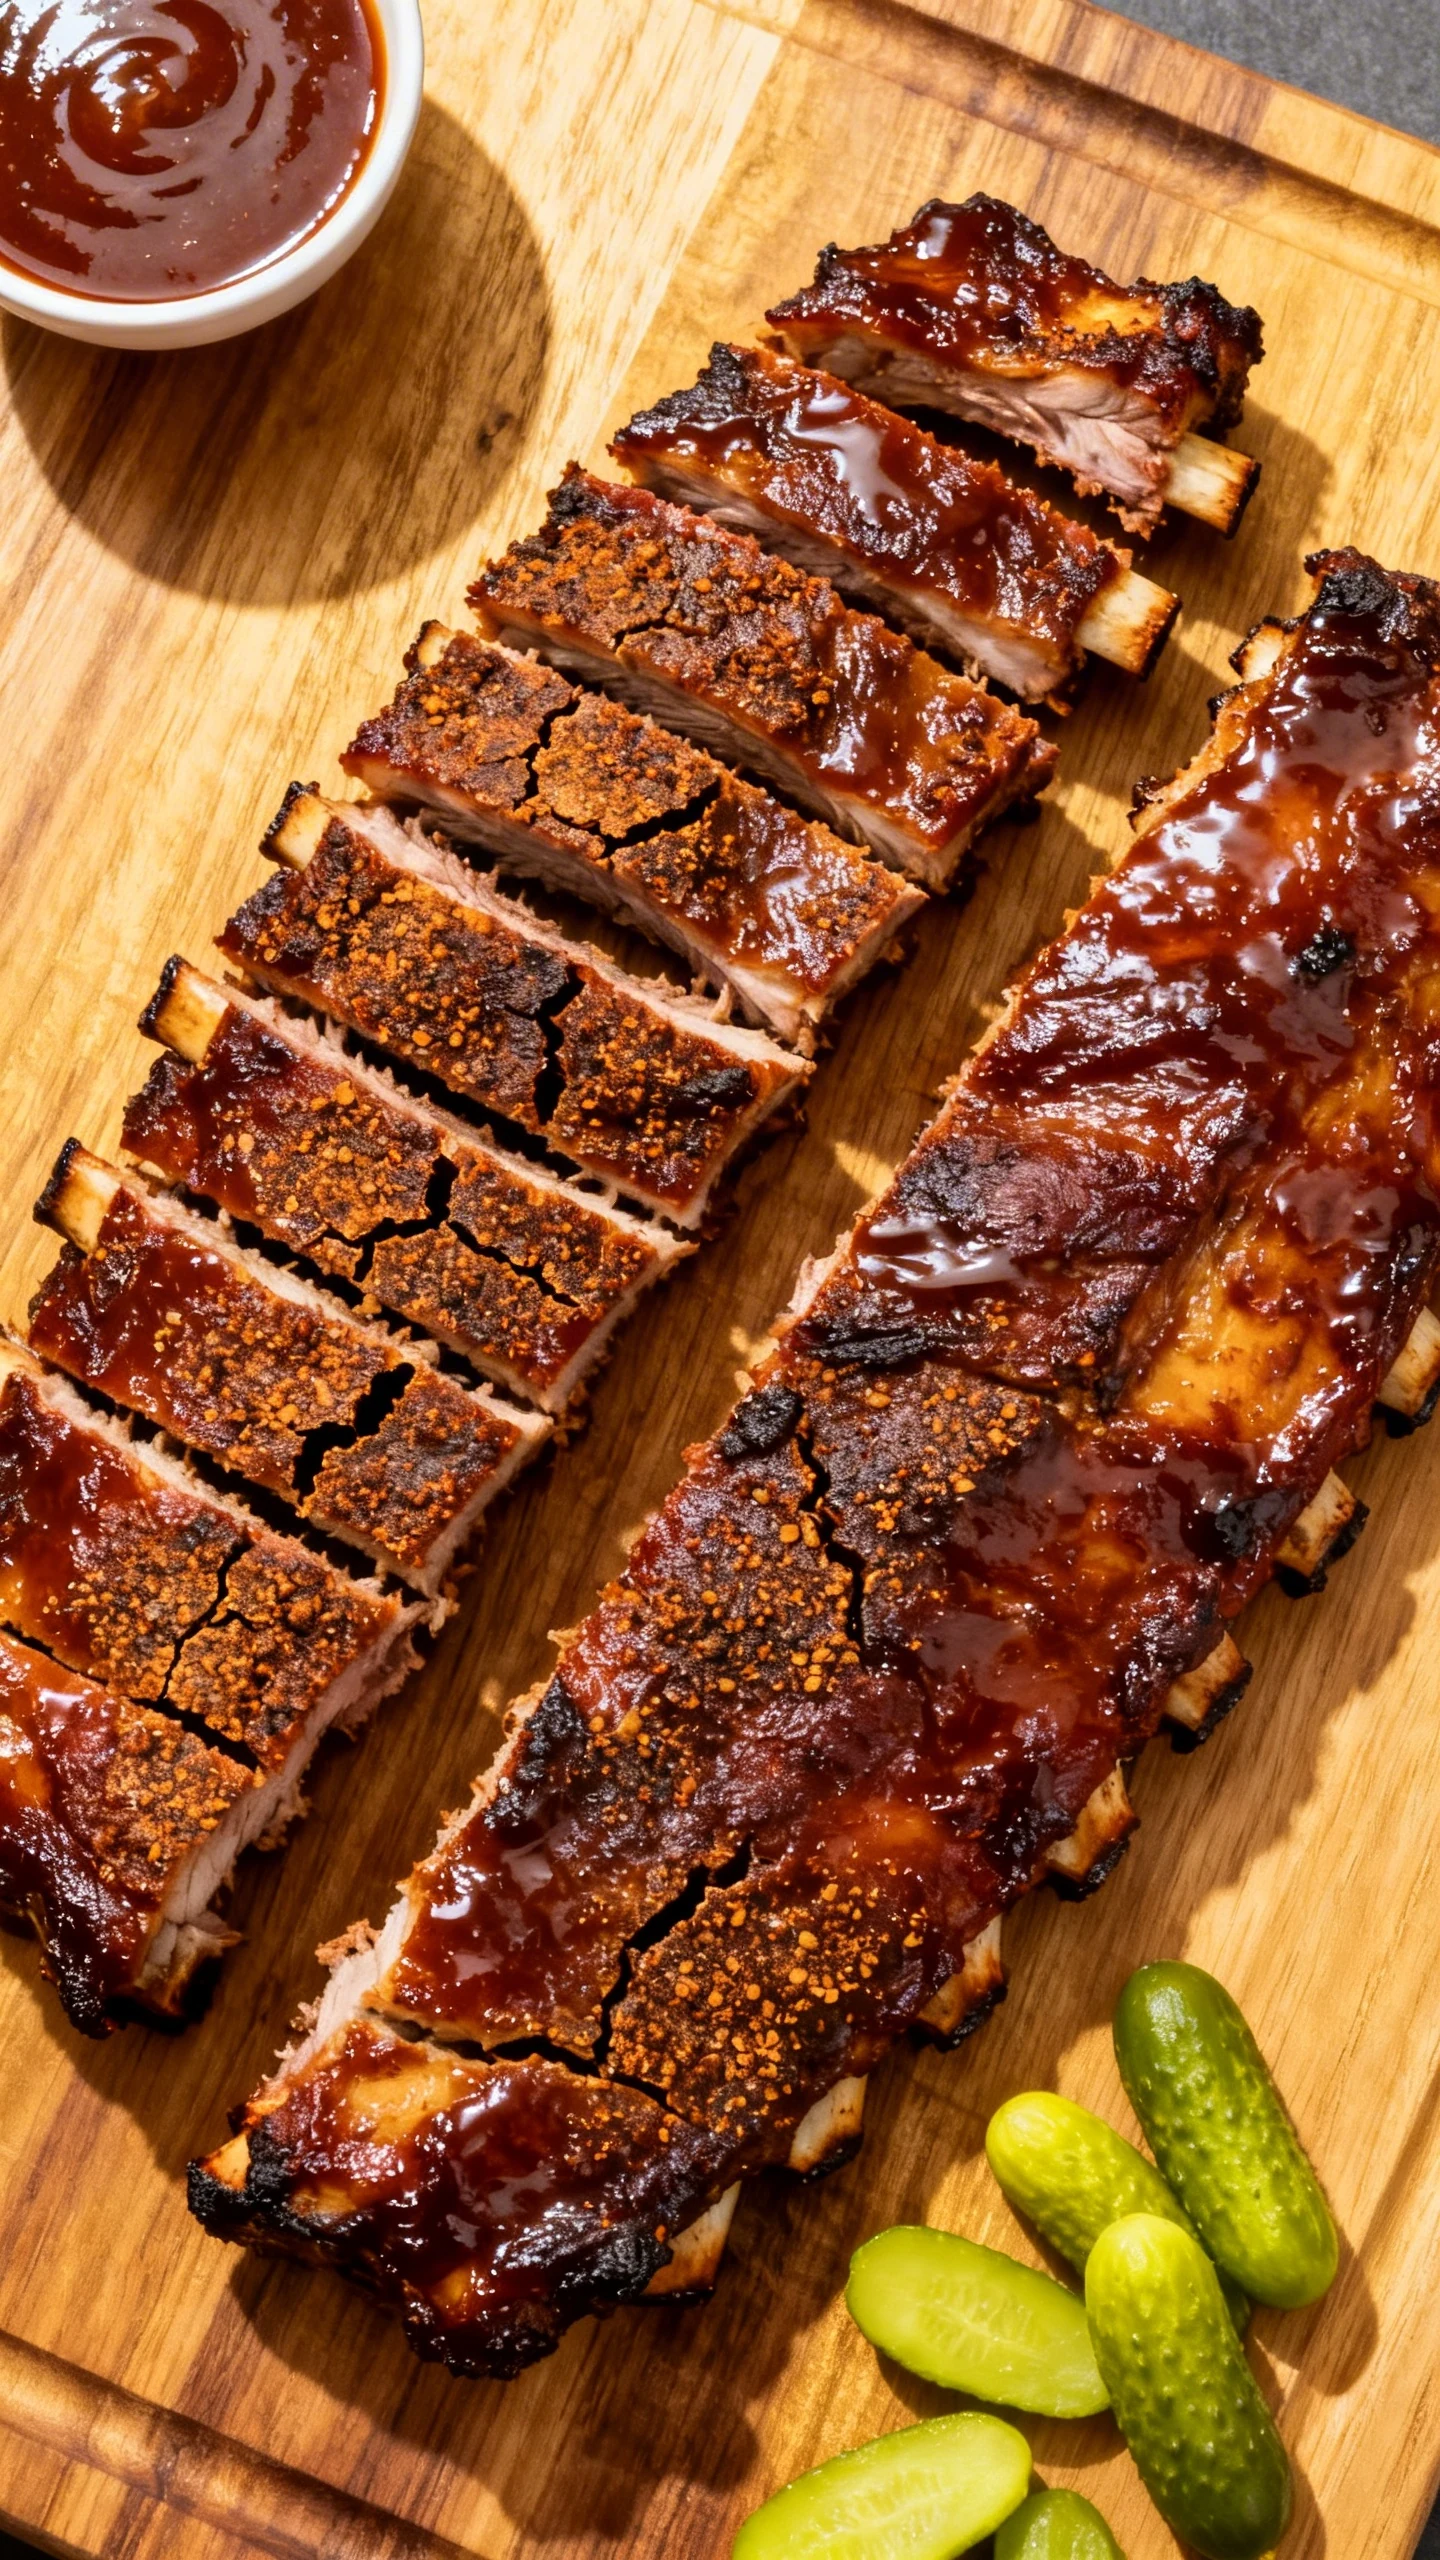
Rest and slice. Let the ribs rest for 10 minutes before cutting between the bones. This helps the juices settle and keeps the slices neater. Brush with more sauce if you want maximum drama on the plate.
Serve with coleslaw, baked beans, cornbread, potato salad, or a pile of pickles. FYI, a simple crunchy side makes the rich ribs taste even better. Contrast matters.
Storage Instructions
Let leftover ribs cool slightly, then store them in an airtight container in the refrigerator for up to 4 days. You can keep extra sauce in a separate container so the meat does not get overly wet. That helps the texture stay better for reheating.
For longer storage, wrap portions tightly and freeze them for up to 3 months. Use foil first, then place the wrapped ribs in a freezer safe bag or container. Label them, unless you enjoy playing “mystery meat roulette” later.
To reheat, place ribs in a baking dish with a splash of water or apple juice and cover with foil. Warm at 275°F until heated through, usually 20 to 30 minutes. Add fresh sauce during the last few minutes if you want that just made finish again.
Nutritional Perks
Ribs are indulgent, sure, but they still bring some useful nutrition to the table. Pork provides protein, which helps support muscle maintenance and keeps meals satisfying. That is one reason ribs feel like an actual meal instead of a snack wearing a sauce jacket.
You also get minerals like iron and zinc, both important for energy and immune function. The spice rub adds flavor without needing heavy breading or deep frying. If you make your own sauce, you can control the sugar and sodium more easily.
Pair the ribs with vegetable based sides to balance the plate. Slaw, roasted green beans, or a crisp salad work especially well. Rich mains need fresh support, and your body will thank you for not making every side beige.
Don’t Make These Errors
Do not skip removing the membrane. It creates a tougher bite and blocks some of the seasoning from getting into the meat. It takes a minute and saves you from chewing like you are proving a point.
Do not bake at high heat from the start. High heat tightens the meat before it has time to tenderize. Low and slow creates the texture you actually want.
Do not sauce too early. Barbecue sauce contains sugar, and sugar burns. Add it near the end so it caramelizes into a sticky glaze instead of turning bitter and black.
Do not overbake until the meat falls completely apart. Contrary to popular belief, perfect ribs should have a tender bite with some structure. If the bones slide out clean before you even touch them, you pushed too far.
Do not forget to rest the ribs. Cutting immediately lets more juices run out. A short rest keeps the meat juicier and easier to slice.
Alternatives
If you want to switch things up, you have options. This method is flexible enough to support different flavors, cuts, and finishing styles without losing the core technique.
Use a Different Rib Cut
Baby back ribs cook a little faster and feel leaner. St. Louis ribs have more fat, more chew, and often more flavor. Spare ribs also work, though they may need a bit more trimming and time.
Change the Flavor Profile
For a sweeter finish, add more brown sugar and honey to the sauce. For more heat, increase cayenne or add chipotle powder. If you like a Carolina style edge, use a tangier sauce with extra vinegar and less sweetness.
Try a Dry Finish
Not everyone wants sticky sauce on their fingers for the next six business hours. You can skip the glaze and serve the ribs dry with extra rub and sauce on the side. They still taste amazing and make less of a mess.
Use Beef Ribs
Beef ribs need more time and a slightly different texture expectation, but the same low and slow idea applies. Keep the heat gentle, season boldly, and finish with sauce if you like. The result feels richer and heavier, in a good way.
FAQ
How do I know when the ribs are done?
Look for meat that has pulled back from the bones and a rack that bends easily when lifted with tongs. You want tender meat with a little resistance, not total collapse. If you have a thermometer, the internal temperature often lands around 190°F to 203°F when the connective tissue has softened nicely.
Can I make these ribs ahead of time?
Yes. Bake the ribs until tender, cool them, and refrigerate them for up to a day before finishing with sauce and high heat. This makes party timing much easier and keeps you from panic cooking while guests hover near the kitchen.
Should I use baby back or St. Louis ribs?
Use baby back ribs if you want a slightly leaner rack and a shorter cook time. Use St. Louis ribs if you want meatier, richer ribs with more classic barbecue vibes. Both work well, so choose based on budget, texture, and what your store actually has.
Can I use homemade barbecue sauce?
Absolutely. Homemade sauce works beautifully here and lets you control sweetness, smoke, spice, and acidity. Just make sure it is not too thin, or it will run off instead of glazing properly.
Why wrap the ribs in foil?
Foil traps moisture and helps the ribs cook evenly while they tenderize. It creates a steamy environment that softens the meat without drying it out. If you skip the wrap, the ribs can still cook, but they usually need more careful monitoring.
Can I finish the ribs on a grill instead of in the oven?
Yes. Bake them until tender, then brush with sauce and finish on a hot grill for a few minutes per side. This gives you extra char and smoke without requiring the grill for the full cook.
My Take
I love this recipe because it respects the craving and respects your schedule. You get all the sticky, smoky, messy joy of barbecue without building your weekend around fire management. That feels like a win.
These ribs also solve a common kitchen problem: people want impressive food, but they do not want complicated food. Fair. This method gives you a repeatable system, not some vague “cook until it looks right” nonsense.
If you serve these at a family dinner, game day, or casual get together, people will assume you worked harder than you did. Let them. You earned that illusion with smart technique, and honestly, that is what great home cooking is all about.