Pull off a rich, fudgy chocolate cake in under an hour with minimal dishes, even when dinner ran late and everyone wants dessert.
You know that moment when you finally sit down after a long day and your brain whispers, “Dessert would fix this”? Not a three-hour baking project. Not a sink full of bowls. You need something fast, chocolatey, and basically guaranteed to work.
That’s where the Instant Pot comes in like the overachiever it is. It turns “I have nothing” into “wait, you made cake?” with shockingly little effort. And yes, it can be moist, fudgy, and dramatic enough to feel like you planned your life.
These recipes are built for weeknights: one batter, one pan, quick pressure cook, and a big payoff. If your oven is busy, broken, or you just don’t feel like preheating anything, you’re in the right place.
Why You’ll Love This Recipe
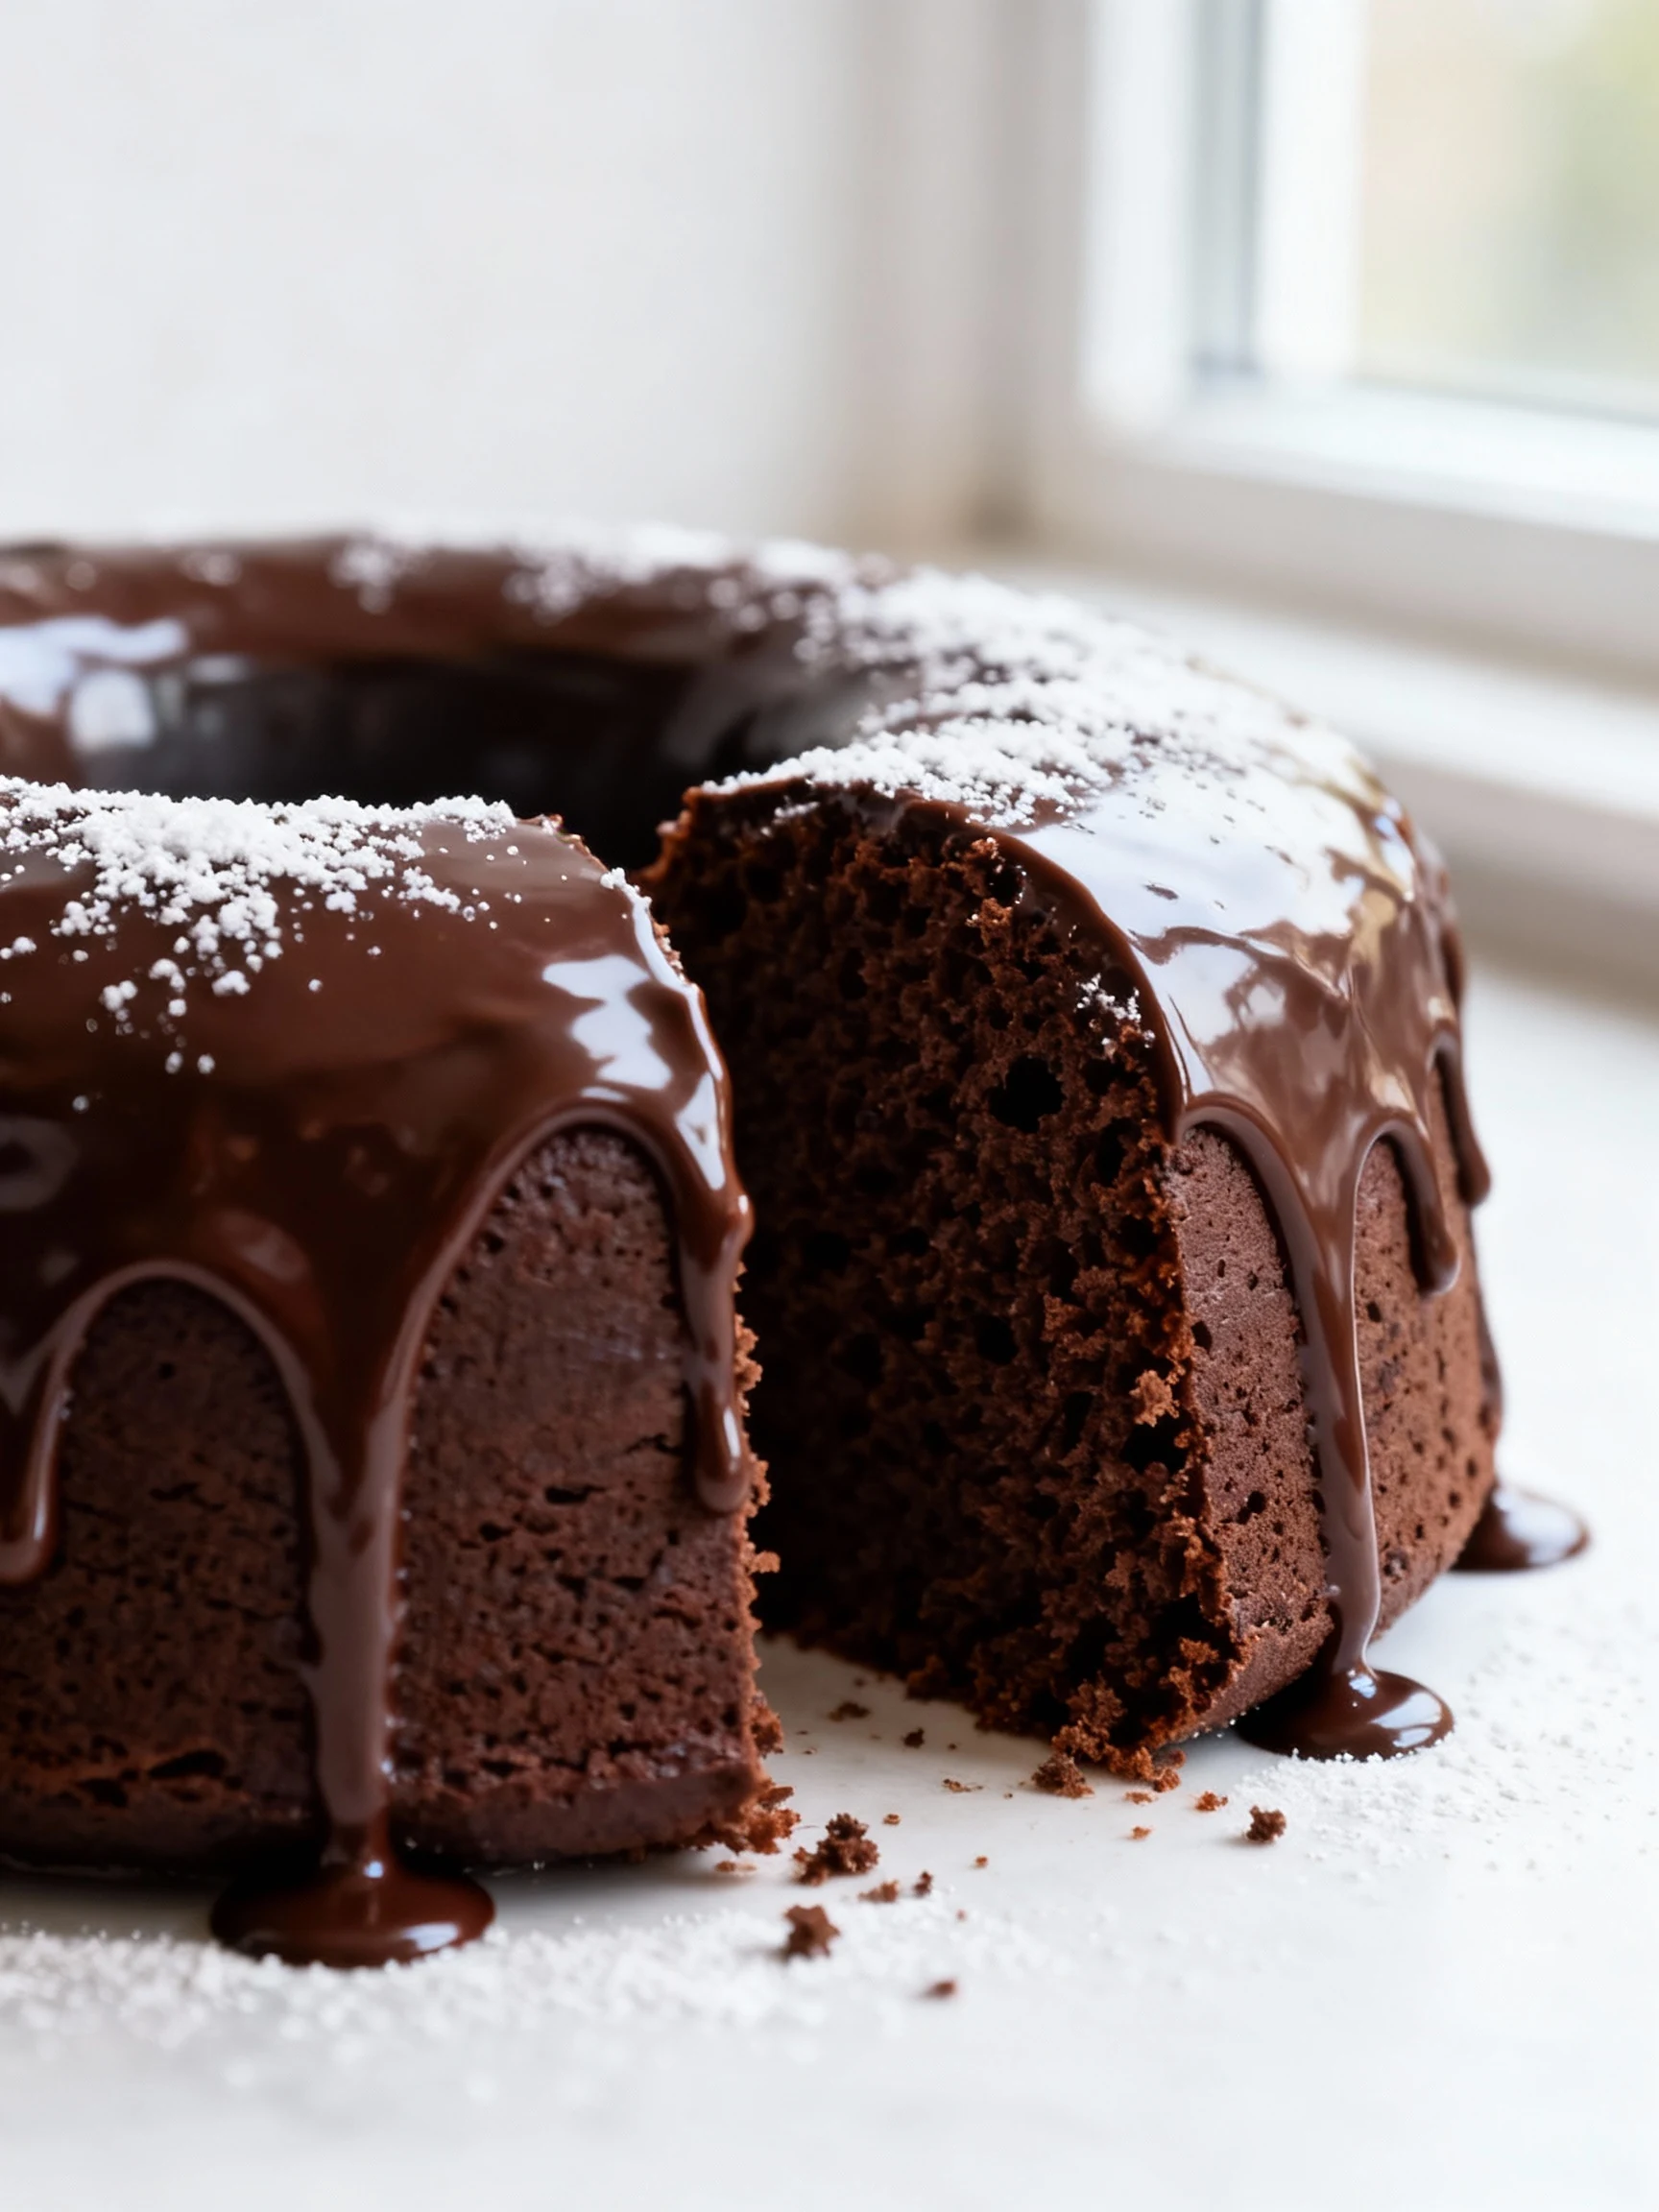
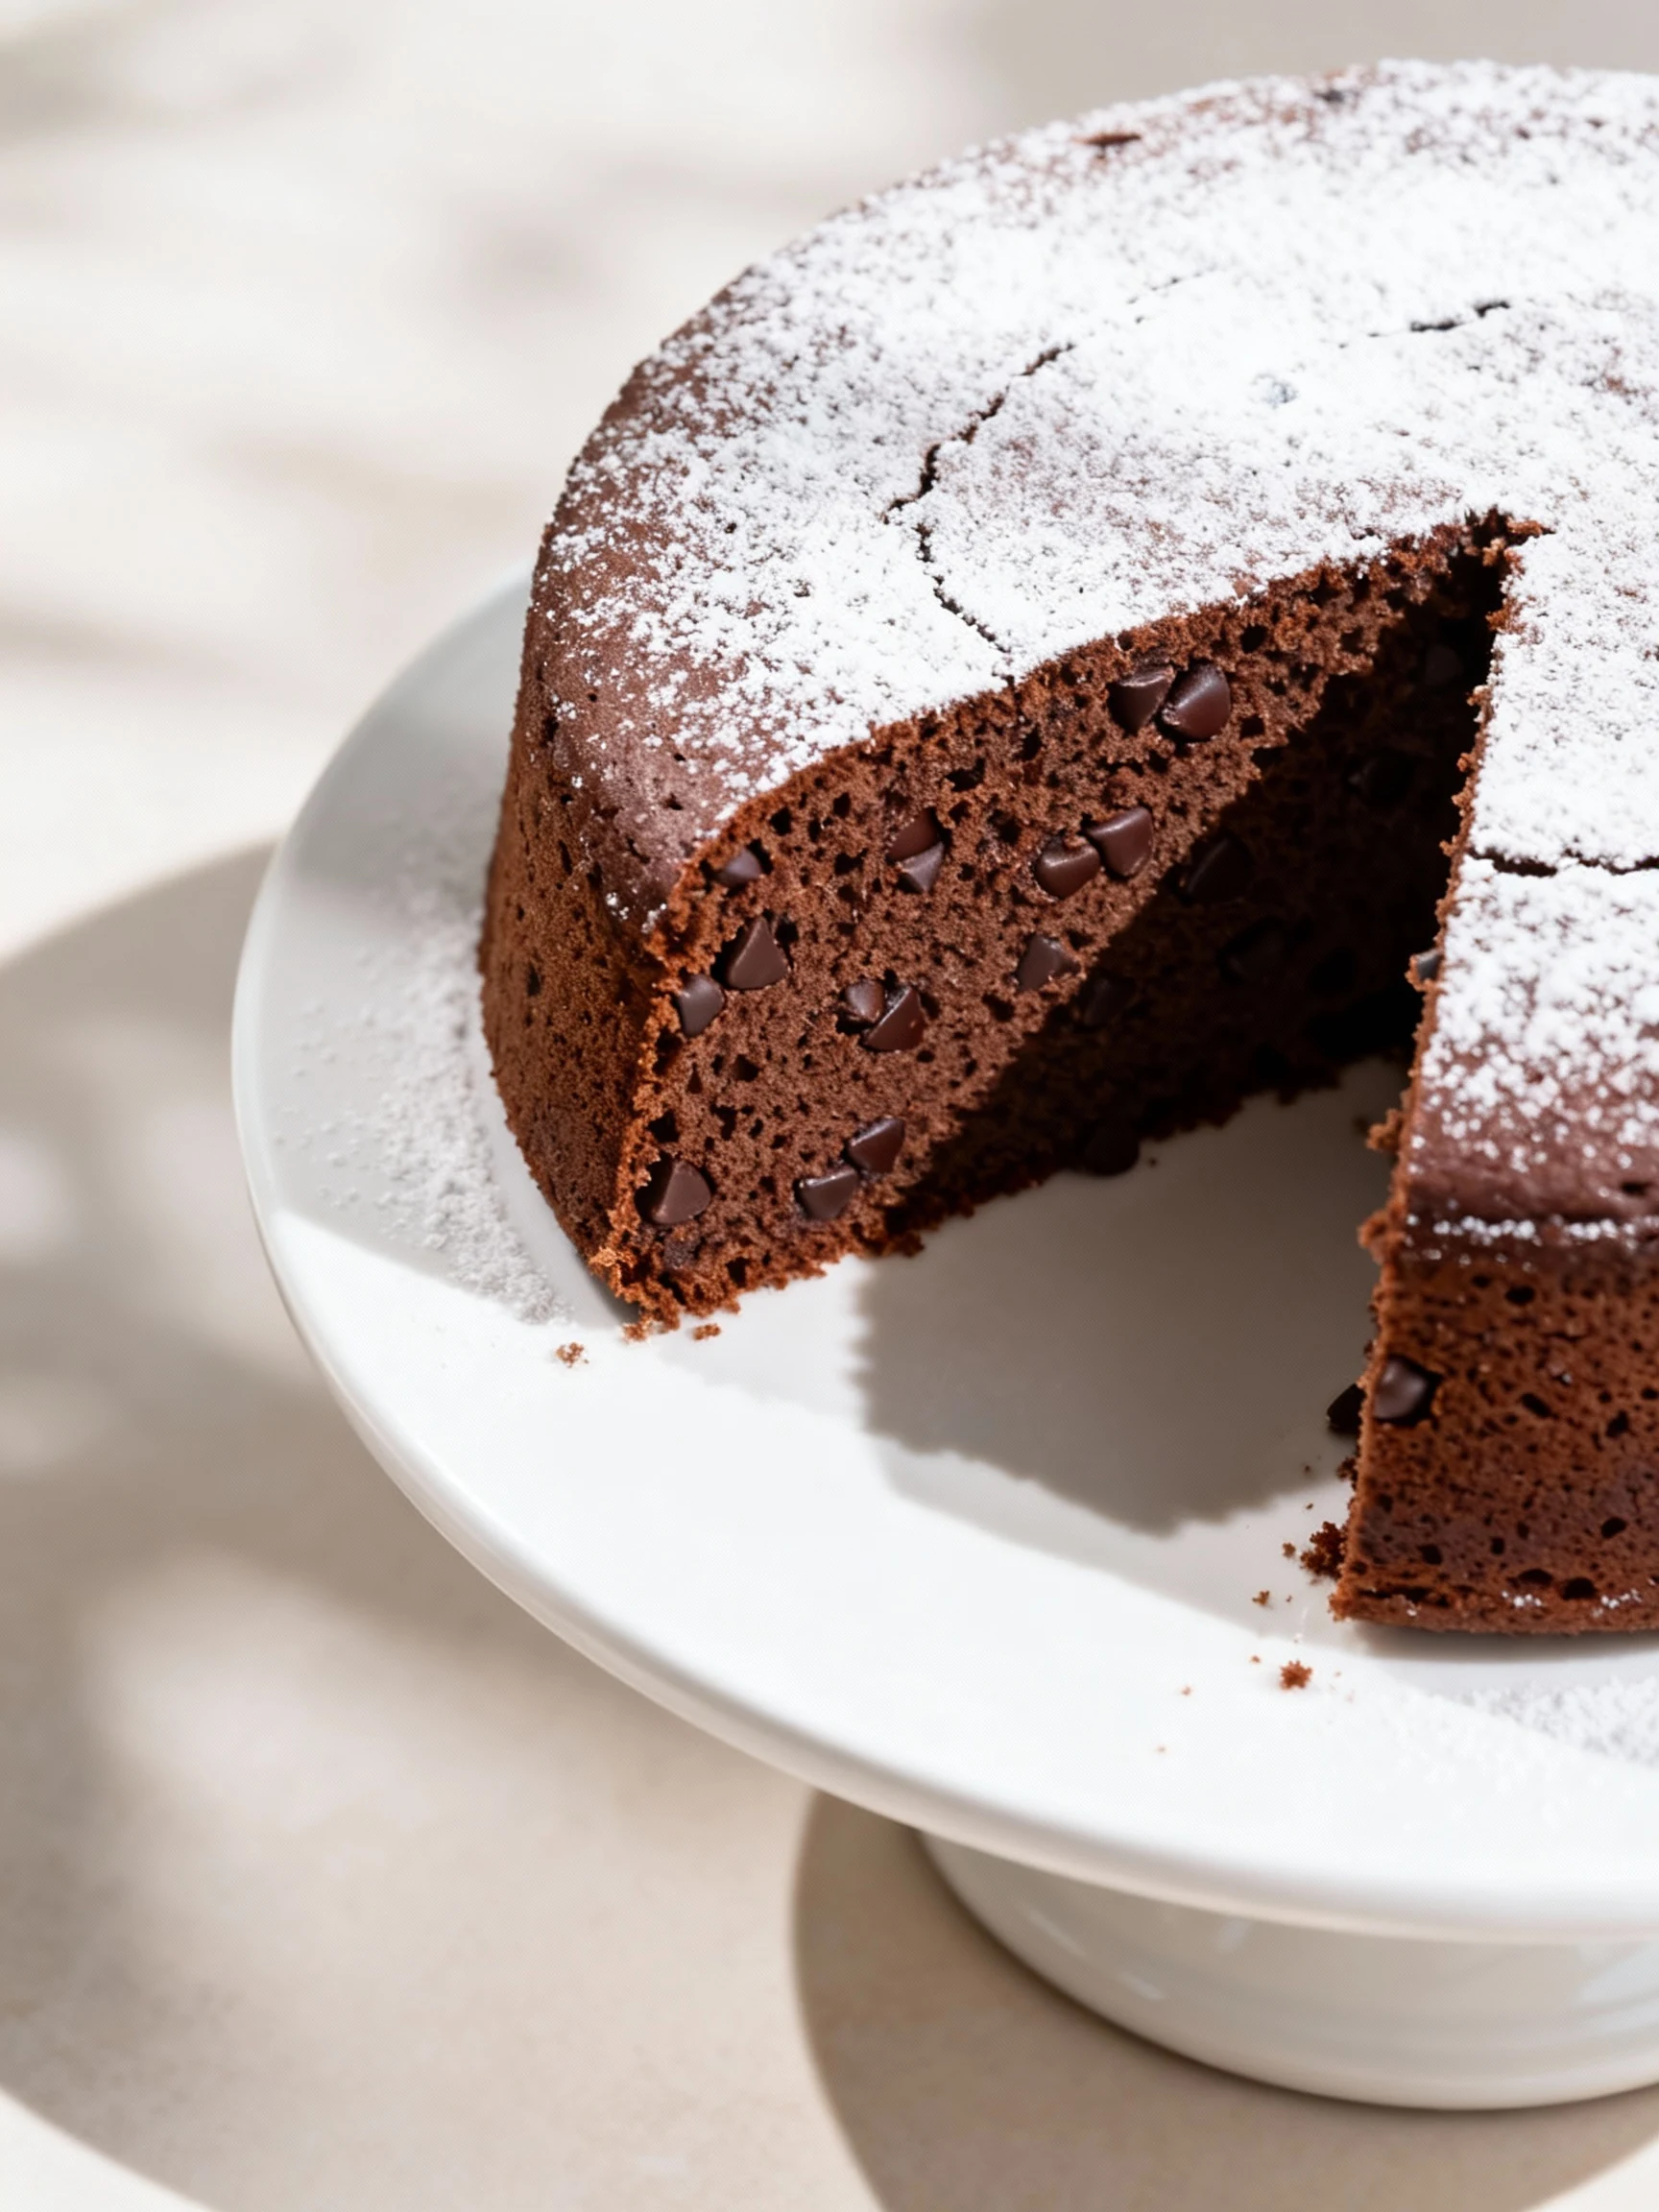
This is the rare dessert that tastes like a treat but behaves like a shortcut. You get a tender crumb, deep cocoa flavor, and a glossy finish without babysitting an oven timer. It’s also flexible: make it classic, lava-style, or vegan with a few swaps.
- Fast turnaround: pressure cooking + quick cool down means dessert happens on a Tuesday.
- Moist every time: steam heat helps prevent dry edges and sad, crumbly slices.
- Minimal dishes: one bowl batter, one cake pan, one liner if you’re smart.
- Oven-free: great for hot weather, tiny kitchens, or when the oven smells like last night’s garlic.
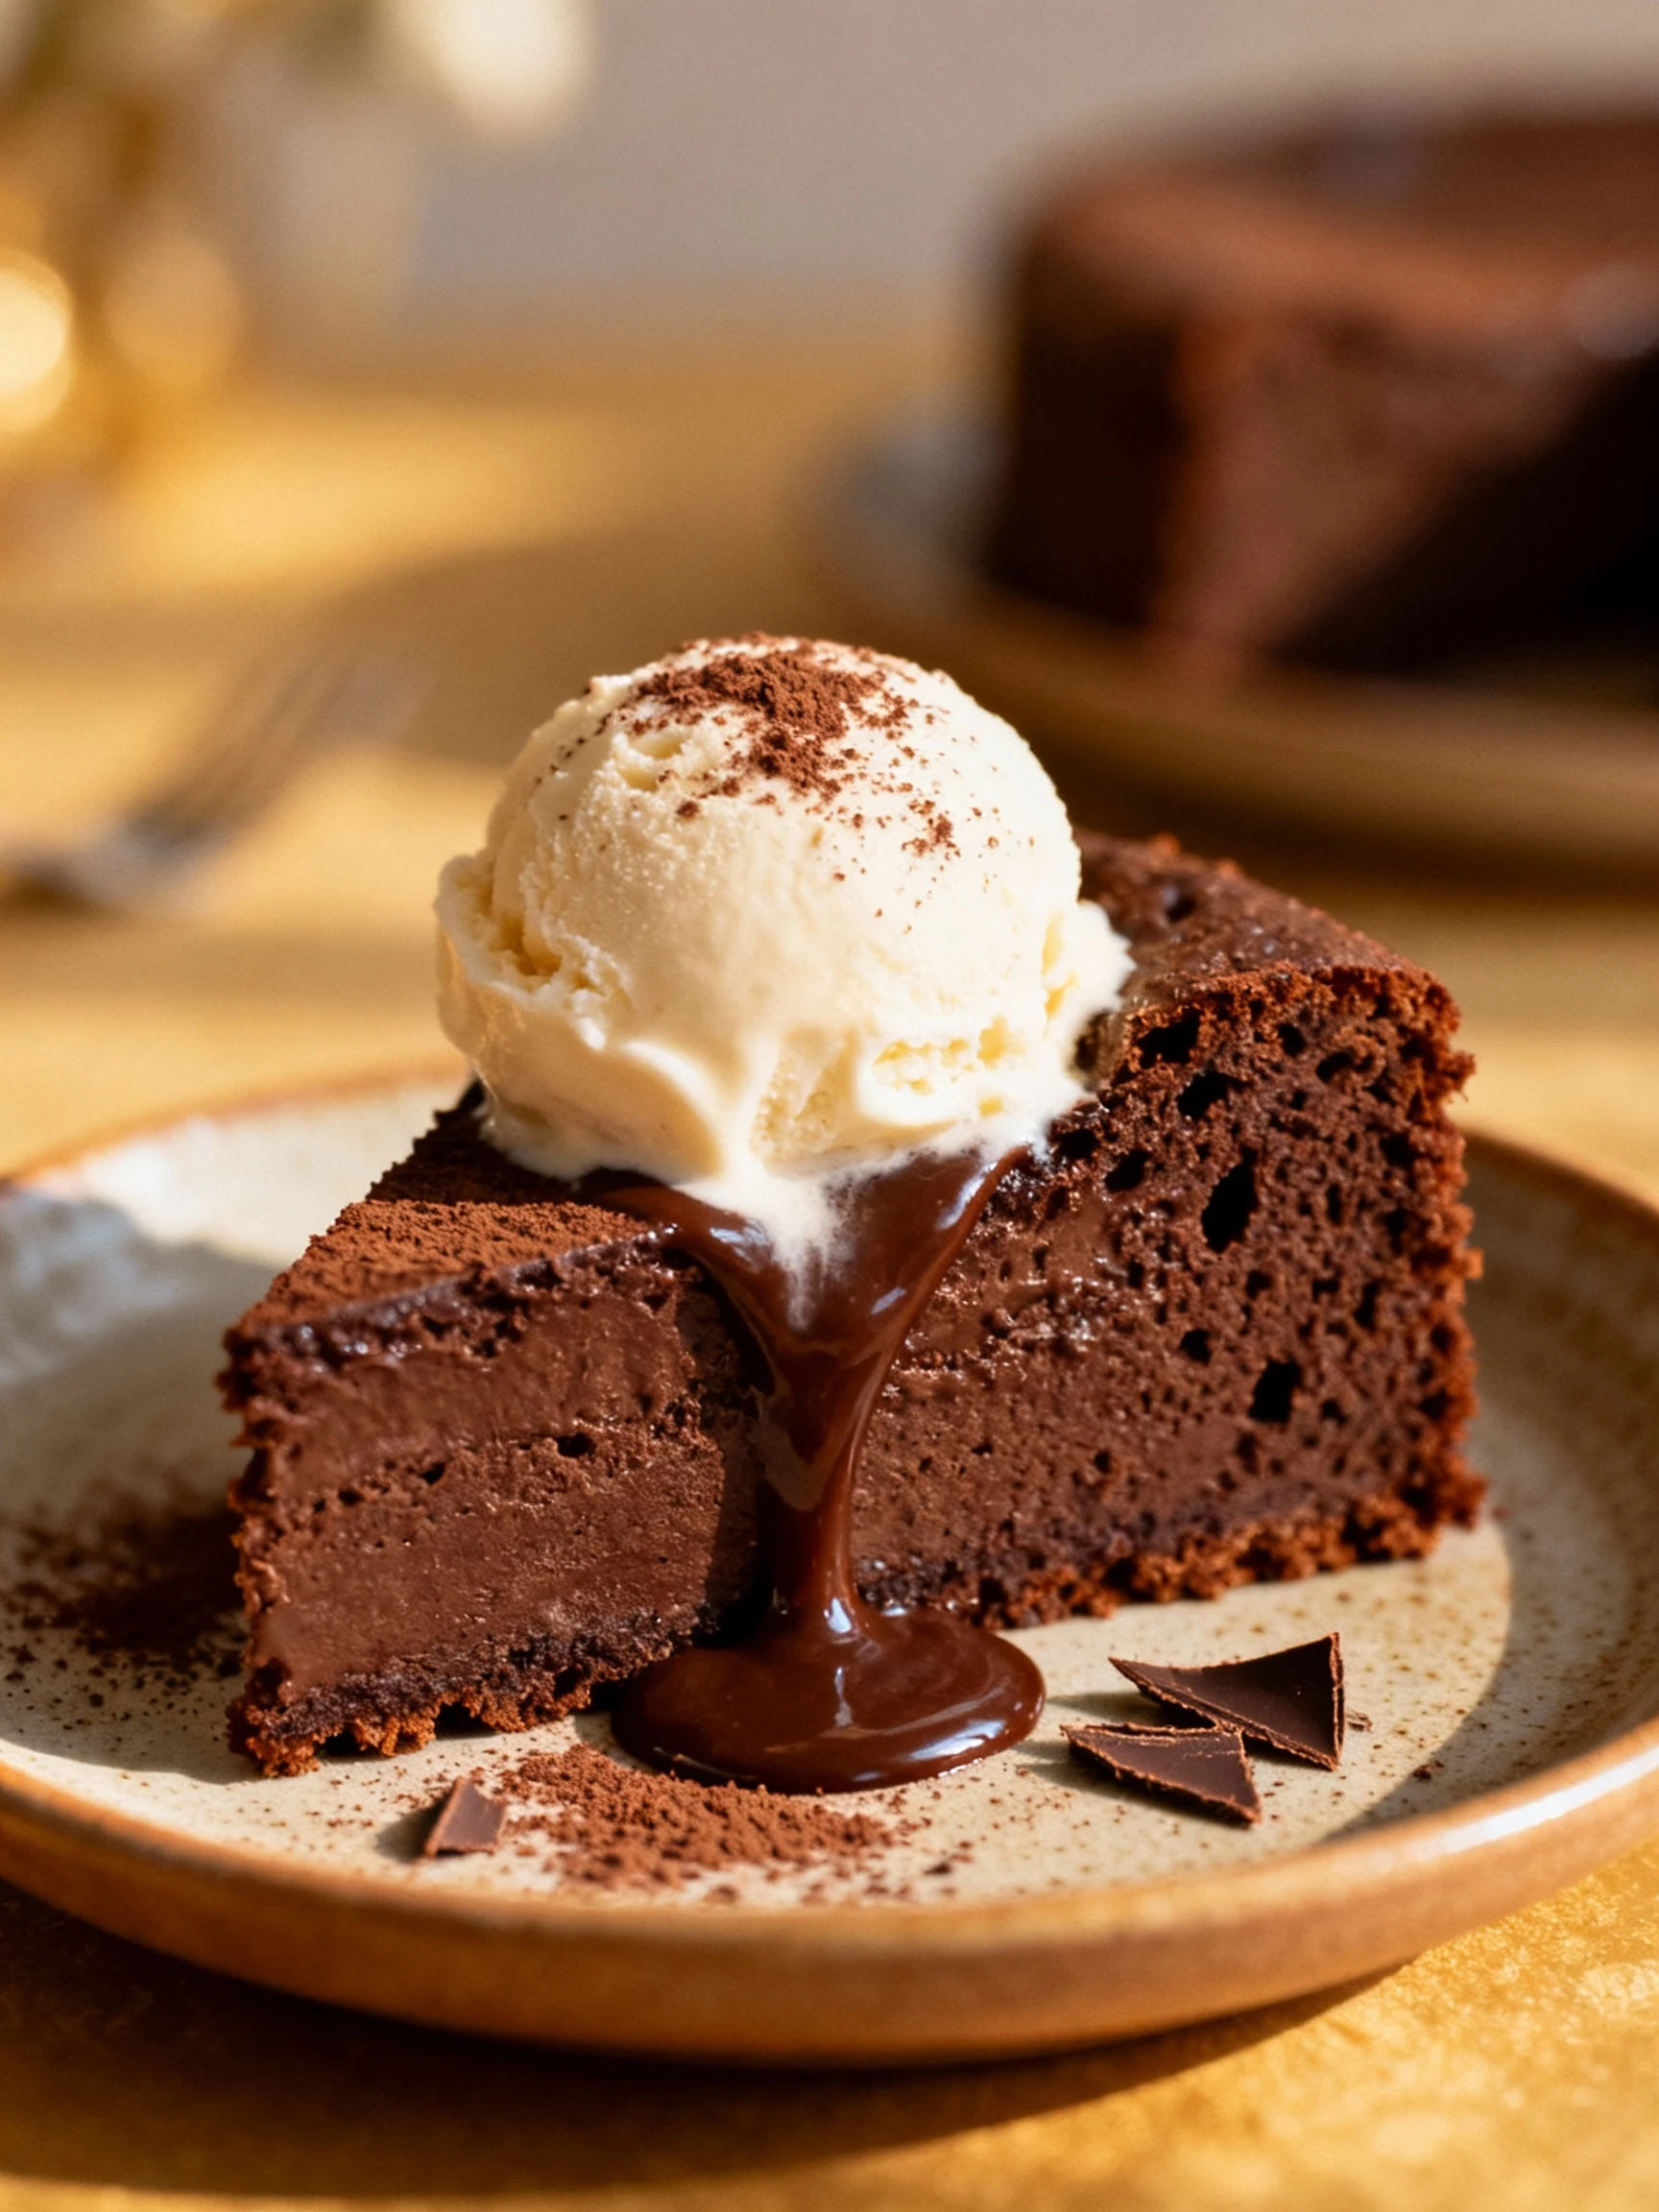
- Easy to dress up: powdered sugar, ganache, berries, ice cream, or all of the above.
Ingredients Breakdown
You can mix and match, but start with these core ingredients. The list below covers a classic base plus options for three quick variations: fudgy, lava, and vegan. Choose the version you want in the instructions section.
- All-purpose flour: structure for the cake.
- Unsweetened cocoa powder: the chocolate backbone.
- Granulated sugar: sweetness and moisture retention.
- Brown sugar (optional): deeper flavor and extra softness.
- Baking powder: lift and tenderness.
- Baking soda: helps the cocoa bloom and boosts rise.
- Fine salt: makes chocolate taste like chocolate, not just “sweet.”
- Eggs: richness and structure.
- Milk: moisture and balance.
- Sour cream or Greek yogurt: tangy softness, less dryness.
- Neutral oil: keeps the crumb moist even after chilling.
- Vanilla extract: rounds out the cocoa.
- Hot coffee or hot water: intensifies cocoa flavor.
- Mini chocolate chips (optional): pockets of melty goodness.
- Butter (optional): for richer flavor if you prefer butter over oil.
- Powdered sugar: fast finishing touch.
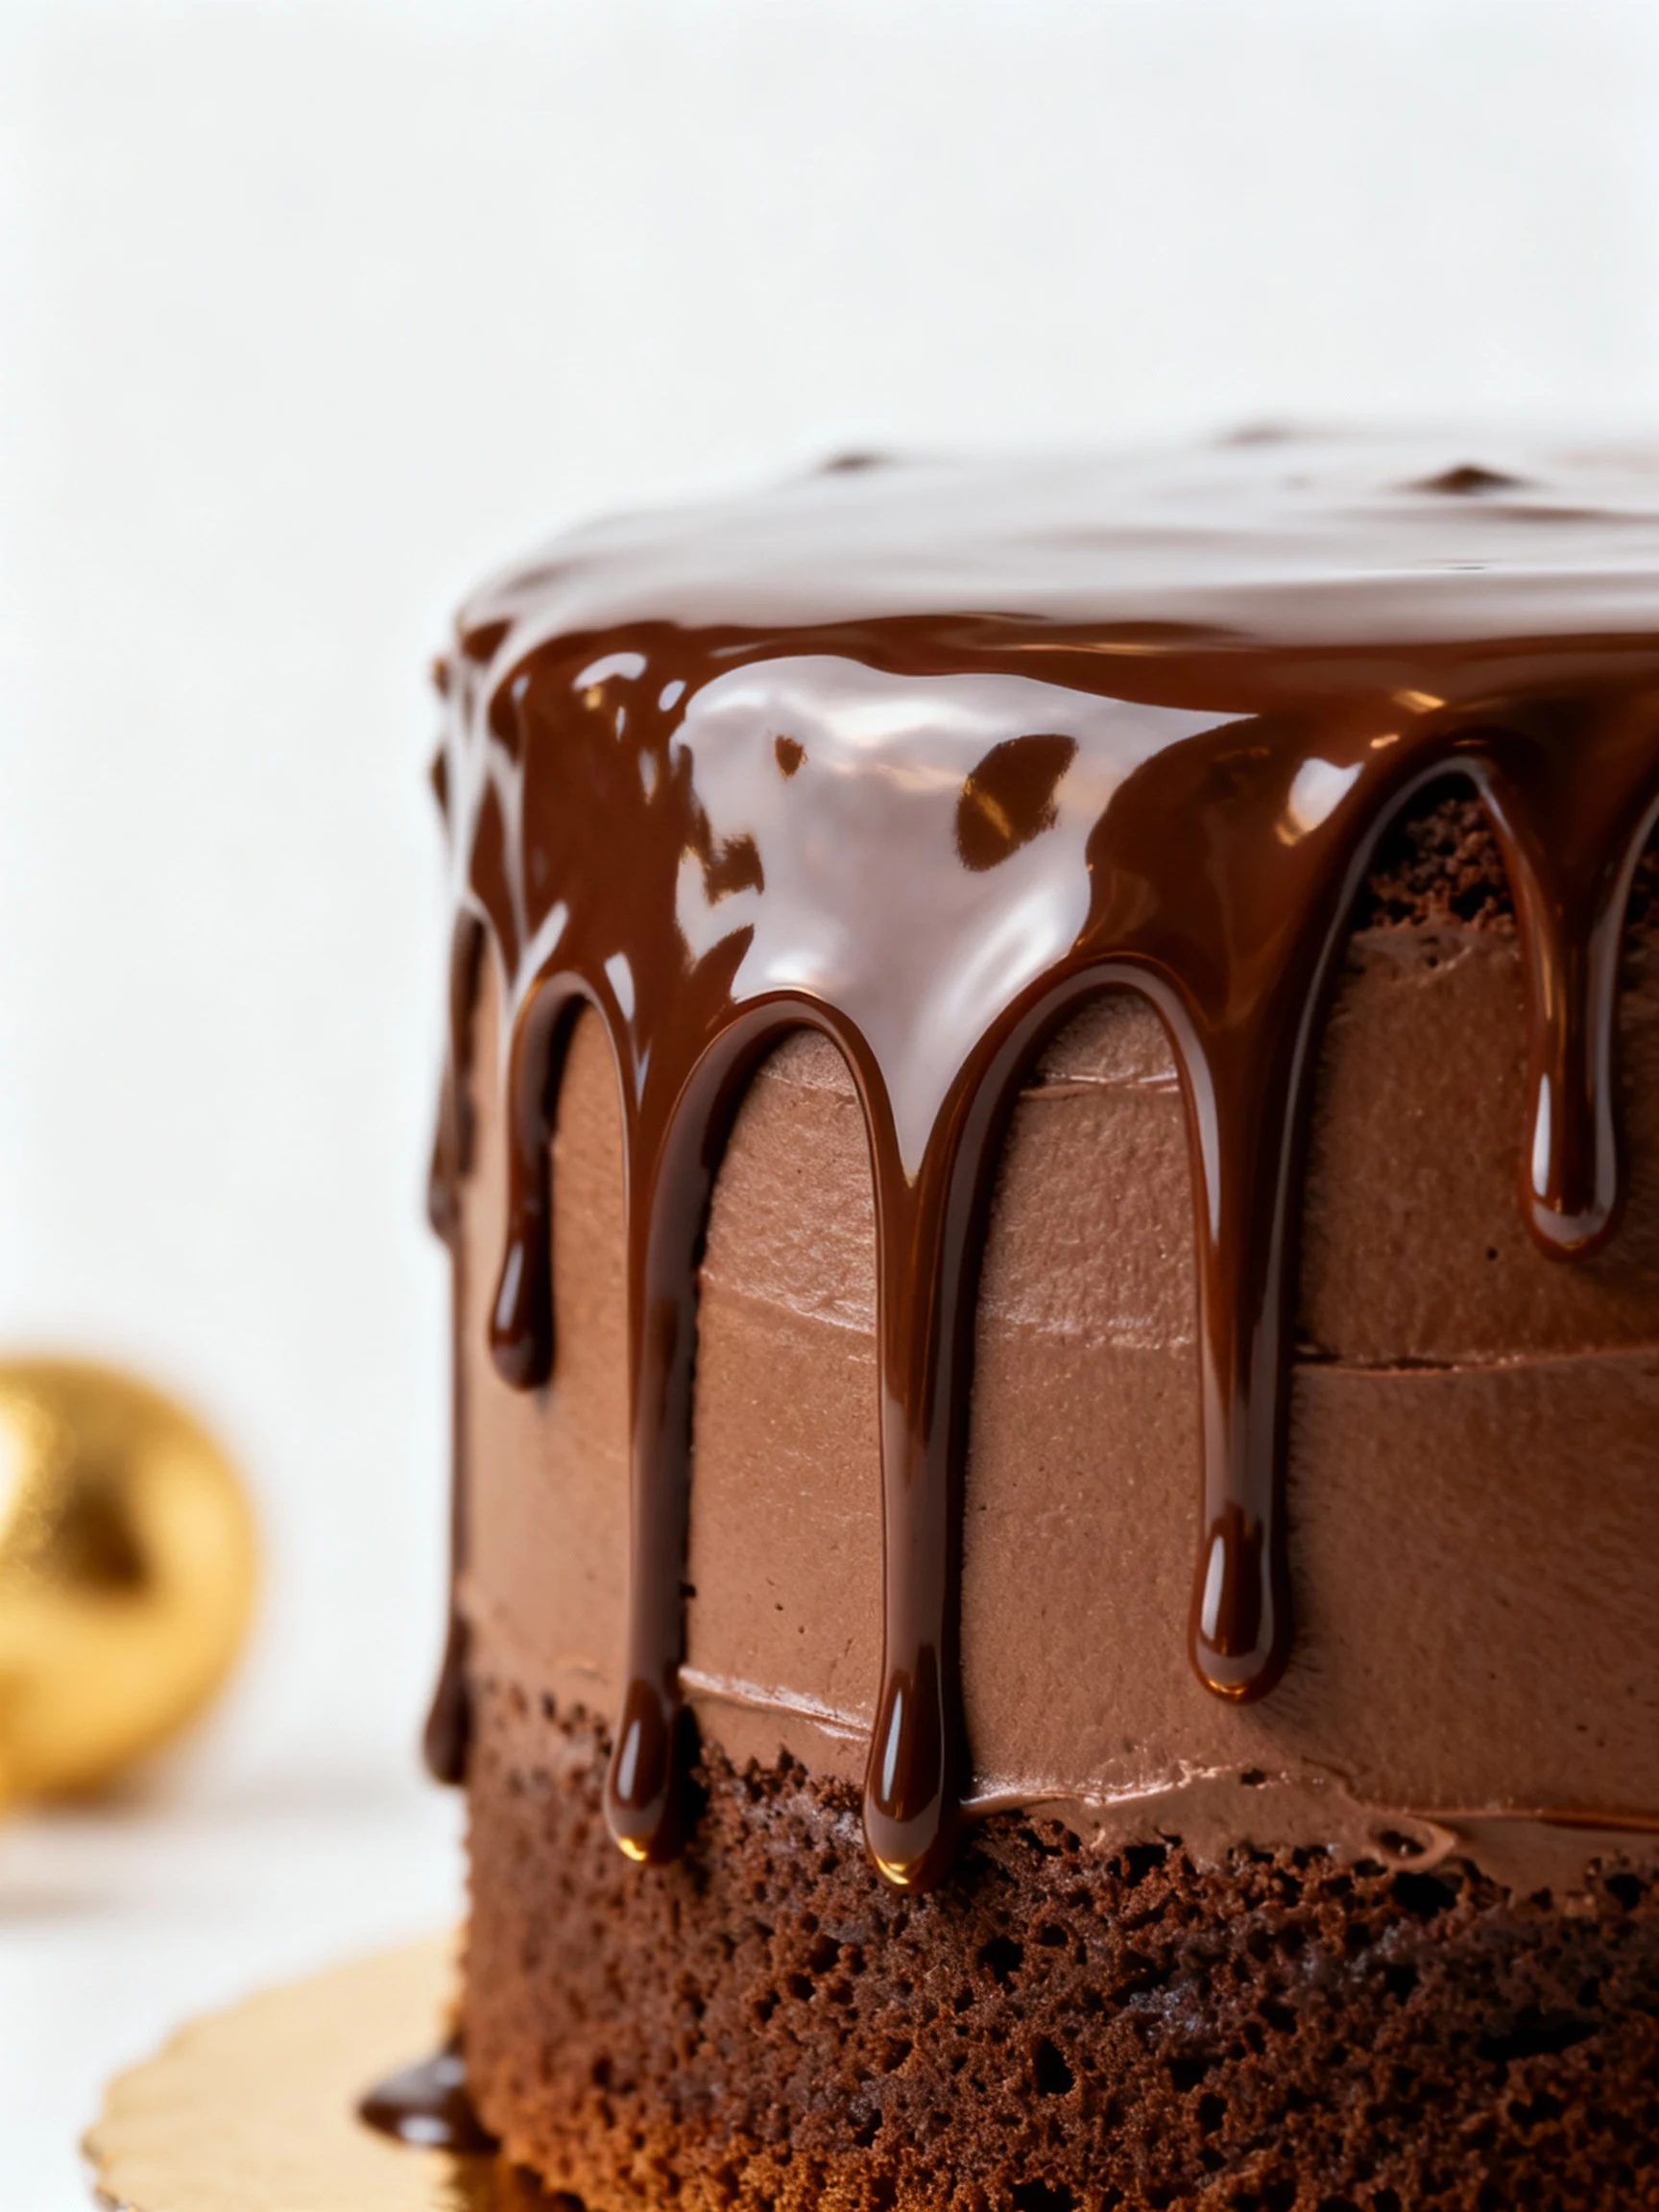
- Heavy cream + chocolate (optional): for quick ganache.
- For vegan option: plant milk, applesauce or mashed banana, and flax “eggs.”
- For the Instant Pot: 1 to 1.5 cups water for the pot and a trivet.
Instructions
This listicle format gives you one master method, then simple branching options. Use a 6-inch or 7-inch cake pan that fits your Instant Pot. If you only own an 8-inch pan, check fit first because forcing it is not a personality trait.
-
Prep the pan: grease a 6-inch or 7-inch round cake pan and line the bottom with parchment. If you want easy removal, make a parchment sling.
-
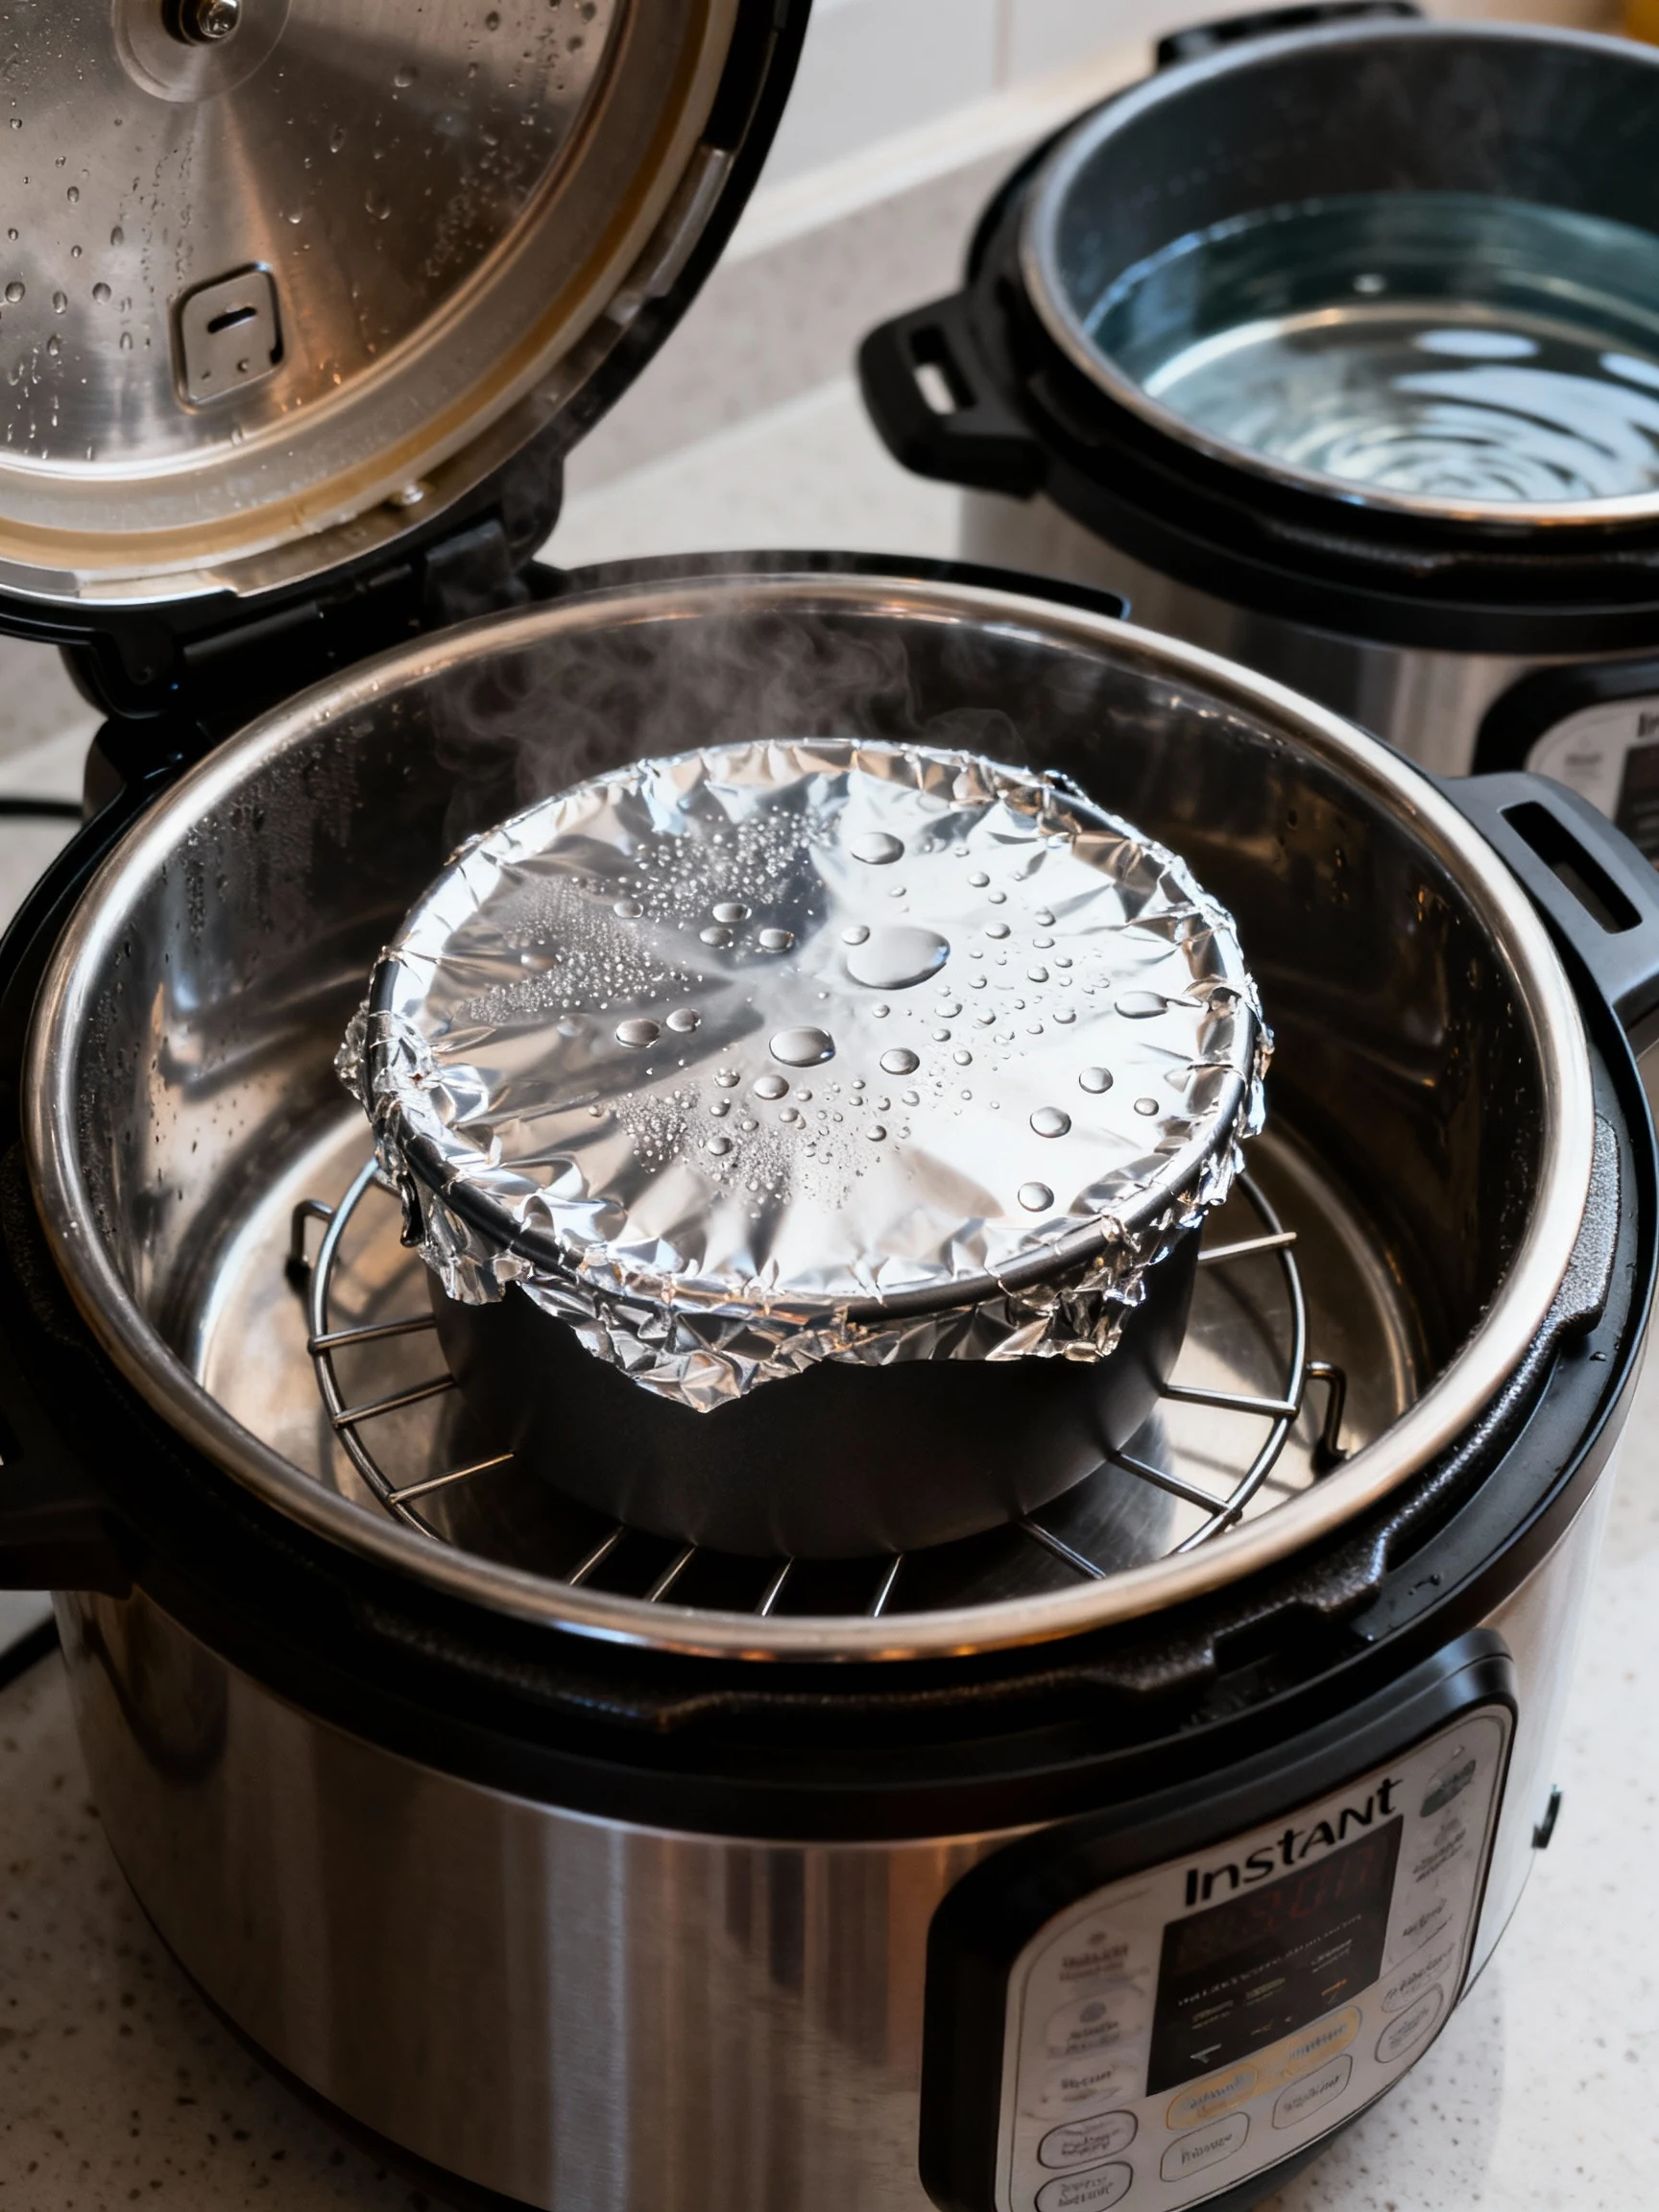
Set up the pot: add 1 to 1.5 cups water to the Instant Pot and place the trivet inside. You need steam to pressure cook the cake.
-
Mix dry ingredients: whisk flour, cocoa powder, sugar, baking powder, baking soda, and salt in a bowl until evenly combined.
-
Mix wet ingredients: whisk eggs, milk, sour cream or yogurt, oil, and vanilla in a separate bowl. Keep it smooth so the cake bakes evenly.
-
Combine without overmixing: pour wet into dry and stir until just combined. A few small lumps are fine; you’re making cake, not training for a whisking marathon.
-
Bloom the cocoa: stir in hot coffee or hot water. The batter will look thin, and that’s correct. Thin batter equals moist cake, not chaos.
-
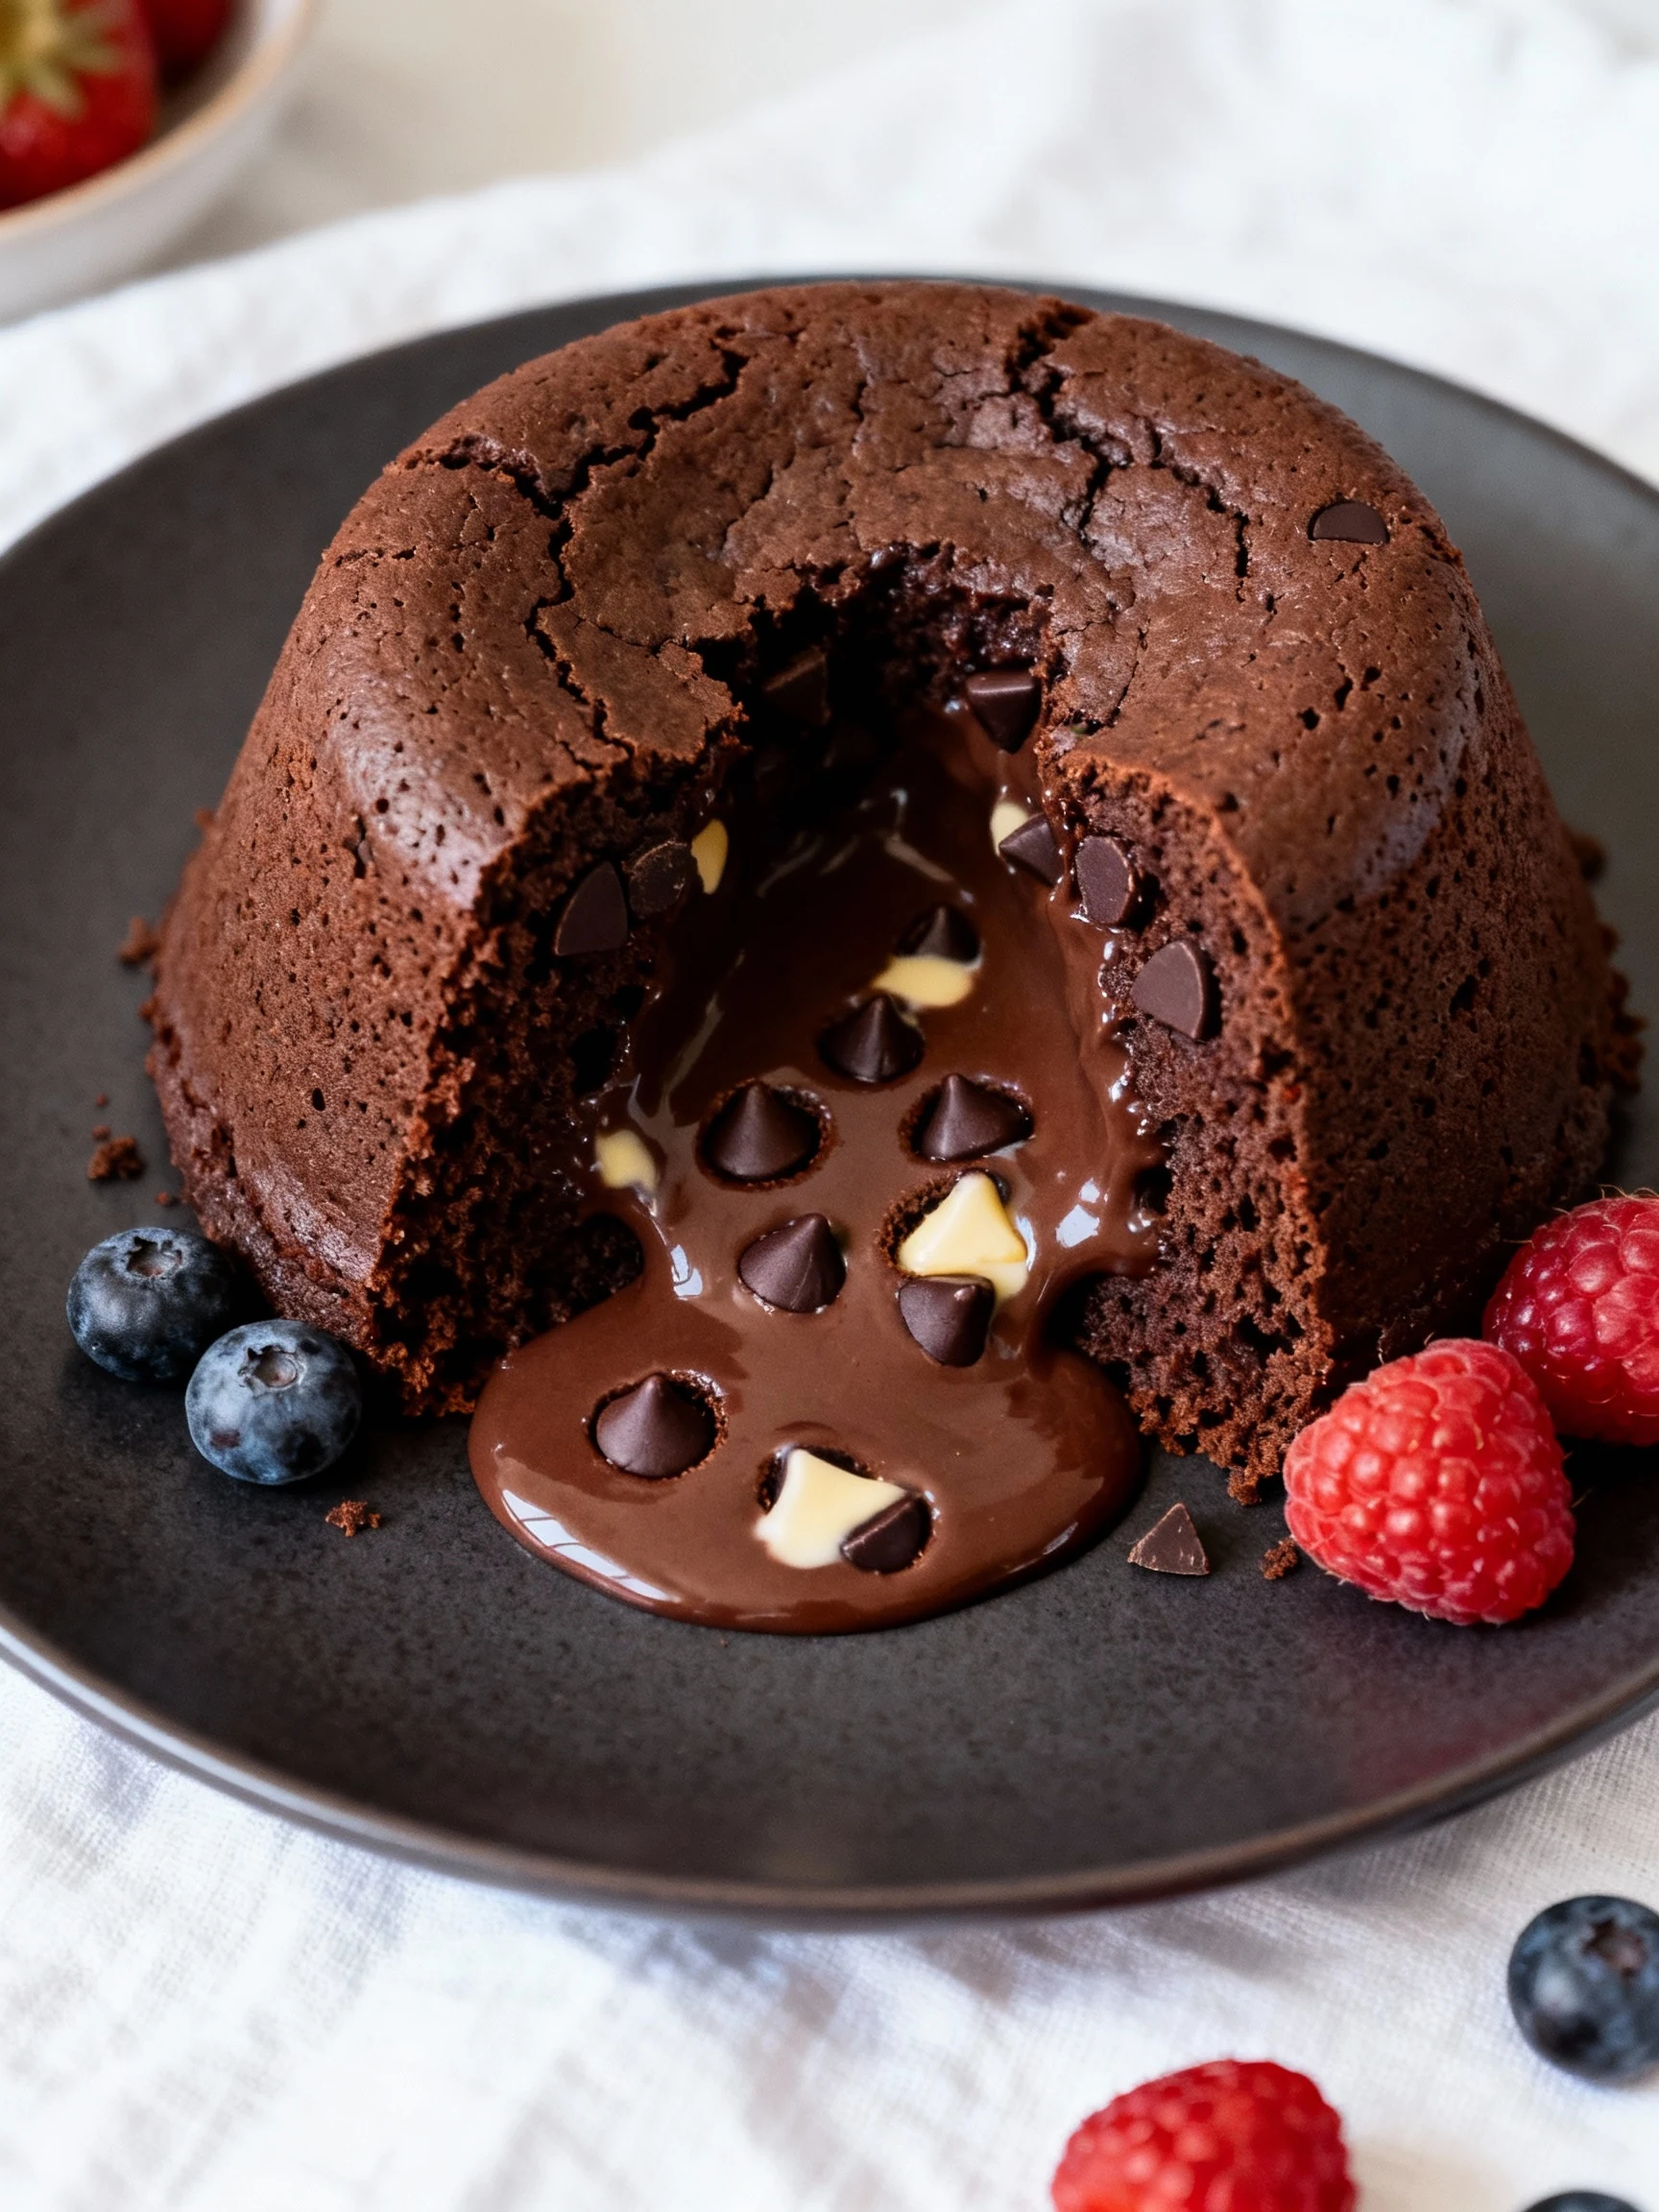
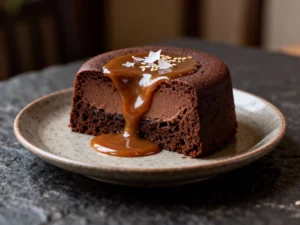
Choose your version: for classic, proceed as-is. For fudgy, fold in mini chocolate chips. For lava-style, add a chocolate center as described in the next step.
-
Optional lava center: pour half the batter into the pan, add 2 to 3 tablespoons chocolate chips or chopped chocolate in the center, then cover with remaining batter. Keep the chocolate away from the edges.
-
Cover the pan: loosely cover the cake pan with foil to block condensation. If you skip this, you may get a “mystery puddle” on top. FYI, it still tastes fine, but it looks like it had a rough day.
-
Pressure cook: place the pan on the trivet. Cook on High Pressure for 30 to 35 minutes for a 6-inch pan, or 35 to 40 minutes for a taller 7-inch cake. Times vary by pan depth and batter volume.
-
Natural release: let pressure release naturally for 10 minutes, then quick release the rest. This helps prevent a collapsed center.
-
Check doneness: a toothpick should come out with a few moist crumbs for classic, or slightly gooier for lava. If it’s wet batter, cook 5 more minutes with a short natural release.
-
Cool, then unmold: cool in the pan for 10 minutes, then run a knife around the edge and invert onto a plate. Cool fully before slicing if you want neat pieces.
-
Finish fast: dust with powdered sugar, or make ganache by microwaving chopped chocolate with warm cream and stirring until glossy. Pour, wait 2 minutes, then pretend you’re a pastry chef.
Preservation Guide
Chocolate cake stores like a champ, which is convenient because it also disappears like a champ. Keep it covered so it doesn’t pick up fridge smells and start tasting like onions. No one wants “savory cocoa.”
- Room temperature: store covered for up to 2 days if your kitchen stays cool.
- Refrigerator: wrap slices or keep in an airtight container for up to 5 days.
- Freezer: freeze wrapped slices for up to 2 months; thaw in the fridge or at room temp.
- Reheat: microwave a slice 10 to 20 seconds for a warm, fudgy texture.
- Best texture tip: add toppings after thawing, not before, so they don’t get weird.
What’s Great About This
IMO the best part is how forgiving it feels. You can go from craving to cake without the usual “wait, did I preheat?” stress. Plus, the steam environment tends to keep chocolate cakes plush instead of dry and crumbly.
- Consistent moisture: pressure cooking helps lock in tenderness.
- Small-batch friendly: perfect when you want cake, not a sheet pan commitment.
- High flavor, low effort: hot coffee + cocoa gives bakery vibes with pantry staples.
- Easy upgrades: add chips, nut butter swirls, or a quick glaze in minutes.
Don’t Make These Errors
A few small mistakes can turn “weeknight win” into “why is my cake rubbery?” Keep these in mind and you’ll stay in the success lane. Yes, the Instant Pot is powerful, but it cannot fix everything you do with confidence.
- Overmixing the batter: this toughens the crumb; stir just until combined.
- Skipping the foil cover: condensation can waterlog the top and ruin the finish.
- Wrong pan size: too large and the cake bakes thin; too small and it may overflow.
- Quick releasing immediately: sudden pressure drop can sink the center.
- Not using hot coffee or water: cocoa flavor can taste flat without the bloom step.
- Cutting too early: warm cake is fragile; it needs a short rest to set.
Alternatives
Want to customize without reinventing the wheel? These swaps keep the method intact while changing the vibe. Pick one change at a time if you want predictable results.
- Box mix shortcut: use your favorite chocolate cake mix, add sour cream for richness, then pressure cook as directed.
- Gluten-free: use a 1:1 gluten-free baking blend and add 1 extra tablespoon yogurt for moisture.
- Vegan: replace eggs with flax eggs (ground flax + water), use plant milk, and swap yogurt for dairy-free yogurt.
- Peanut butter swirl: dollop 2 to 3 tablespoons peanut butter on top of batter and gently swirl with a knife.
- Mint chocolate: add a few drops peppermint extract and top with crushed peppermint candy.
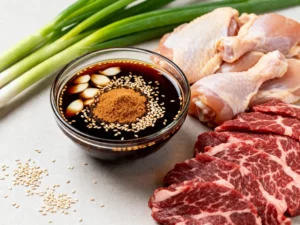
- Mocha upgrade: use hot coffee and add a pinch of espresso powder for deeper chocolate flavor.
FAQ
What size cake pan works best in the Instant Pot?
A 6-inch or 7-inch round pan works best for most 6-quart Instant Pots. The pan needs space around it for steam to circulate, and it should sit comfortably on the trivet without scraping the sides.
How do I keep condensation from ruining the top of the cake?
Cover the cake pan loosely with foil before pressure cooking. That foil acts like a little umbrella so the water droplets don’t pool on the surface and mess with texture and appearance.
Why does my Instant Pot cake come out dense?
Dense cake usually comes from overmixing, too much flour, or undercooking. Measure flour by spooning into the cup and leveling, mix just until combined, and add a few extra minutes if the center shows wet batter.
Can I make this without coffee?
Yes. Use hot water instead, or hot milk for a slightly richer flavor. Coffee doesn’t make the cake taste like coffee; it mainly makes the cocoa taste more intense.
How do I know when it’s done if I want it lava-style?
For lava-style, the toothpick test changes: you want set edges and a center that looks baked but still slightly soft. If the whole middle looks like raw batter, cook 5 more minutes and do a short natural release again.
Can I double the recipe?
You can, but you’ll need a larger pan that still fits, and cook time will increase. Doubling often leads to overflow or undercooked centers, so it’s usually smarter to make two smaller cakes back-to-back.
What toppings work best for a quick weeknight finish?
Powdered sugar, microwave ganache, store-bought whipped cream, berries, or ice cream all work fast. If you want maximum impact with minimum effort, pour warm ganache over a slightly warm cake and call it a day.
Final Thoughts
Weeknight dessert shouldn’t feel like a second job. An Instant Pot chocolate cake gives you that “fresh-baked” payoff without the oven drama, the long wait, or the mountain of dishes. It’s cozy, reliable, and honestly a little unfair to regular cake recipes.
Make the classic version once, then play with the fudgy and lava variations when you want extra chaos in the best way. Keep a can of cocoa and a bag of chocolate chips in the pantry and you’ll always have a “just in case” dessert plan. Because sometimes the best self-care is cake, and sometimes it’s cake you can make on a Tuesday.
