Moist, foolproof, and bakery-pretty every time—these crowd-pleasing cakes slice clean, travel well, and vanish before the coffee’s done.
You know that one dessert that makes people “just take a sliver” and then come back for a second, bigger sliver? That’s a Bundt cake. It looks like you tried hard, but it’s secretly the easiest way to serve a fancy dessert with minimal chaos. The ring shape bakes evenly, slices like a dream, and handles glazes like it was born for them. If your goal is to win the potluck without washing twelve cupcake tins, you’re in the right place.
This article gives you a master Bundt formula plus multiple flavor directions, so you can bake once and look like you run a tiny luxury bakery on the weekends. You’ll get ingredients, step-by-step instructions, storage tips, and the classic “don’t do this” list that saves cakes from heartbreak. And yes, you’ll learn the one move that keeps your cake from sticking, because nobody wants to excavate dessert from a pan with a spoon. Ready to bake something that gets compliments before it even cools?
What Makes This Recipe So Good
It bakes evenly. The Bundt pan’s center tube brings heat into the middle, so you get fewer raw centers and fewer dry edges. Translation: more consistent crumb, even for newer bakers. It’s basically the cheat code of cake pans.
It stays moist longer. This style loves oil, sour cream, yogurt, and buttermilk—ingredients that hold onto moisture and keep the cake tender for days. That’s why Bundt cakes taste better on day two, which feels illegal but isn’t. FYI, this makes it ideal for make-ahead hosting.
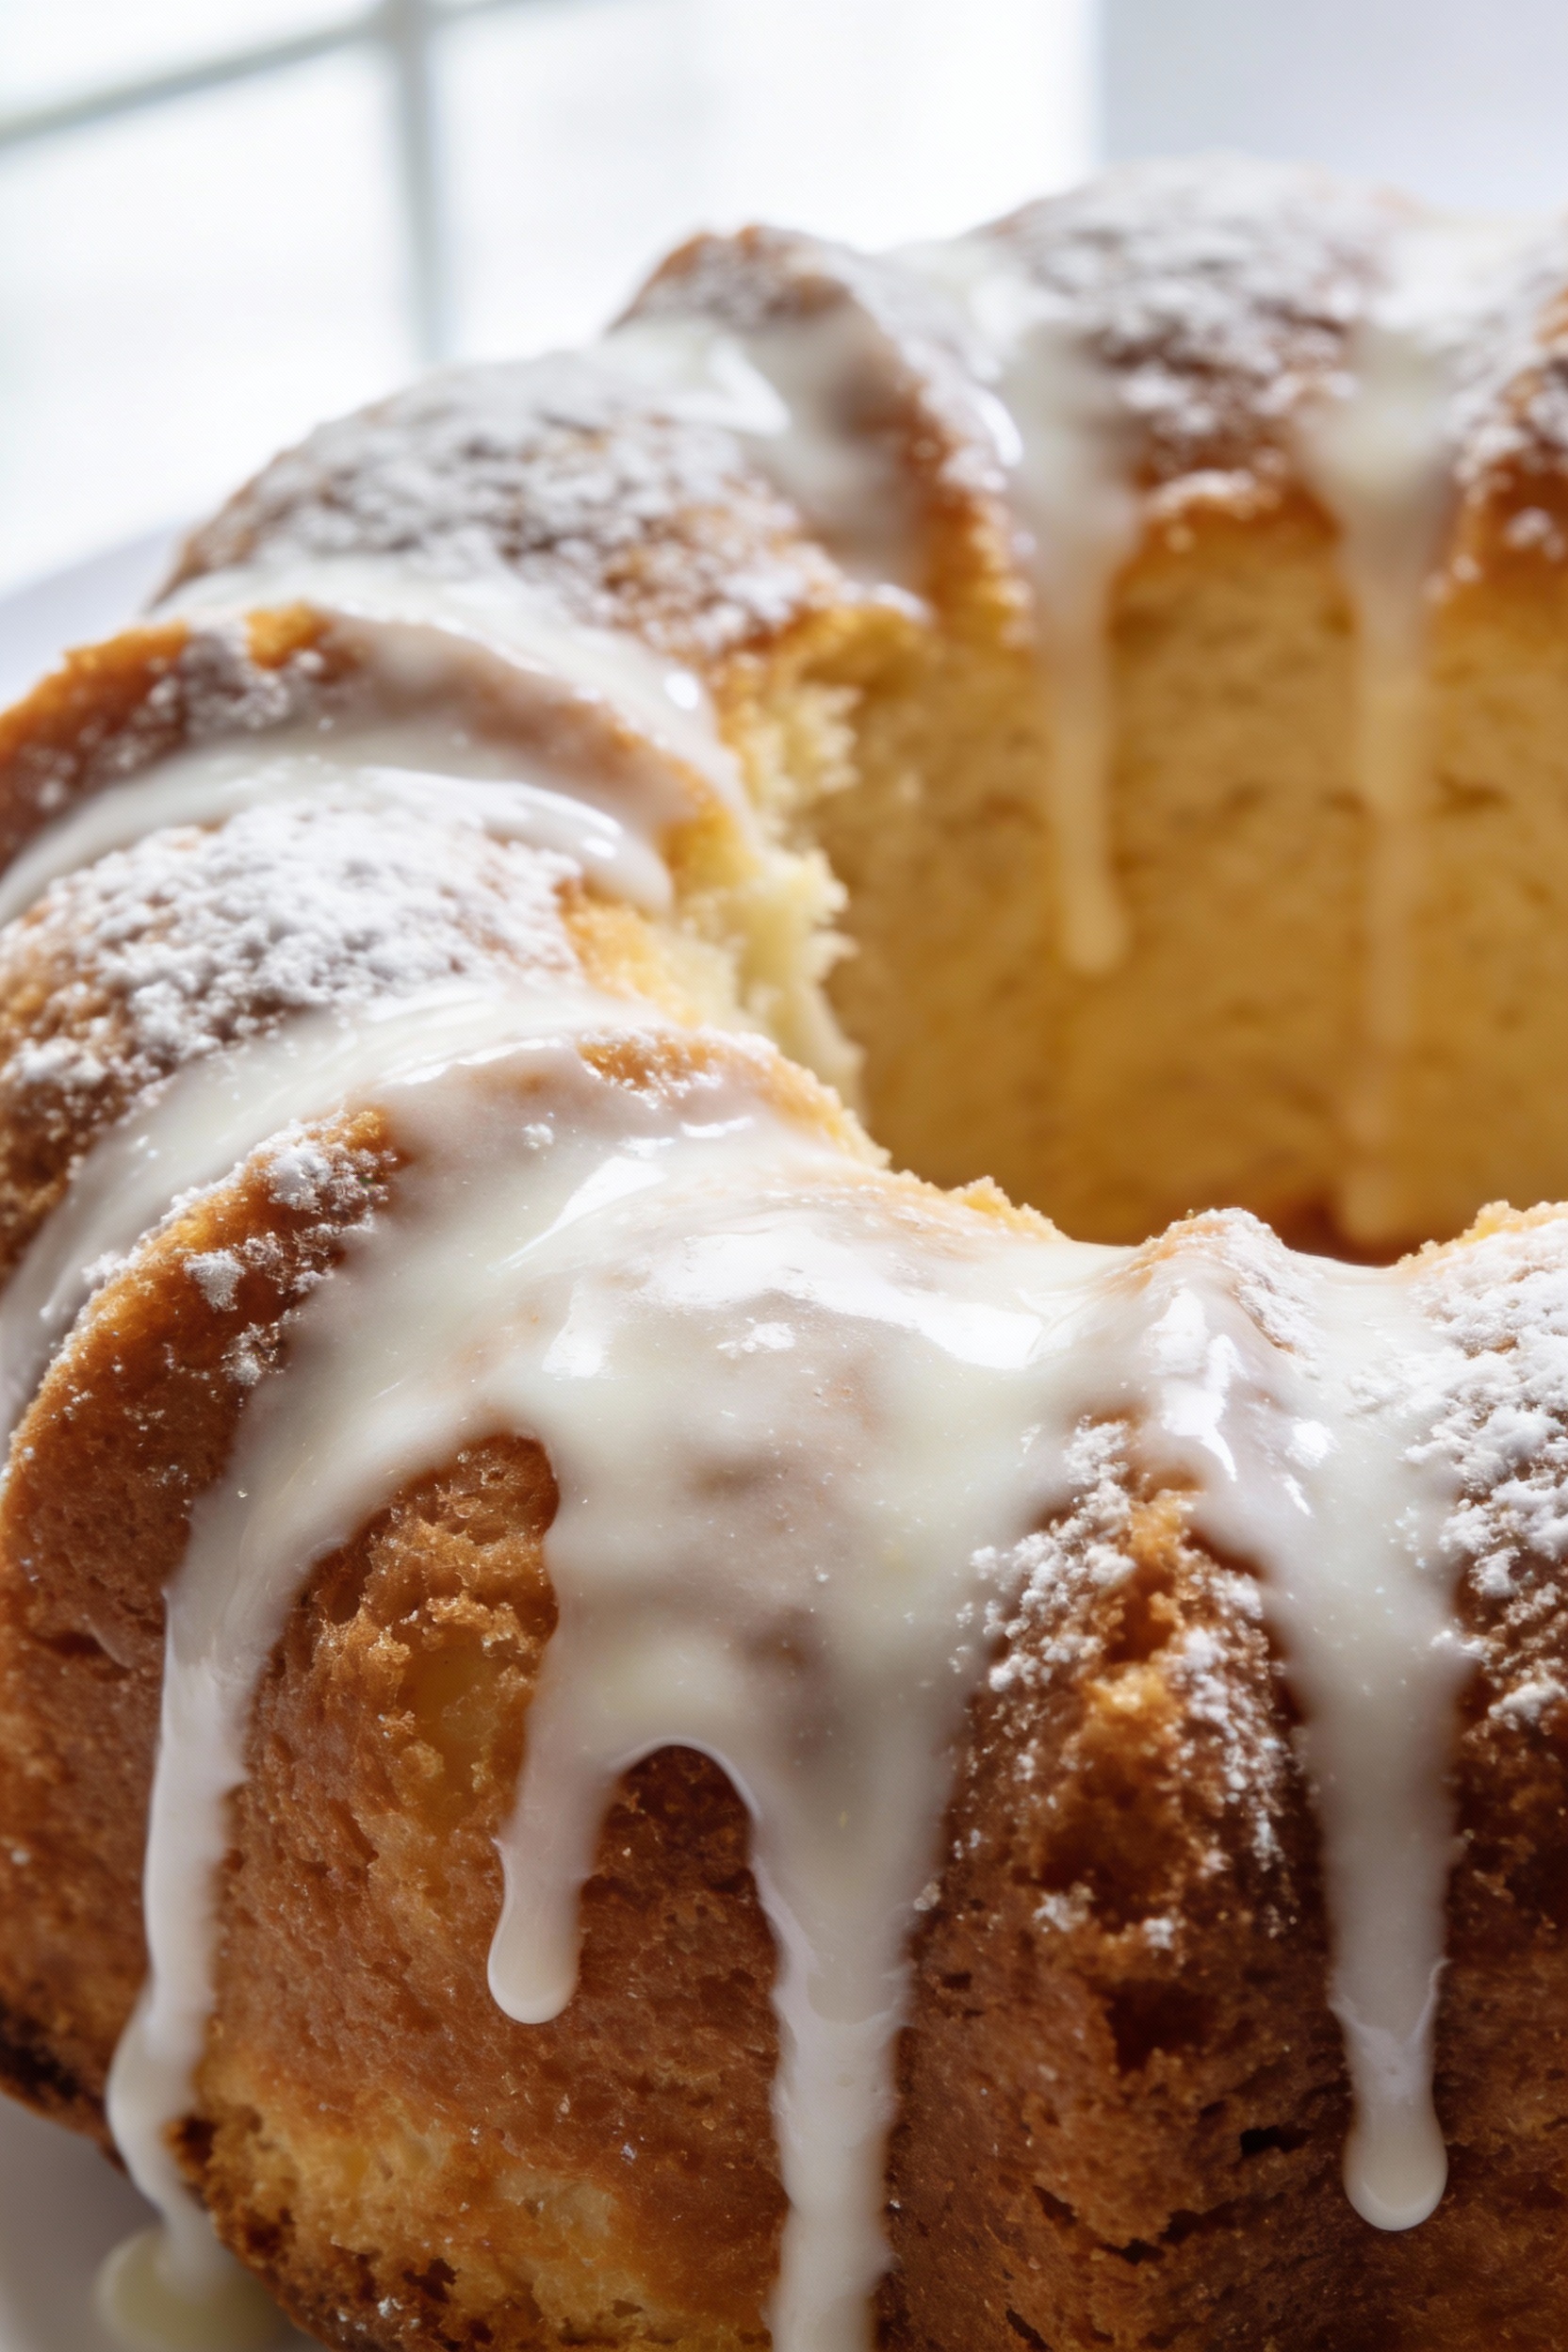
It looks dramatic with zero extra work. You don’t need layers or piping or a frosting degree. A simple glaze flows into the ridges and makes the cake look “boutique.” People assume you did complicated things; you did not.
It travels like a champ. The sturdier crumb and ring shape hold up in transit, even on bumpy roads. It slices clean for serving and doesn’t collapse into a sad pile. IMO, it’s the best cake for potlucks, picnics, and “I forgot I need dessert” emergencies.
Ingredients Breakdown
Use this as your master list for a classic vanilla sour cream Bundt, then pick variations later.
- All-purpose flour (structure and lift)
- Baking powder (primary leavening)
- Baking soda (extra lift and browning, especially with acidic dairy)
- Fine salt (balances sweetness, boosts flavor)
- Unsalted butter (richness and flavor)
- Neutral oil like avocado or canola (moisture insurance)
- Granulated sugar (sweetness and tender texture)
- Eggs (structure, moisture, emulsification)
- Sour cream or full-fat Greek yogurt (tender crumb)
- Buttermilk (moisture and tang, activates baking soda)
- Vanilla extract (classic flavor backbone)
- Powdered sugar (for glaze)
- Milk or citrus juice (to thin glaze)
- Optional flavor add-ins (citrus zest, cocoa, spices, extracts)
For the pan: use softened butter plus flour or a baking spray that includes flour. This isn’t negotiable unless you enjoy cake fragments.
Step-by-Step Instructions
This method builds a tender, high-rise Bundt with reliable release and a crumb that stays moist.
-
Preheat and position. Heat oven to 325°F. Set a rack in the center. Lower temp helps the thick cake bake through without a scorched crust.
-
Prep the pan like you mean it. Butter every groove, then dust with flour and tap out excess. If your pan has deep ridges, use a pastry brush to get into corners.
-
Whisk the dry ingredients. Combine flour, baking powder, baking soda, and salt in a bowl. This prevents random salty bites and weird tunnels.
-
Cream butter, oil, and sugar. Beat butter, oil, and sugar until fluffy and lighter in color, about 2 to 4 minutes. This step builds air for lift, so don’t speed-run it.
-
Add eggs one at a time. Beat in each egg fully before adding the next. Scrape the bowl so the batter emulsifies instead of looking curdled and dramatic.
-
Mix in sour cream and vanilla. Blend until smooth. You’re building tenderness here, not just flavor.
-
Alternate dry and buttermilk. Add the dry mix in three additions, alternating with buttermilk in two additions. Mix on low and stop as soon as the flour disappears.
-
Fill the pan smartly. Spoon batter into the pan and smooth the top. Tap the pan gently on the counter to pop large air pockets that can cause craters.
-
Bake until done-done. Bake 45 to 60 minutes, depending on your pan size and oven. A skewer should come out clean or with a few moist crumbs, not wet batter.
-
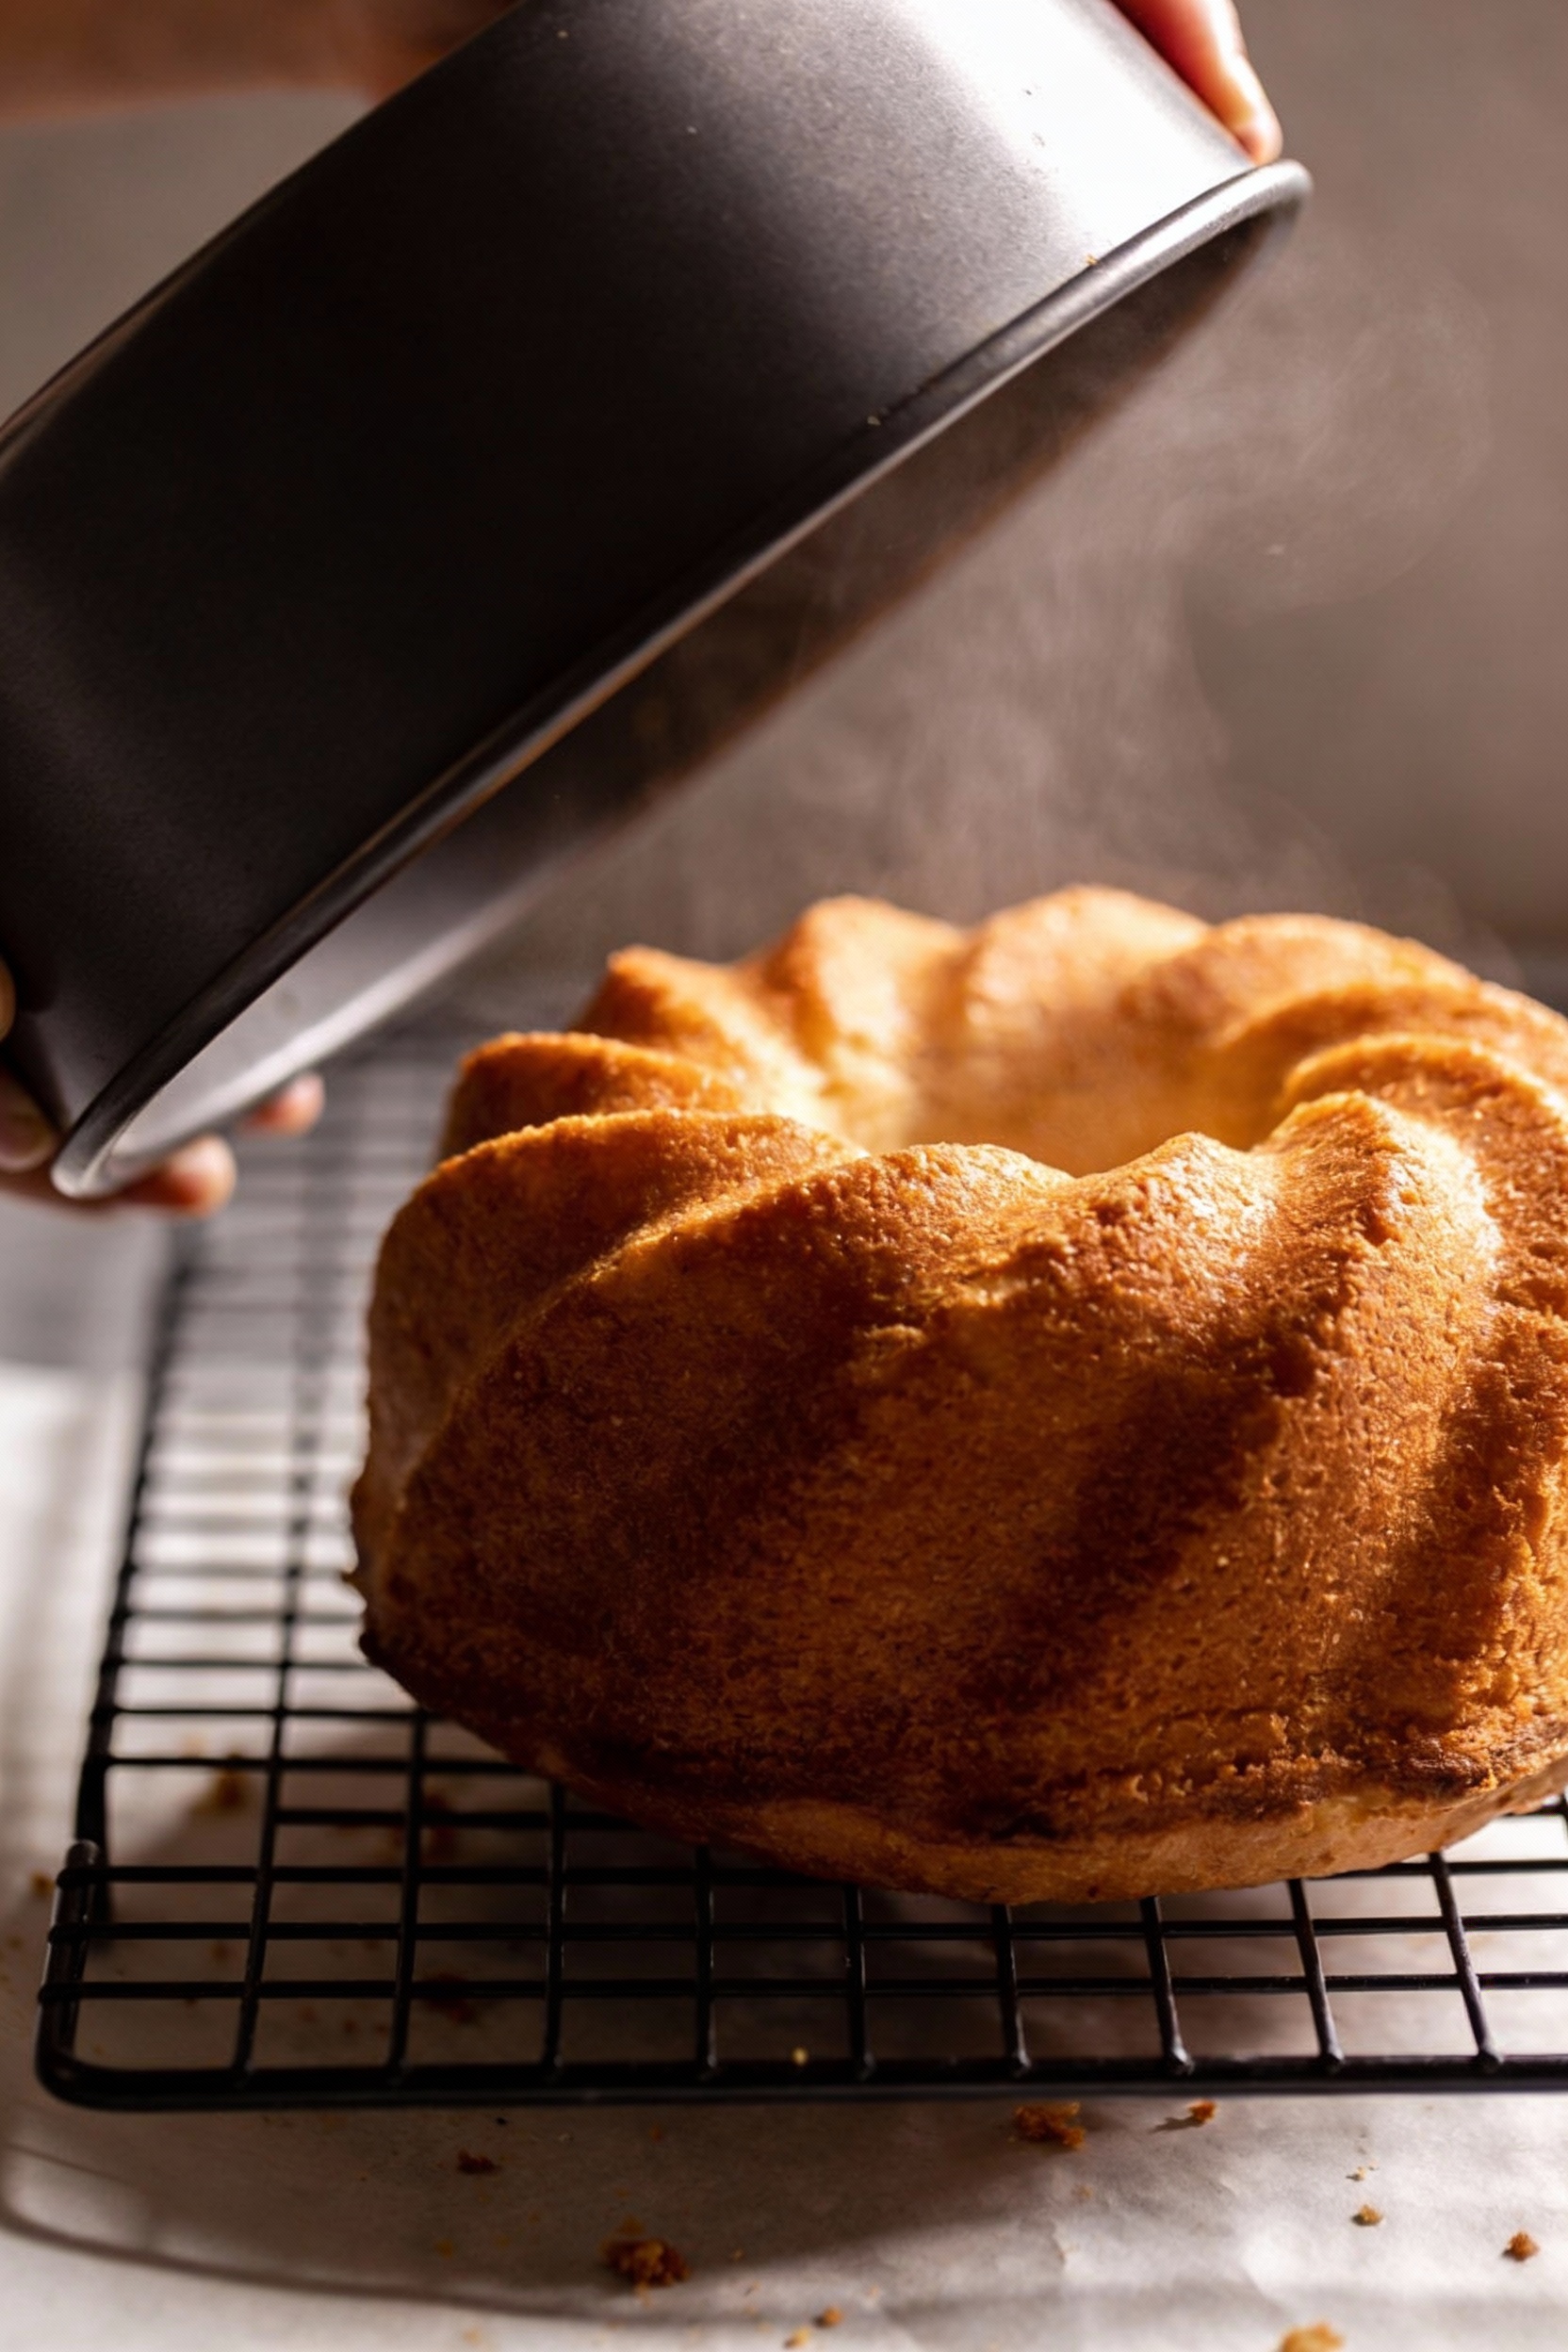
Cool, then release with patience. Cool in the pan 10 to 15 minutes. Invert onto a rack and lift the pan off. If it resists, wait 2 minutes and try again instead of yanking like a villain.
-
Glaze when slightly warm. Whisk powdered sugar with a splash of milk or citrus juice until thick but pourable. Pour over the cake so it drips into the ridges like it owns the place.
Target yield: 12 to 14 slices, depending on how honest people are about “small pieces.”
How to Store
Room temperature: Store covered for up to 3 days. A cake dome, airtight container, or tightly wrapped foil keeps it from drying out. If you used a dairy-heavy glaze, keep it cool if your kitchen runs warm.
Refrigerator: Store for up to 5 to 6 days in an airtight container. Bring slices to room temp before serving so the crumb softens and the flavors wake up.
Freezer: Freeze unglazed cake (best texture) for up to 2 months. Wrap tightly in plastic wrap, then foil. Thaw overnight in the fridge or a few hours at room temp, then glaze fresh.
Why This is Good for You
Let’s not pretend cake is a green juice, but it can still fit into a balanced life. Homemade Bundt cakes let you control portion size, sugar level, and ingredient quality. You can choose real butter, high-quality cocoa, or add citrus zest and spices for bigger flavor without piling on extra sweetness.
Many Bundt styles use sour cream, yogurt, or buttermilk, which add protein and calcium while improving texture. That means you get a more satisfying slice that doesn’t taste like sweet cardboard. And psychologically? Serving something beautiful that you made can feel like a small personal victory, which counts more than nutrition labels admit.
What Not to Do
- Don’t under-grease the pan. The ridges look cute until they trap your cake like a medieval dungeon.
- Don’t crank the oven too hot. A Bundt is thick; high heat browns the outside before the center sets.
- Don’t overmix after adding flour. Overmixing builds gluten and turns tender cake into an arm workout.
- Don’t skip the cooling window. Unmolding too soon can tear the crumb; too late can make it stick as sugars set.
- Don’t eyeball the glaze wildly. Add liquid gradually. Too thin and it disappears; too thick and it clumps like wet snow.
- Don’t slice it piping hot. You’ll steam out moisture and the texture won’t set. Let it cool and earn the applause.
Variations You Can Try
Use the same method above and swap in one of these flavor directions. Keep add-ins balanced so the batter still bakes through.
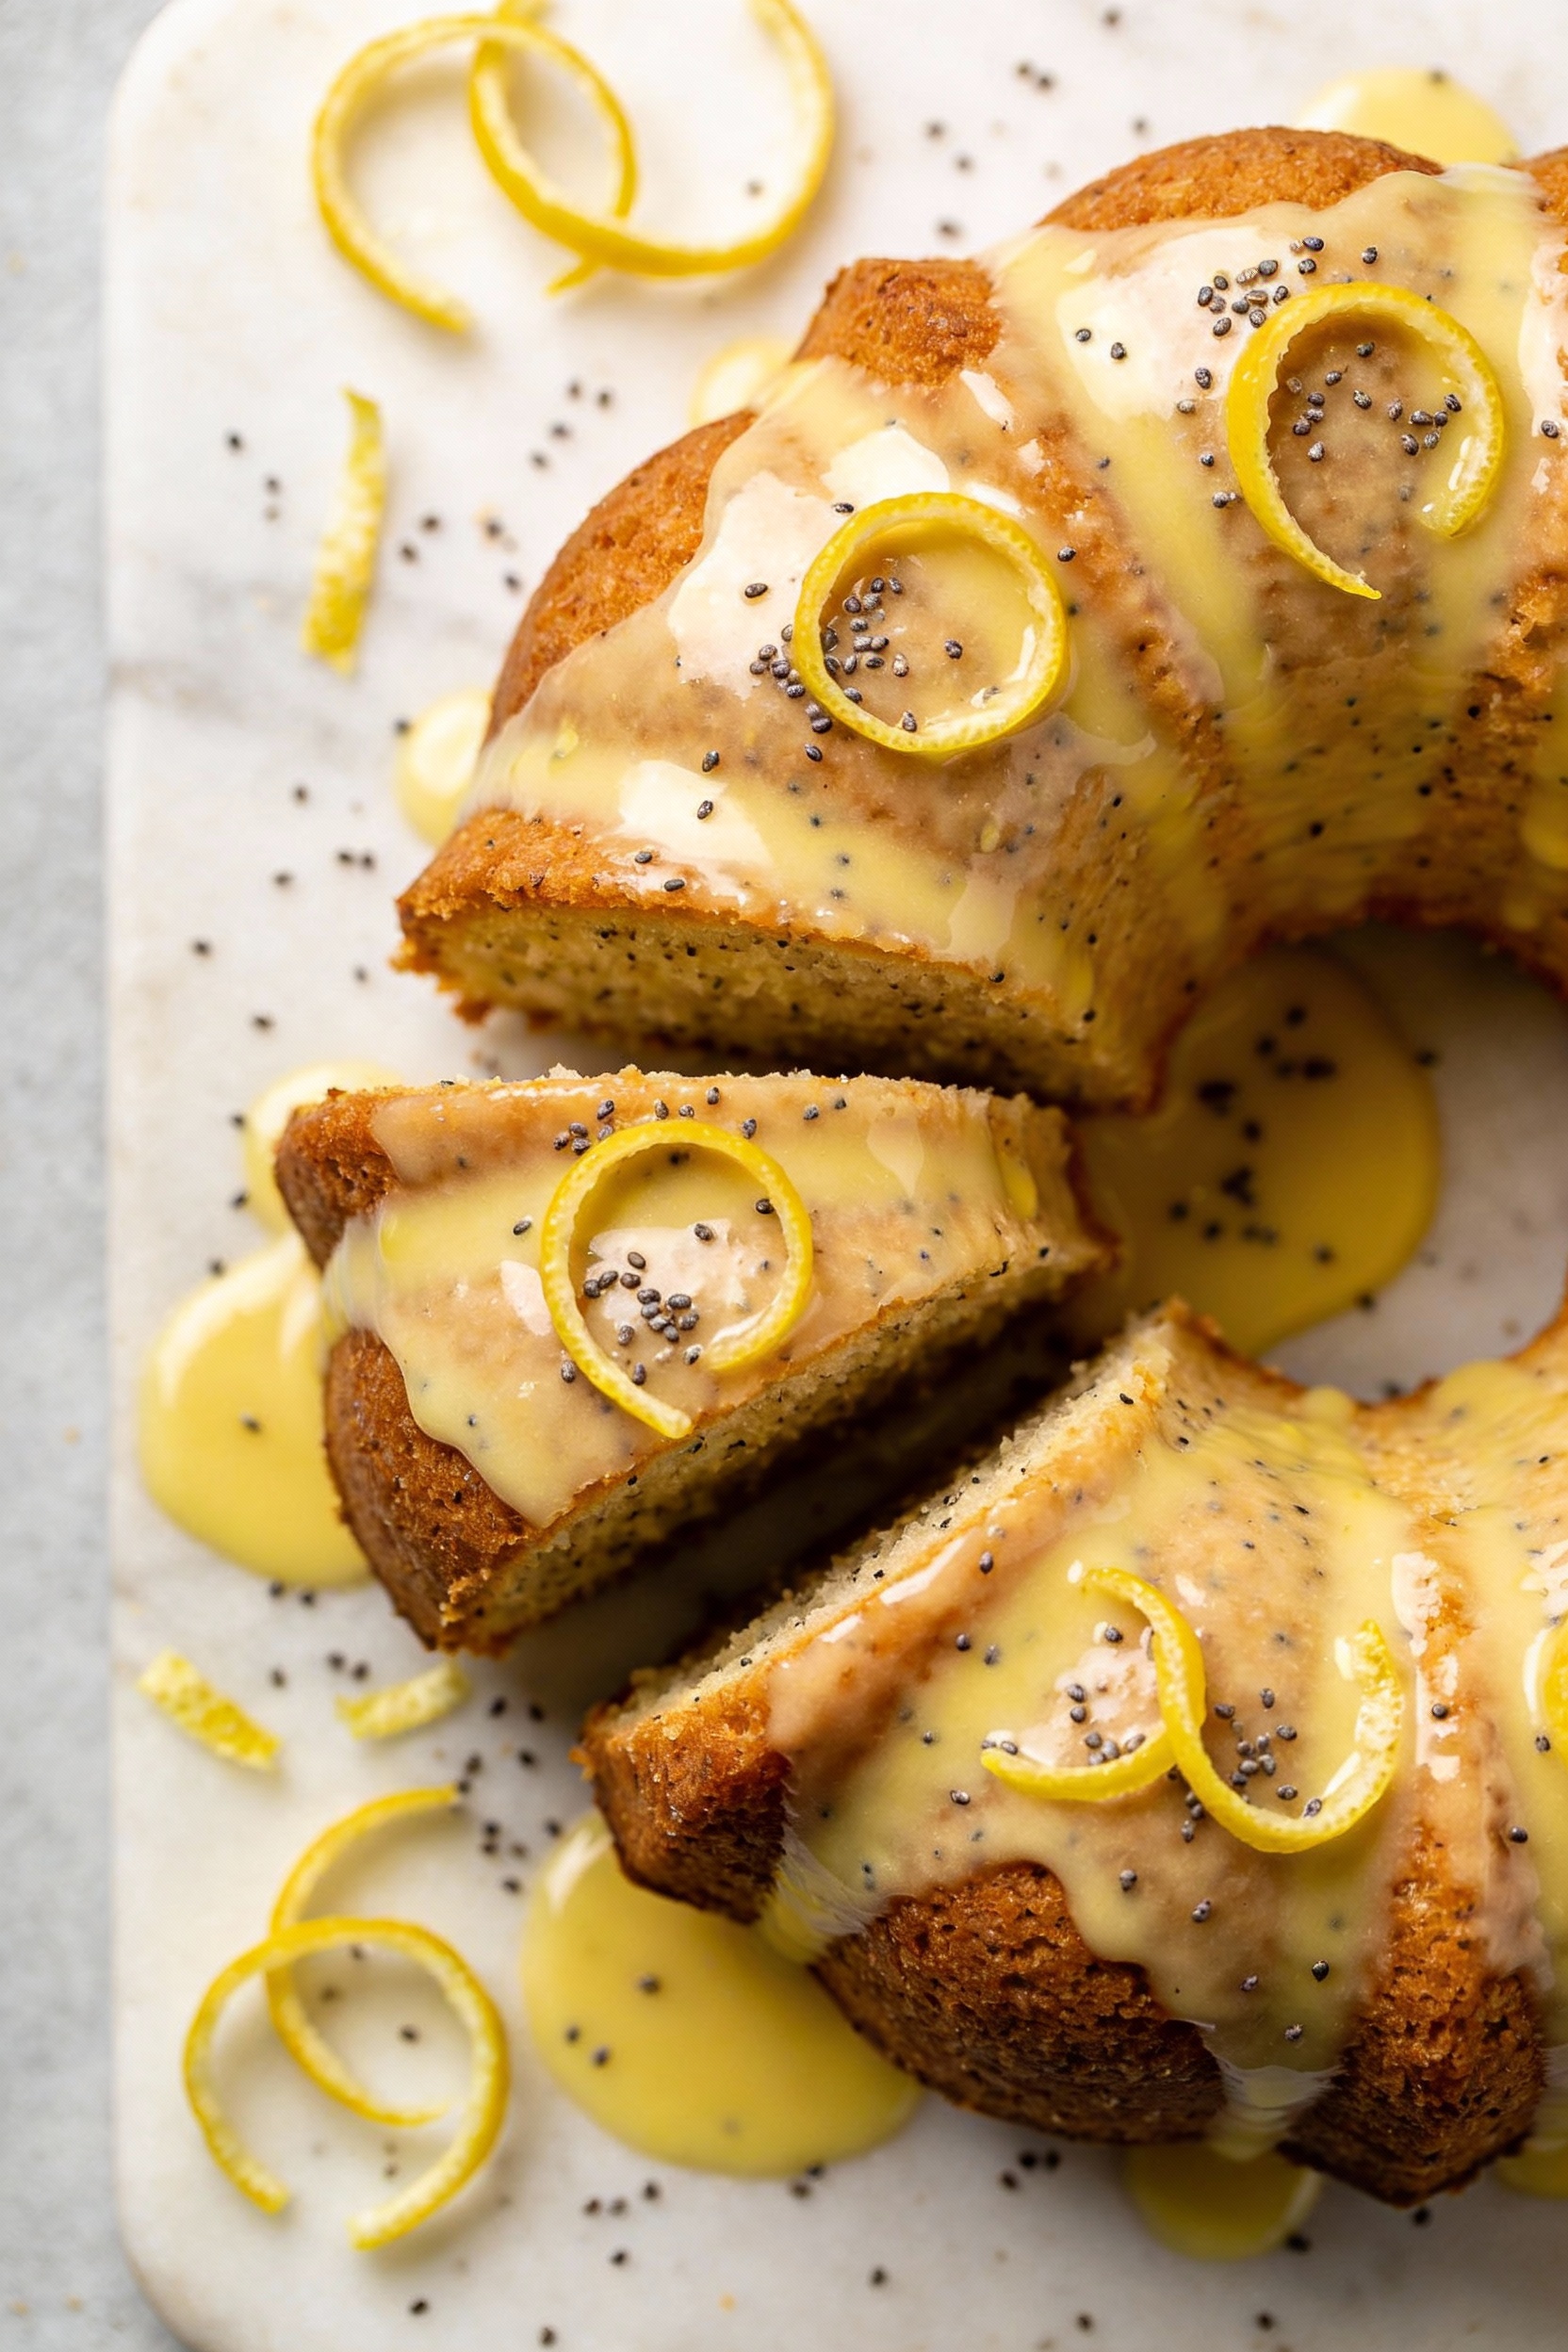
- Lemon poppy seed: Add 2 tablespoons lemon zest and 2 tablespoons poppy seeds. Swap glaze liquid for lemon juice for a bright finish.
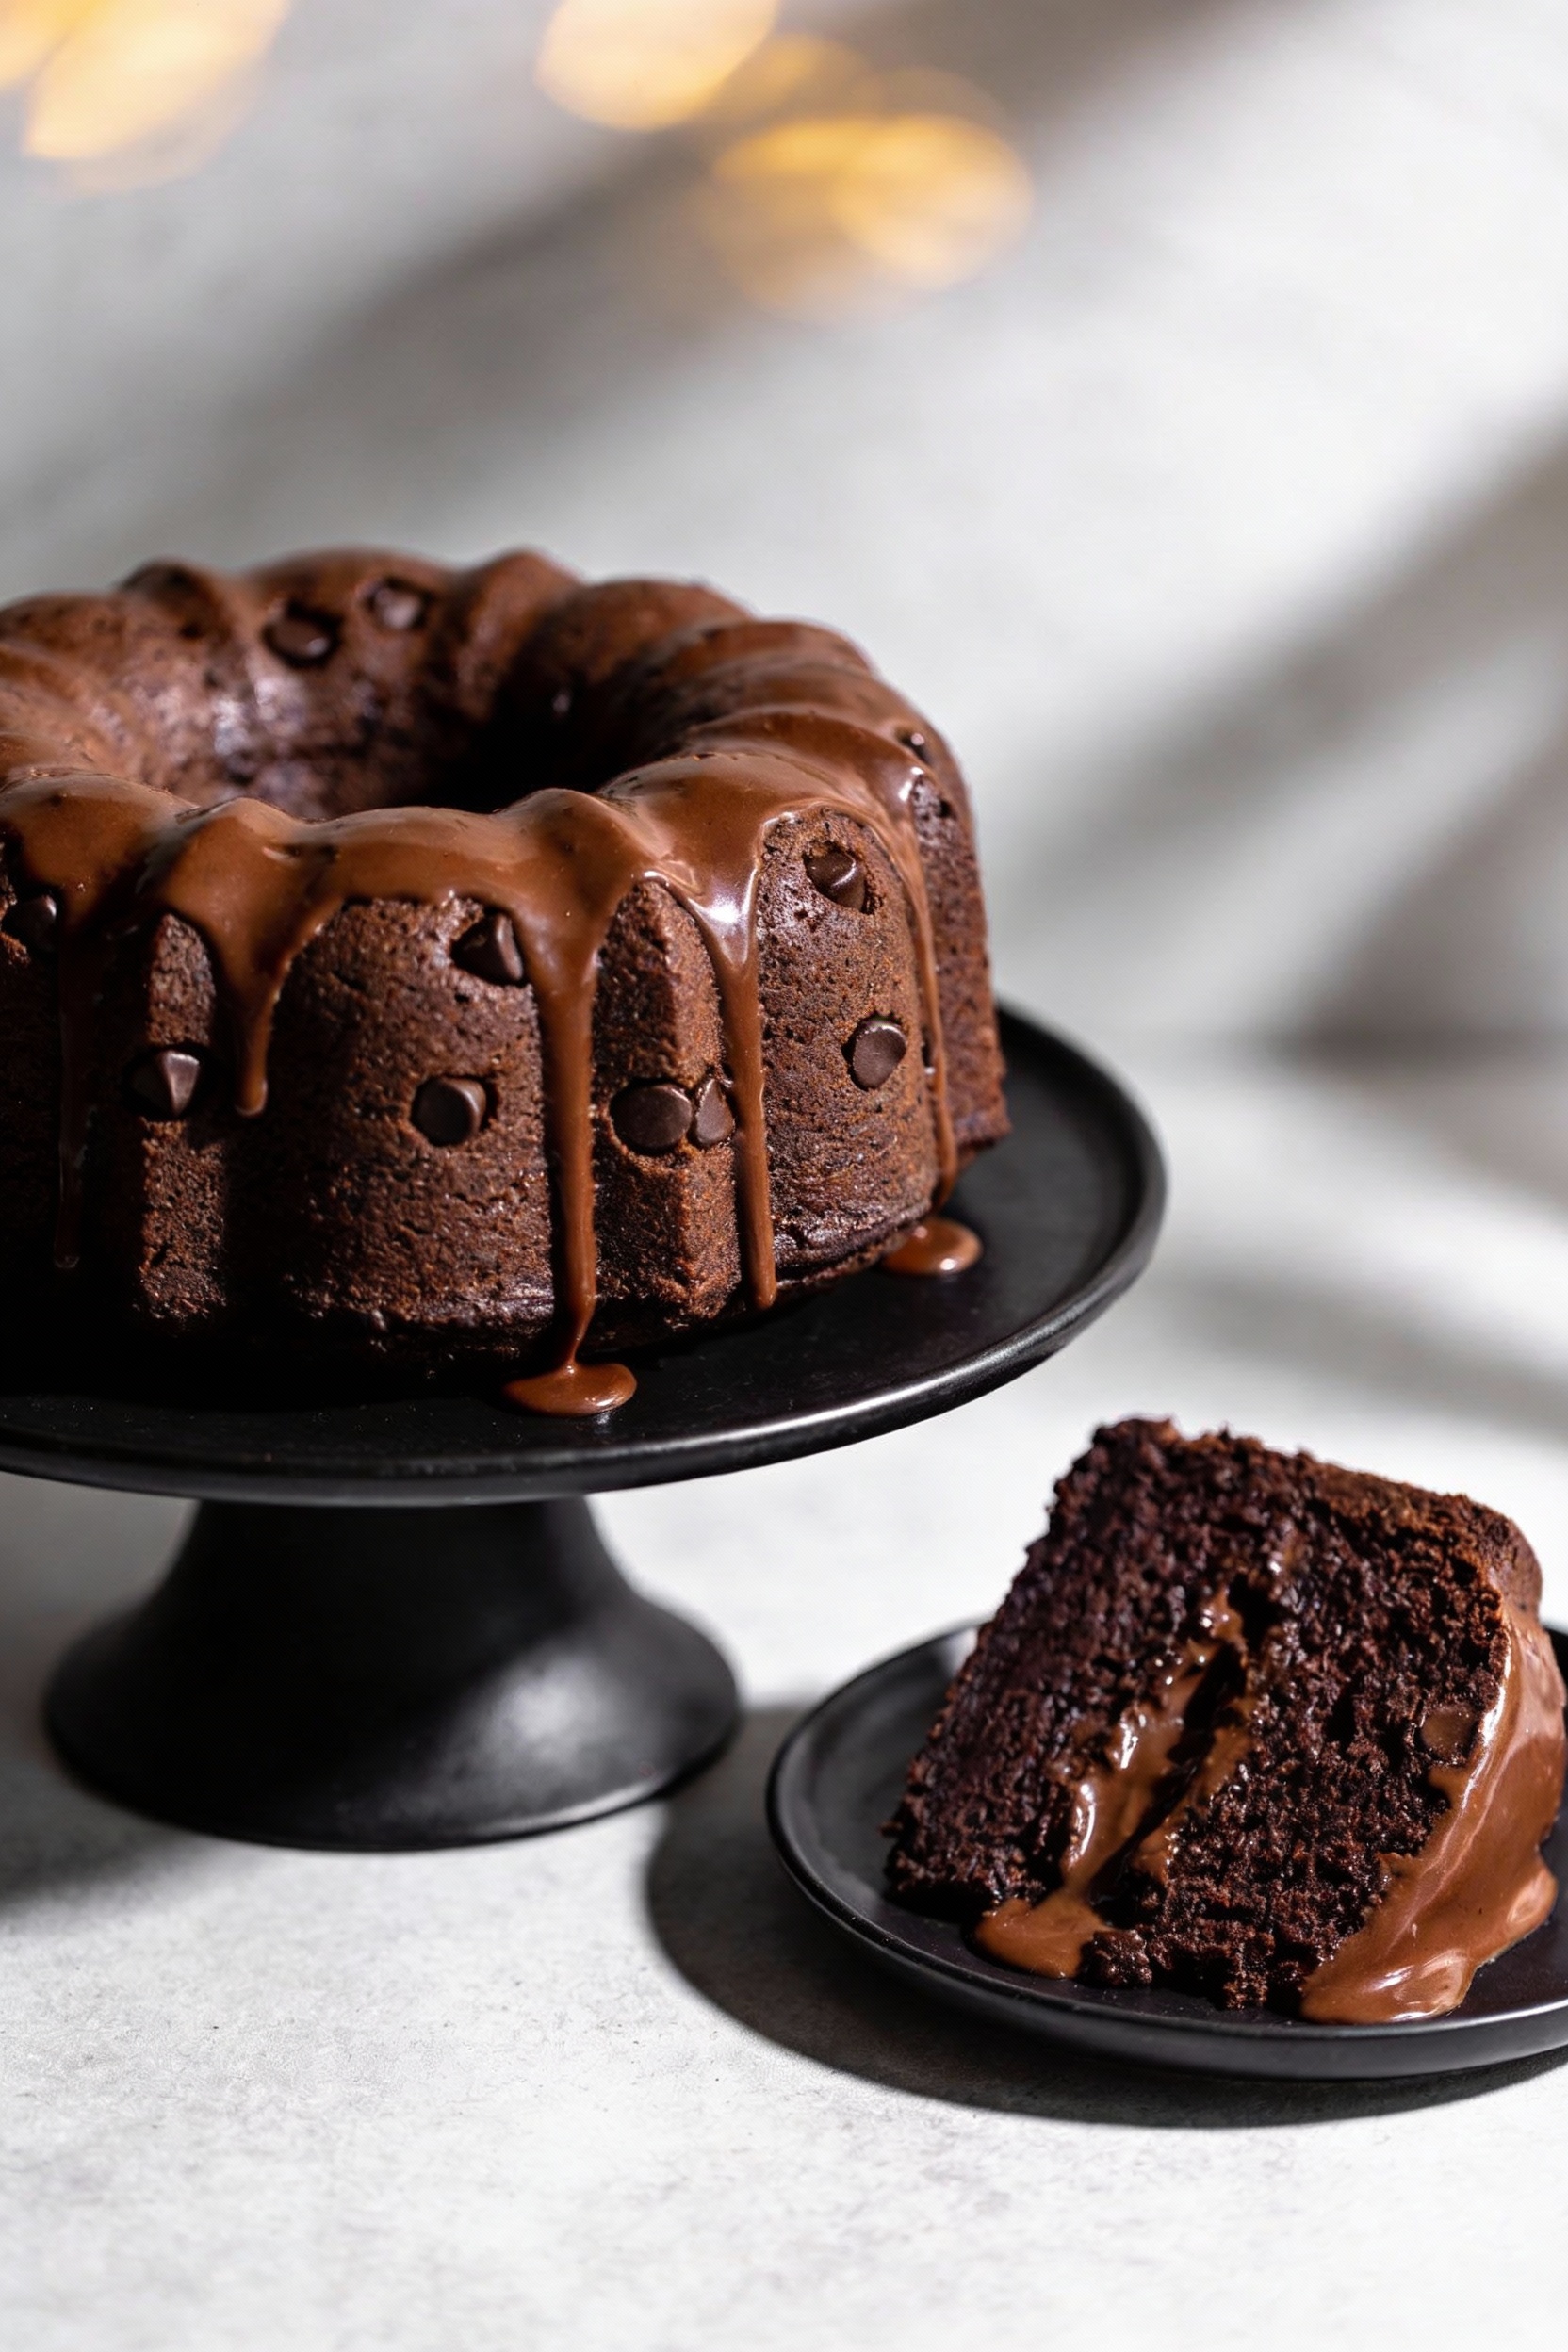
- Chocolate fudge: Replace 1/2 cup flour with 1/2 cup unsweetened cocoa. Add 1/2 cup chocolate chips and glaze with a cocoa-powdered sugar icing.
- Cinnamon streusel swirl: Layer half the batter, sprinkle cinnamon sugar with chopped nuts, then top with remaining batter. It bakes like a bakery breakfast cake.
- Orange cardamom: Add orange zest and 1/2 to 1 teaspoon ground cardamom. Glaze with orange juice for a fragrant, not-too-sweet vibe.
- Maple pecan: Add toasted pecans and use maple extract sparingly. Finish with a maple glaze and a pinch of flaky salt.
- Marble Bundt: Split batter, mix cocoa into half, then swirl gently in the pan. It looks fancy, yet it’s basically a magic trick.
If you want a “healthier-ish” option, swap part of the sour cream for Greek yogurt and reduce sugar slightly. Just don’t remove all the fat and then act surprised when it tastes like regret.
FAQ
Why did my Bundt cake stick even though I greased the pan?
Usually the grease didn’t reach every crevice, or the cake cooled too long in the pan and the sugars bonded to the metal. Use butter plus flour (or flour-based baking spray) and unmold after 10 to 15 minutes of cooling. Also check your pan: older pans with scratches can grip batter more aggressively.
What’s the best Bundt pan material?
Heavy aluminum or aluminized steel tends to bake evenly and release well when properly prepped. Dark pans brown faster, so you may need to reduce oven temp slightly or check earlier. Silicone pans can work, but they sometimes give softer edges and less definition in the ridges.
How do I know when it’s fully baked?
Look for a cake that has pulled slightly from the edges and springs back when lightly pressed. A skewer should come out clean or with a few moist crumbs. If the top looks done but the center isn’t, tent loosely with foil and keep baking.
Can I make it ahead for an event?
Yes, and it often tastes better the next day. Bake, cool completely, wrap tightly, and store at room temp. Glaze the day of serving for the prettiest finish and the best texture.
How do I get a thick glaze that actually shows up?
Start with powdered sugar and add liquid one teaspoon at a time. Aim for a consistency that ribbons off the whisk and sits on the surface for a second before sinking. Pour slowly so it drips into the grooves instead of flooding off the sides.
Can I turn this into mini Bundt cakes?
Absolutely. Grease the mini pan thoroughly, fill each cavity about two-thirds full, and reduce bake time significantly. Start checking around 15 to 20 minutes, since smaller cakes bake fast and go from perfect to dry in a blink.
The Bottom Line
Bundt cakes win because they deliver maximum “wow” with minimum stress. You get even baking, slices that hold their shape, and a design that makes a simple glaze look like a professional finish. Follow the pan-prep rules, keep the mixing gentle after flour, and let the cake cool just enough before unmolding.
Pick the master batter, then rotate flavors based on your mood or the season. Show up with a glossy ring of cake, accept the compliments, and pretend it was hard. Or don’t—your secret’s safe.
