Throw in fruit, sprinkle cake mix, add butter, and bake. You get a crowd-pleasing dessert fast with almost no cleanup.
You know those nights when you want a dessert, but you do not want a project? This is the “show up with something warm and gooey” move that takes less effort than finding a clean whisk. You basically layer ingredients, walk away, and let the oven do the flexing. People will ask for the recipe like you did something brave. You will smile and accept the credit, obviously.
The Secret Behind This Recipe
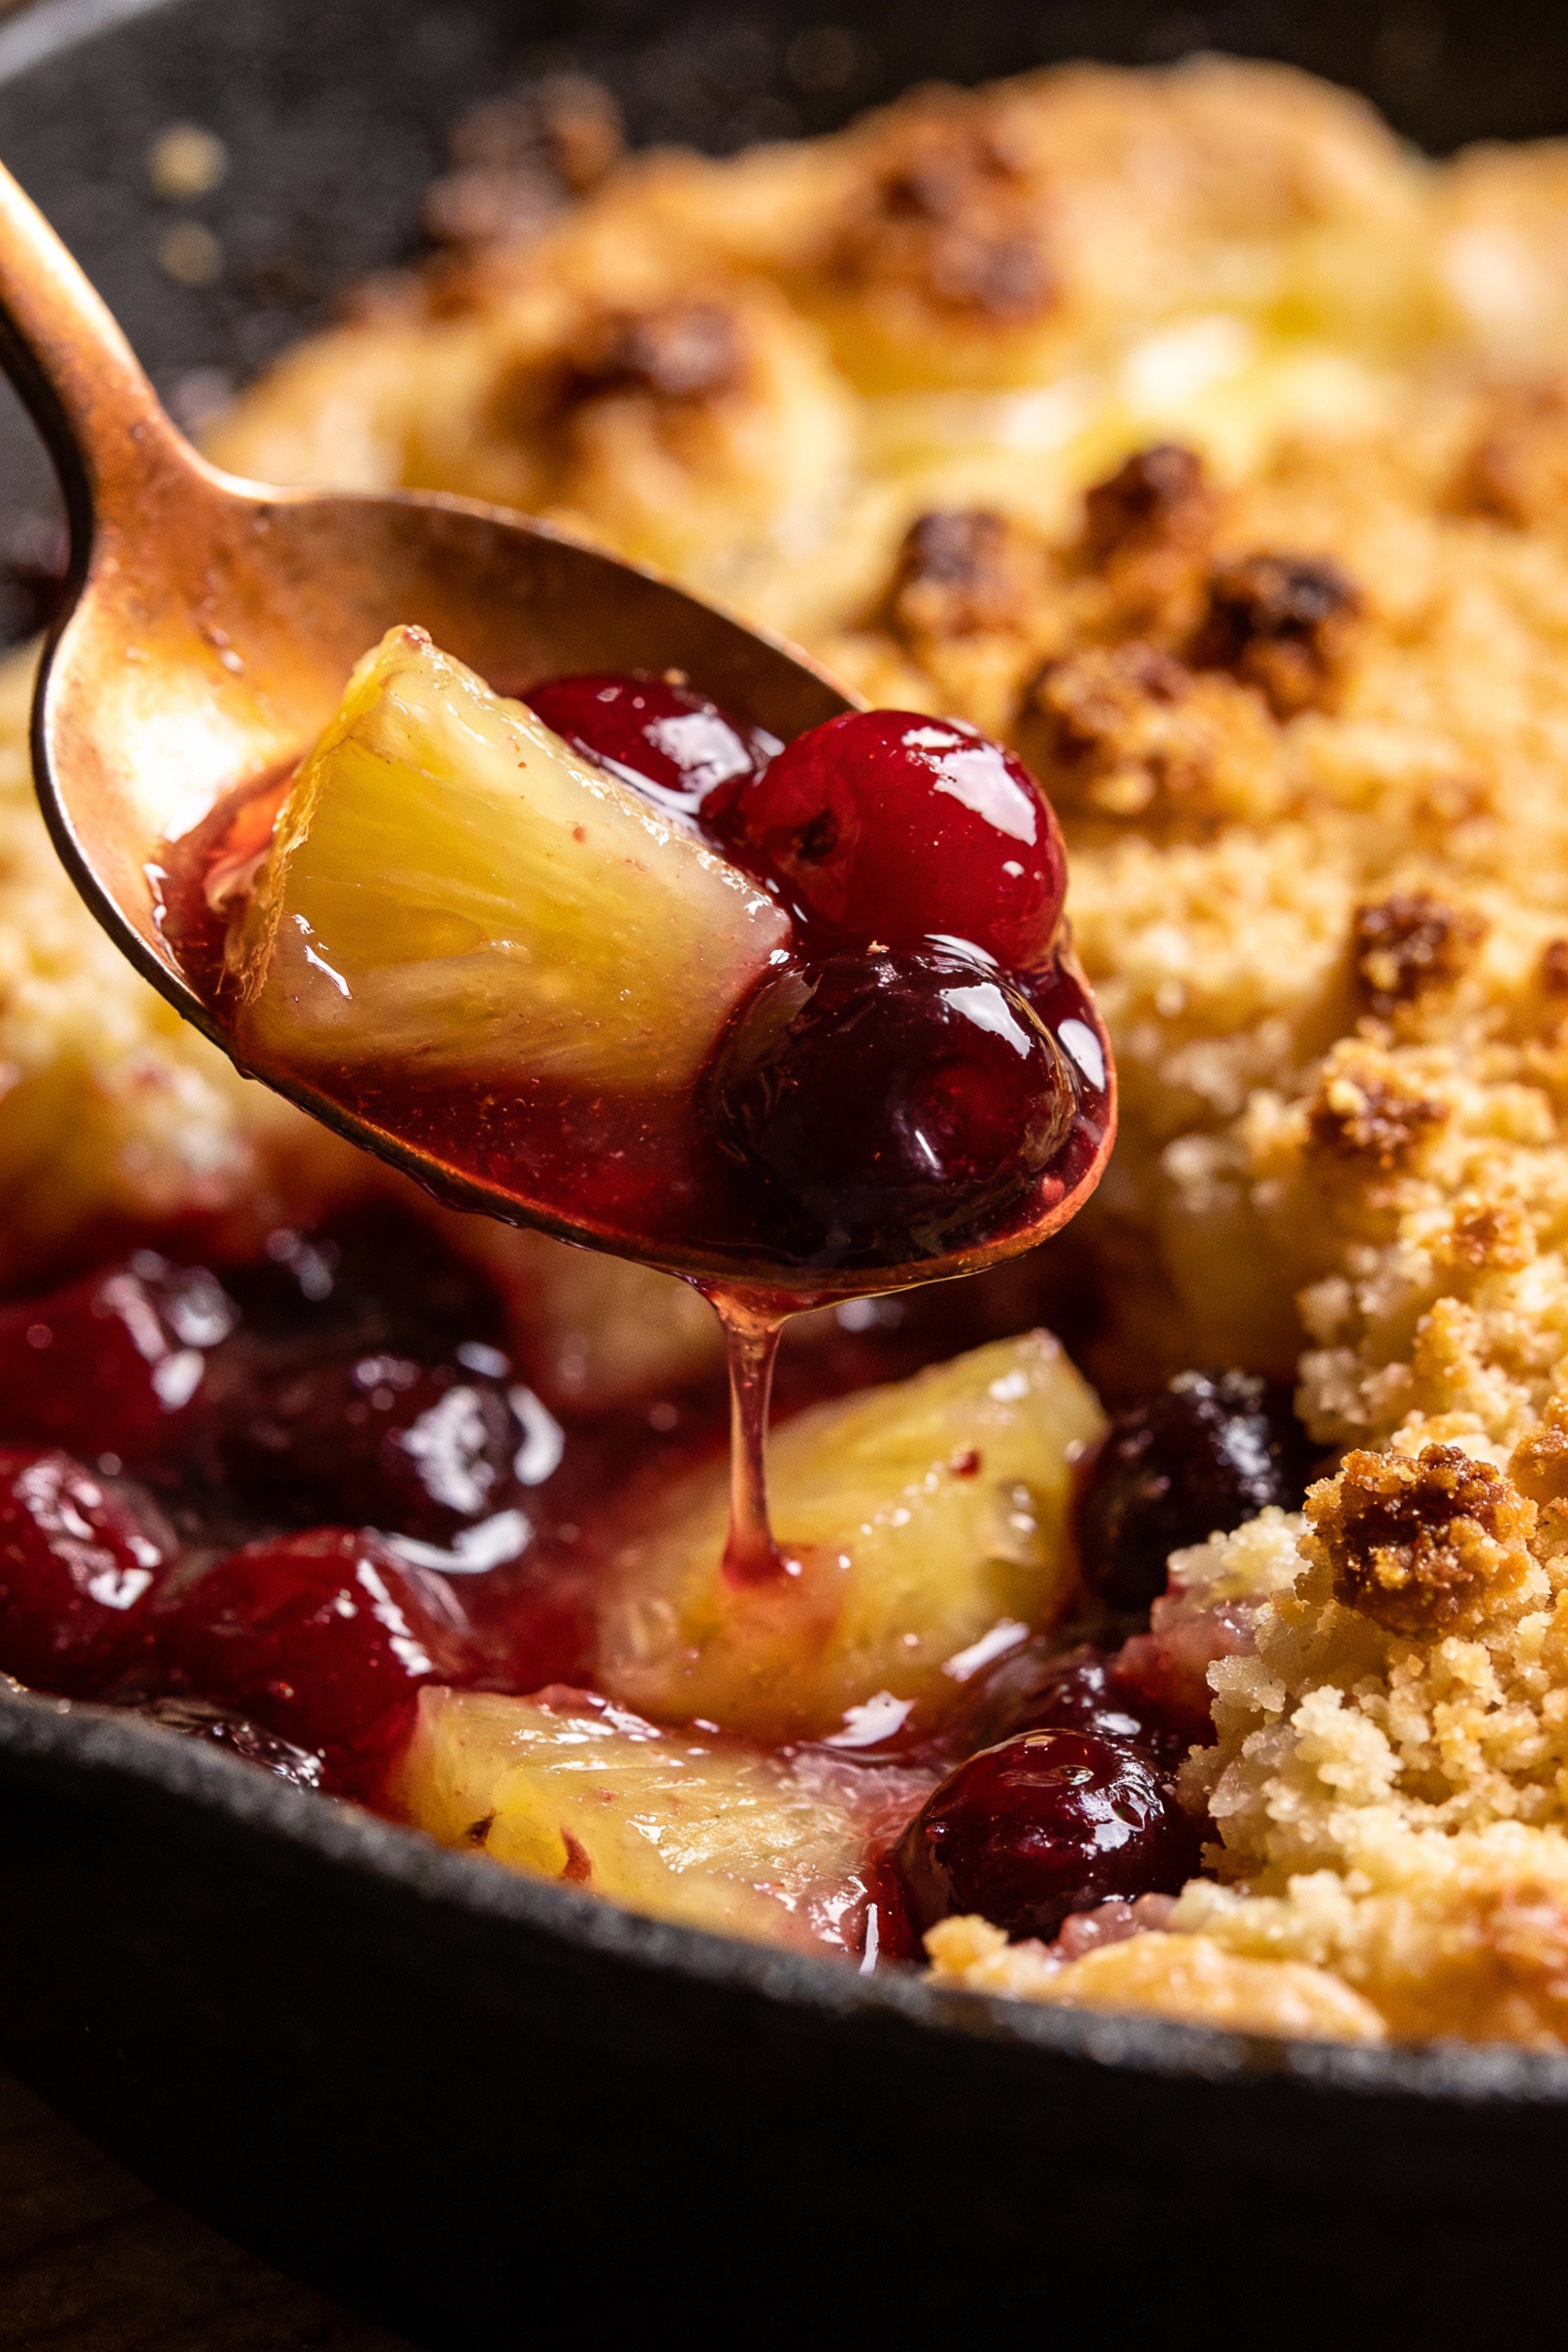
The secret is texture contrast: juicy fruit bubbling underneath, plus a buttery, crisp-tender cake layer on top. You never stir the layers, so the fruit stays saucy and the mix bakes into golden pockets that feel intentionally rustic. Butter does the heavy lifting, melting through the dry mix to create that “how is this so good?” top. And because it is forgiving, you can swap fillings and flavors without wrecking the outcome.
Think of it like dessert economics: minimal inputs, maximum payoff. A boxed cake mix already contains flour, sugar, leavening, and flavoring, so you skip measuring and still get consistent results. Fruit brings moisture and acidity, which balances the sweetness and keeps every bite interesting. In short, it is lazy on purpose, and it works.
What Goes Into This Recipe – Ingredients
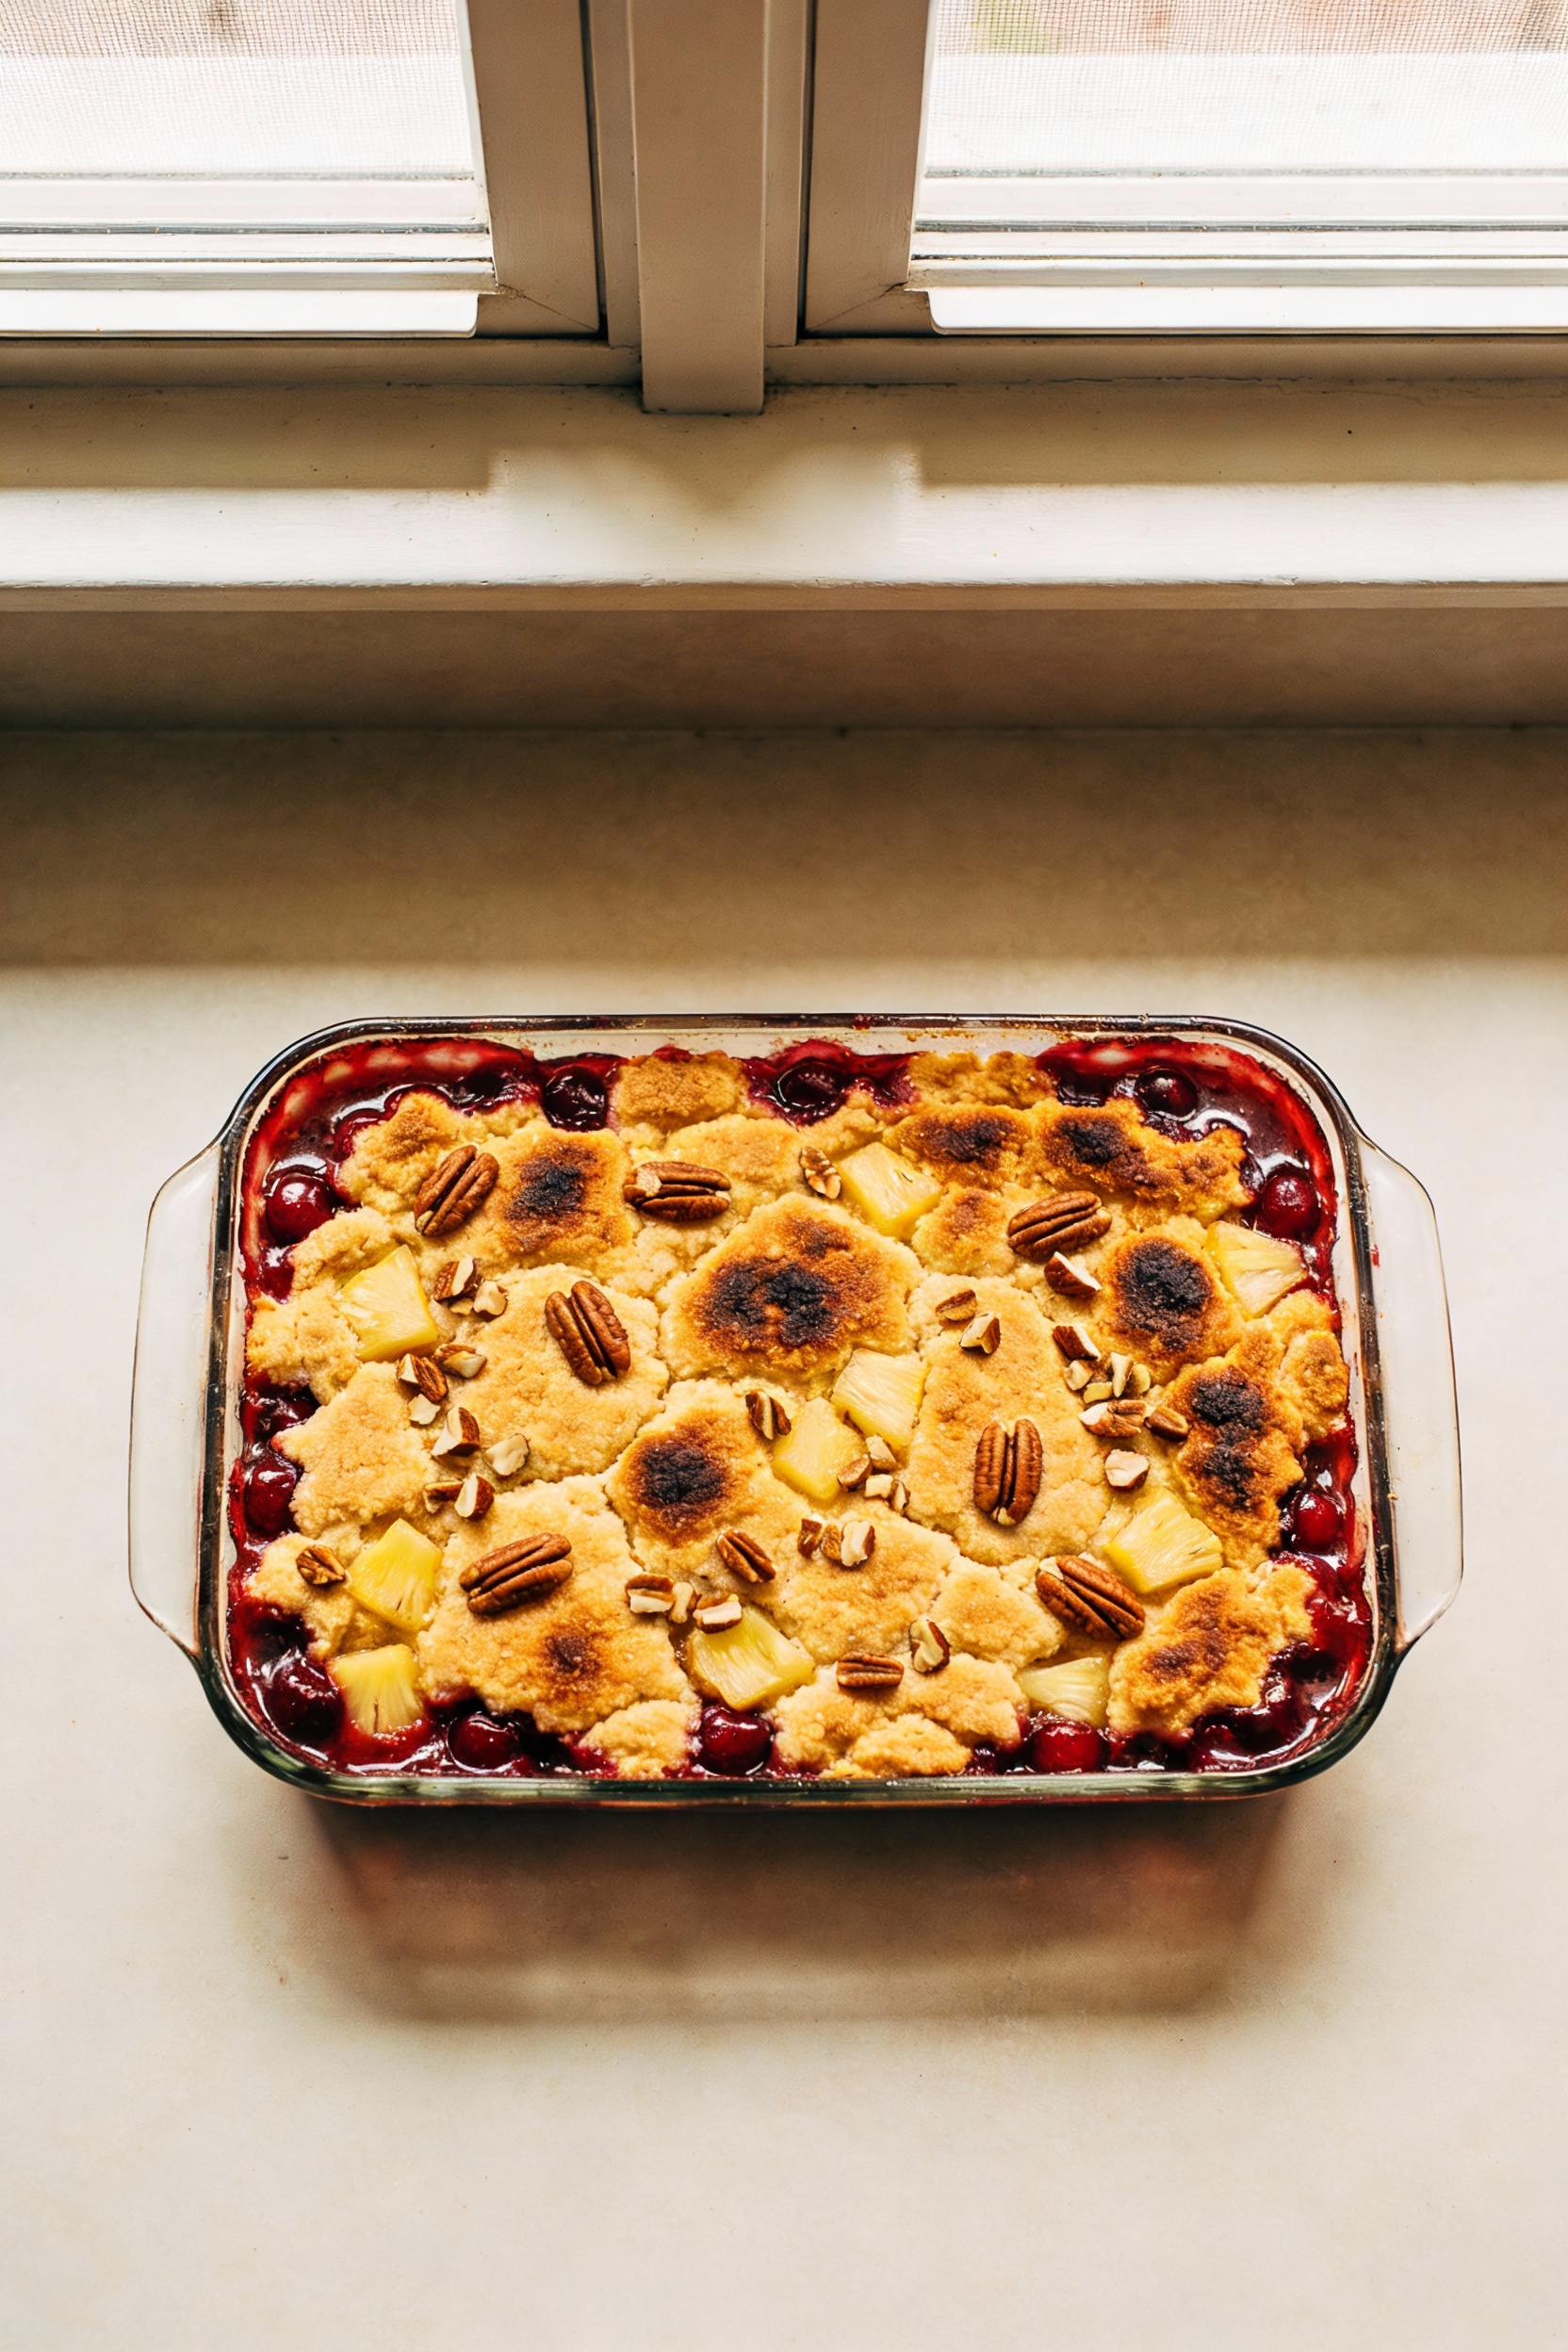
This version is a classic cherry-pineapple combo that tastes like a potluck legend. You can swap the fruit later in the “Mix It Up” section.
- 1 can (20 oz) crushed pineapple, not drained
- 2 cans (21 oz each) cherry pie filling
- 1 box (15.25 oz) yellow cake mix
- 1 cup (2 sticks) unsalted butter, melted
- 1/2 cup chopped pecans or walnuts (optional)
- 1/2 teaspoon kosher salt (optional, for balance)
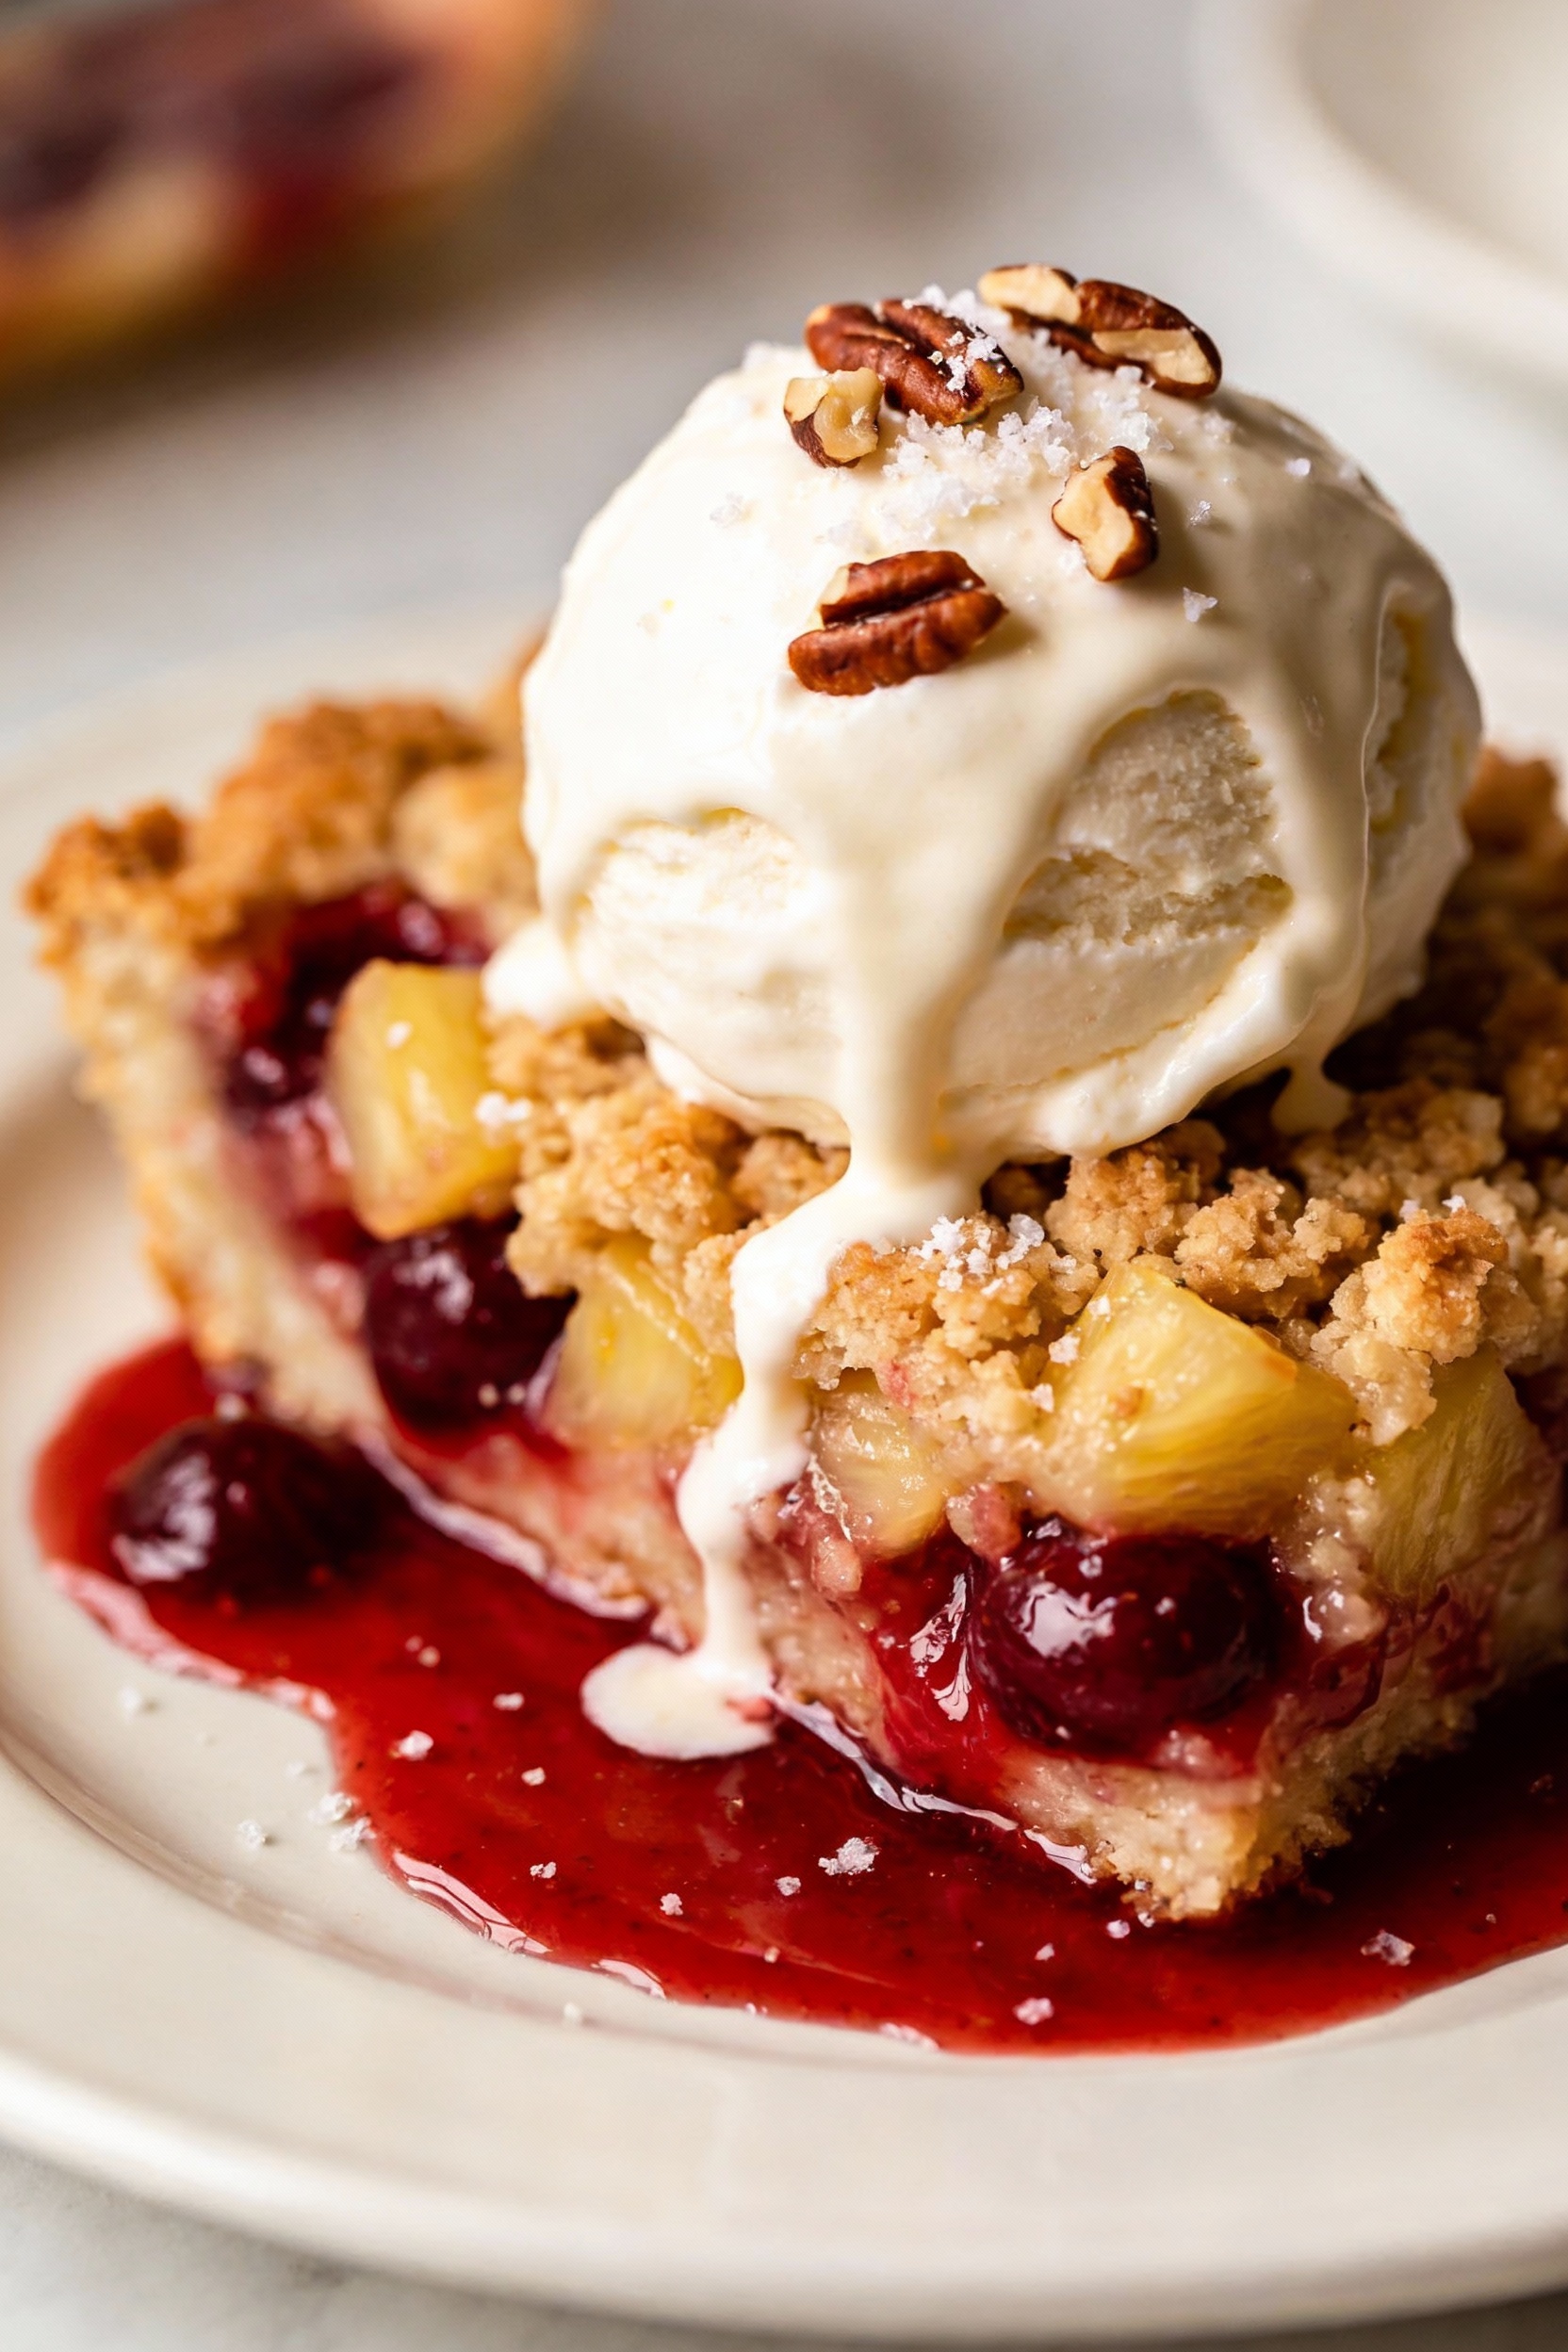
- Vanilla ice cream or whipped cream, for serving
How to Make It – Instructions
Set yourself up for a win: use a 9×13-inch baking dish and do not overthink it.
-
Heat the oven to 350°F and lightly grease a 9×13-inch baking dish.
-
Pour the crushed pineapple (with its juice) into the dish and spread it into an even layer.
-
Spoon the cherry pie filling over the pineapple and smooth it out. Keep the layers distinct; you are building drama.
-
Sprinkle the dry cake mix evenly over the fruit. Do not dump it in a mound; you want full coverage.
-
Drizzle the melted butter all over the cake mix. Aim for a slow, even pour so you hit as much surface area as possible.
-
If using nuts, scatter them on top. Add the optional salt now if you like a more “grown-up” finish.
-
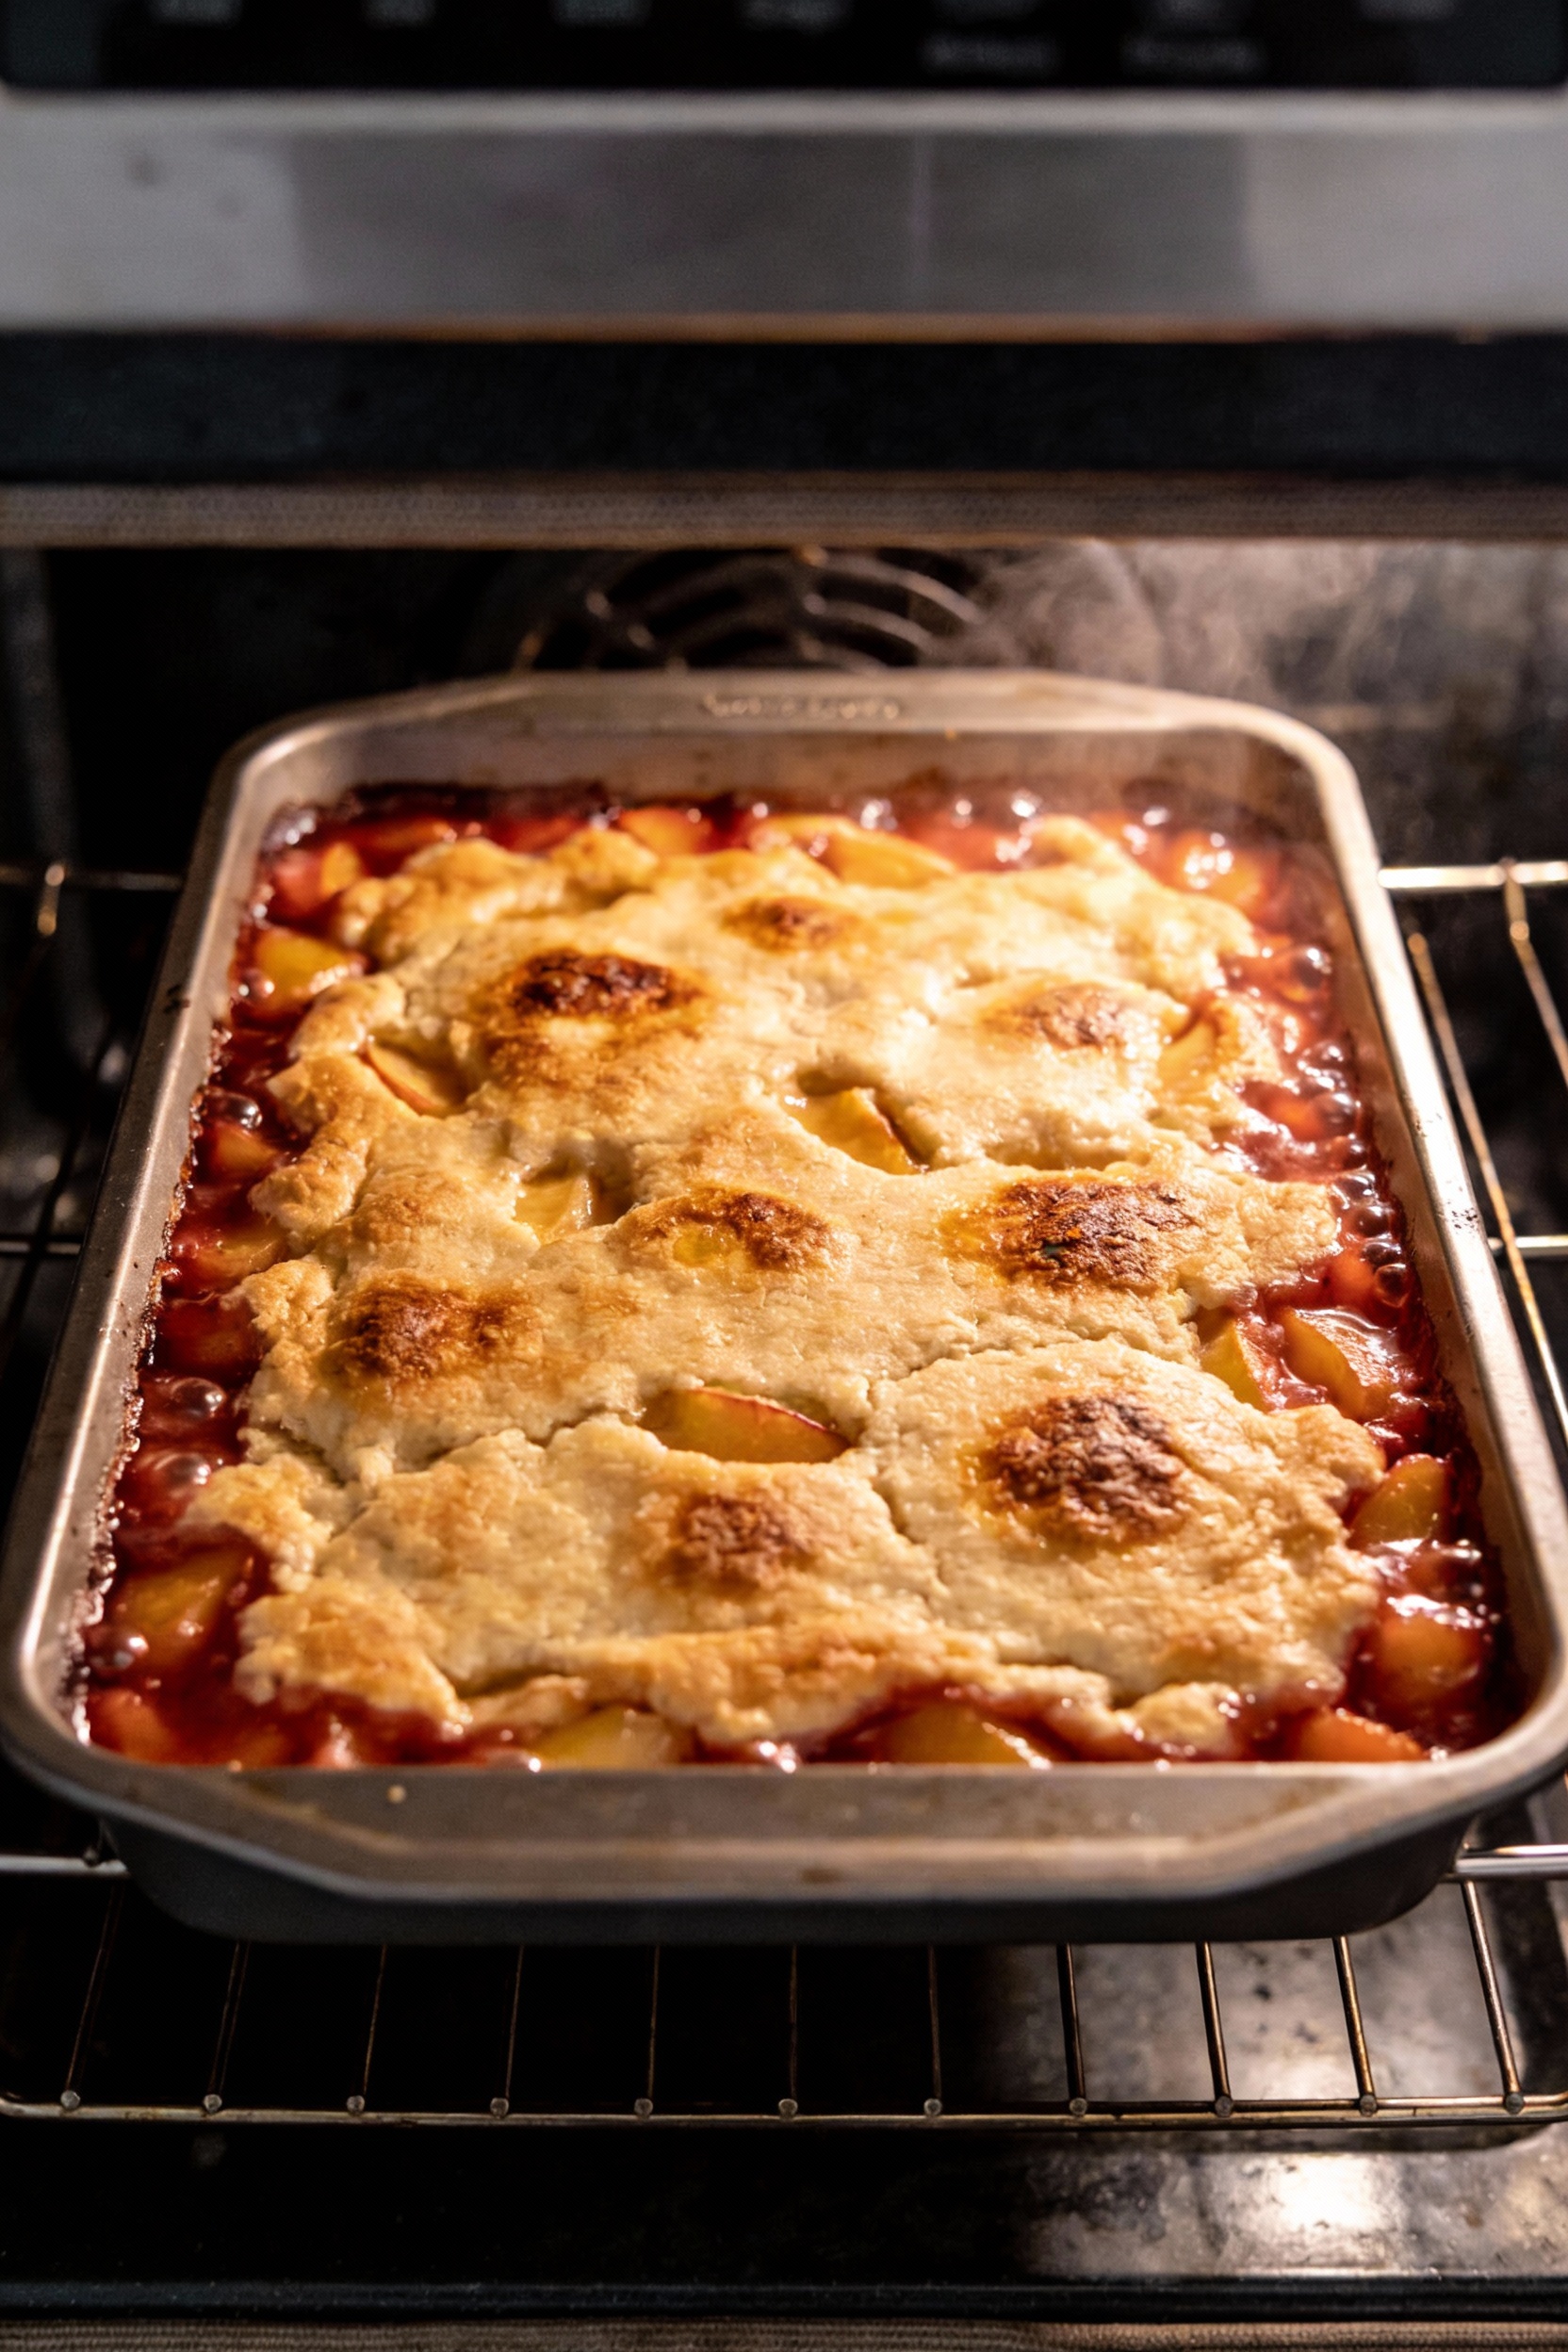
Bake for 45 to 55 minutes, until the top turns golden with darker toasted spots and the edges bubble.
-
Let it rest for 15 minutes before serving. This thickens the filling so it scoops instead of sloshing.
-
Scoop warm and serve with ice cream or whipped cream. This is not the moment for restraint.
Storage Tips
Let the cake cool completely, then cover the dish tightly and refrigerate. It holds well for up to 4 days, and the flavors actually get friendlier as it sits. Reheat individual portions in the microwave for 20 to 40 seconds, just enough to wake up the butter and soften the topping. If you want the top to crisp again, reheat in a 300°F oven for about 10 minutes.
You can also freeze it, but manage expectations: the fruit stays great, while the topping softens a bit. Wrap tightly, freeze up to 2 months, and thaw overnight in the fridge. Warm it in the oven to bring back some texture. FYI, freezer burn loves loose foil, so seal it well.
Why This is Good for You
“Good for you” can mean more than macros. This dessert scores high on consistency, which keeps you from stress-baking three separate failures. It also uses fruit-based fillings, so you get some vitamins and antioxidants along with the sugar, because balance exists. Portioning is easy, so you can enjoy a warm treat without accidentally eating half a pan while “testing.”
There is also the sneaky mental-health win: you create something comforting with low effort, which feels like winning a tiny life battle. You can make it for a friend, a school event, or your future self. IMO, simple recipes that make people happy count as self-care.
Pitfalls to Watch Out For
Most “bad” results come from a few fixable moves. Avoid these and you look like a dessert wizard.
-
Dry patches on top: Butter did not cover the mix. Drizzle slowly and aim for even coverage, or dot with thin butter slices.
-
Soggy top: You used extra liquid or stirred the layers. Do not stir, and do not add water or eggs like a normal cake.
-
Burnt edges: Your oven runs hot or your dish sits too high. Move the rack to the middle and check 10 minutes early.
-
Runny filling: You served it immediately. Resting matters; give it 15 minutes so it sets.
-
Flat flavor: Add a pinch of salt or choose a fruit filling with some tang. Sweet-on-sweet can taste one-note.
Mix It Up
Once you nail the method, you can remix the flavors endlessly. Keep the same structure: fruit base, dry mix, butter on top. Then pick a theme and act like you planned it all week.
-
Peach cobbler vibe: Use canned peaches (drained) plus a splash of the syrup, yellow cake mix, and a heavy pinch of cinnamon.
-
Apple pie energy: Use apple pie filling, spice cake mix, and add chopped pecans. Finish with caramel drizzle if you feel chaotic.
-
Berry bright: Use blueberry or mixed berry filling, lemon cake mix, and add lemon zest over the top before baking.
-
Chocolate-cherry: Use cherry pie filling, chocolate cake mix, and top with mini chocolate chips in the last 10 minutes.
-
Tropical shortcut: Use pineapple plus mango or peach filling, vanilla or butter cake mix, and add shredded coconut.
If you want less sweetness, choose “no sugar added” pie filling or add fresh berries to dilute the filling. If you want more richness, swap half the butter for browned butter. Who is going to stop you?
FAQ
Do I really not mix anything?
Do not mix. Layering creates the signature texture: saucy fruit underneath and a buttery topping above. Stirring turns it into a weird cake-pudding situation that nobody requested.
Can I use fresh fruit instead of pie filling?
Yes, but you need to add sugar and thickener. Toss about 4 to 5 cups of fruit with 1/2 to 3/4 cup sugar and 2 tablespoons cornstarch, plus a squeeze of lemon, then use it as the base.
Why do some recipes use butter slices instead of melted butter?
Butter slices help avoid dry spots because you can cover the surface more deliberately. Melted butter spreads faster and feels easier, but you must pour slowly and evenly to hit the whole cake mix layer.
Can I make it ahead for a party?
Yes. Bake it earlier the same day, then rewarm in a 300°F oven for 10 to 15 minutes before serving. It tastes great warm, but it also holds up at room temperature for a couple of hours.
What size pan works best?
A 9×13-inch pan gives the best topping-to-filling ratio and lets the edges caramelize without burning. A smaller pan makes it thicker and may need extra bake time.
How do I know it is done?
Look for bubbling edges and a top that turns golden with darker toasted areas. If you see big sections of dry powder, it needs more butter coverage or a few extra minutes to absorb and bake.
Can I make it gluten-free?
Yes. Use a gluten-free cake mix and double-check that your pie filling is gluten-free as well. The method stays the same, and the texture remains nicely crisp on top.
The Bottom Line
This dessert wins because it delivers big flavor with tiny effort: fruit bubbles, cake turns golden, butter makes everything taste expensive. Follow the layering rule, cover the mix with butter, and let it rest before serving. Then start swapping flavors like you own a bakery, because honestly, you kind of do now.

